How it works

When a submission is received by a form with a configured Mailchimp integration, a new subscriber will be added to your Mailchimp audience list.

Setting up the integration

Go to the Integrations tab of your Formbox form and click Connect on the Mailchimp integration.

A window will pop up, prompting you to connect your Mailchimp account. Sign in with the account you want to use and allow Formbox to access your Mailchimp audiences.

Once the integration is connected, Formbox will ask you what Mailchimp audience you want to sync your form submission emails to.

You can rename your Mailchimp audience if you want without affecting the integration.

An example HTML form that you can use to collect emails and names for your Mailchimp audience list:

<form action="https://api.formbox.app/s/xxxxxxxxxxxxx" method="POST">
  <input type="text" name="name" placeholder="Name" required />
  <input type="email" name="email" placeholder="Email" required />
  <input type="text" name="add1" placeholder="Address" />
  <input type="text" name="city" placeholder="City" />
  <input type="text" name="state" placeholder="State" />
  <input type="text" name="zip" placeholder="Zip Code" />

  <button type="submit">Subscribe</button>
</form>

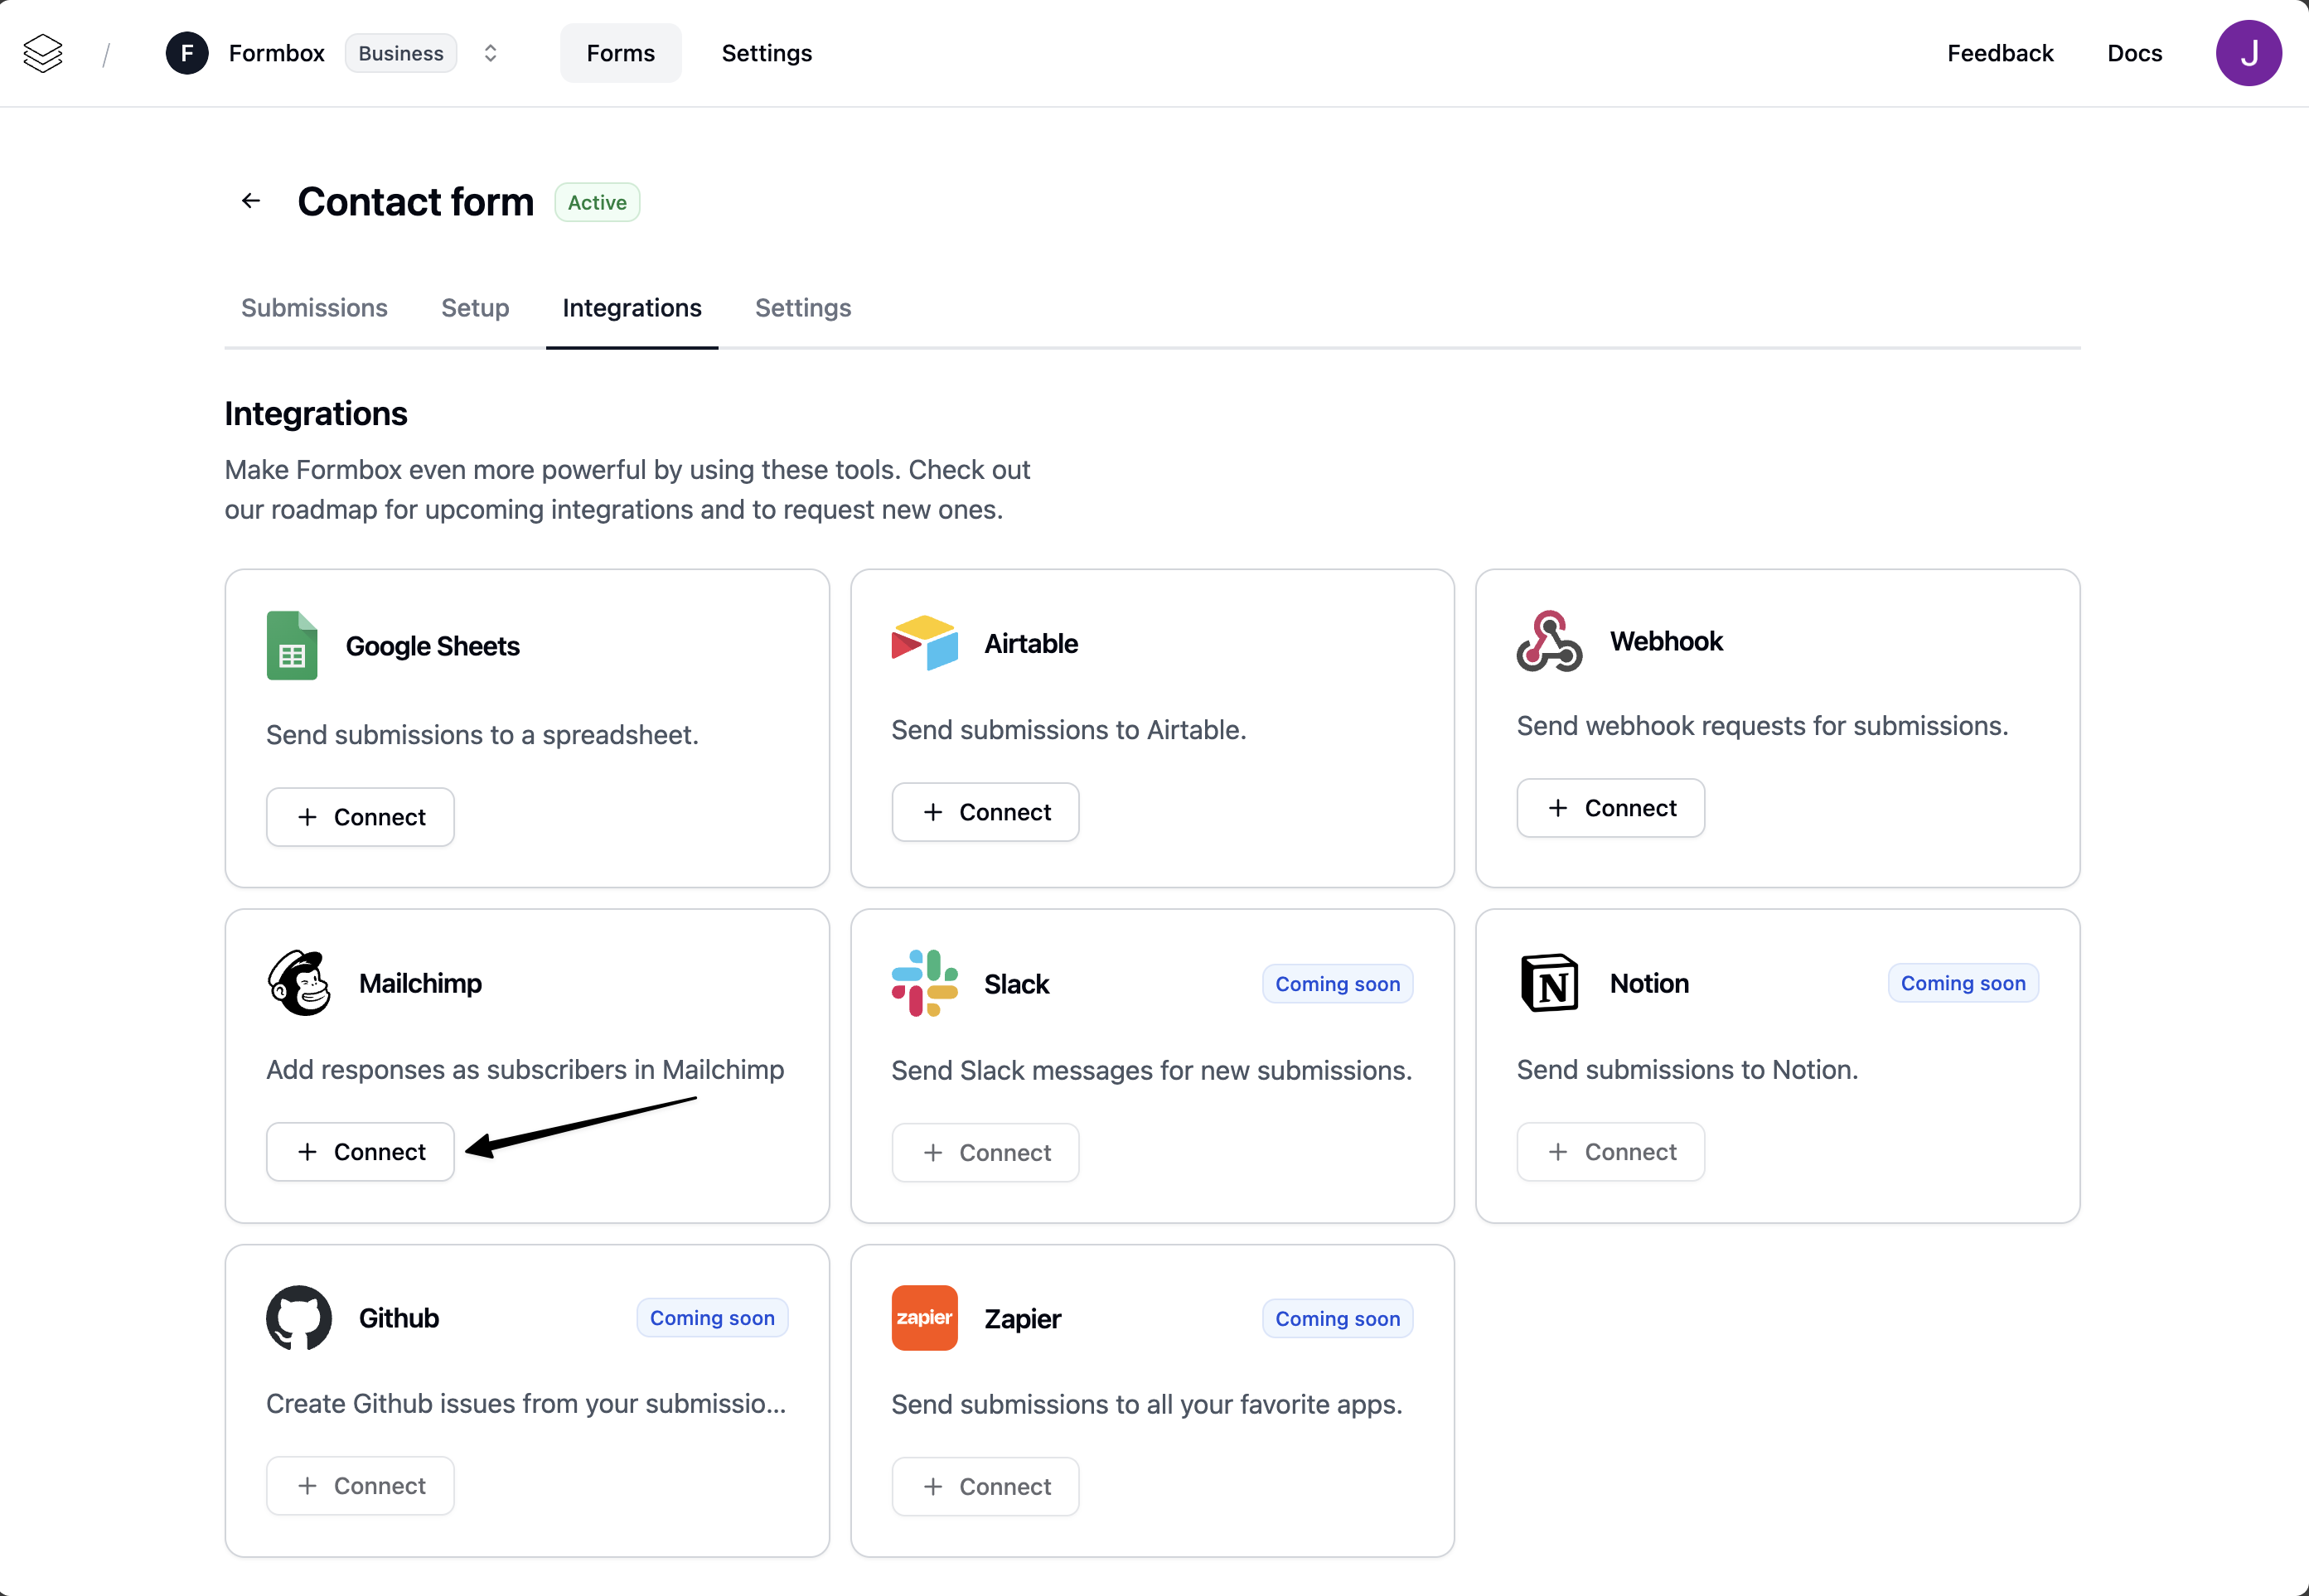
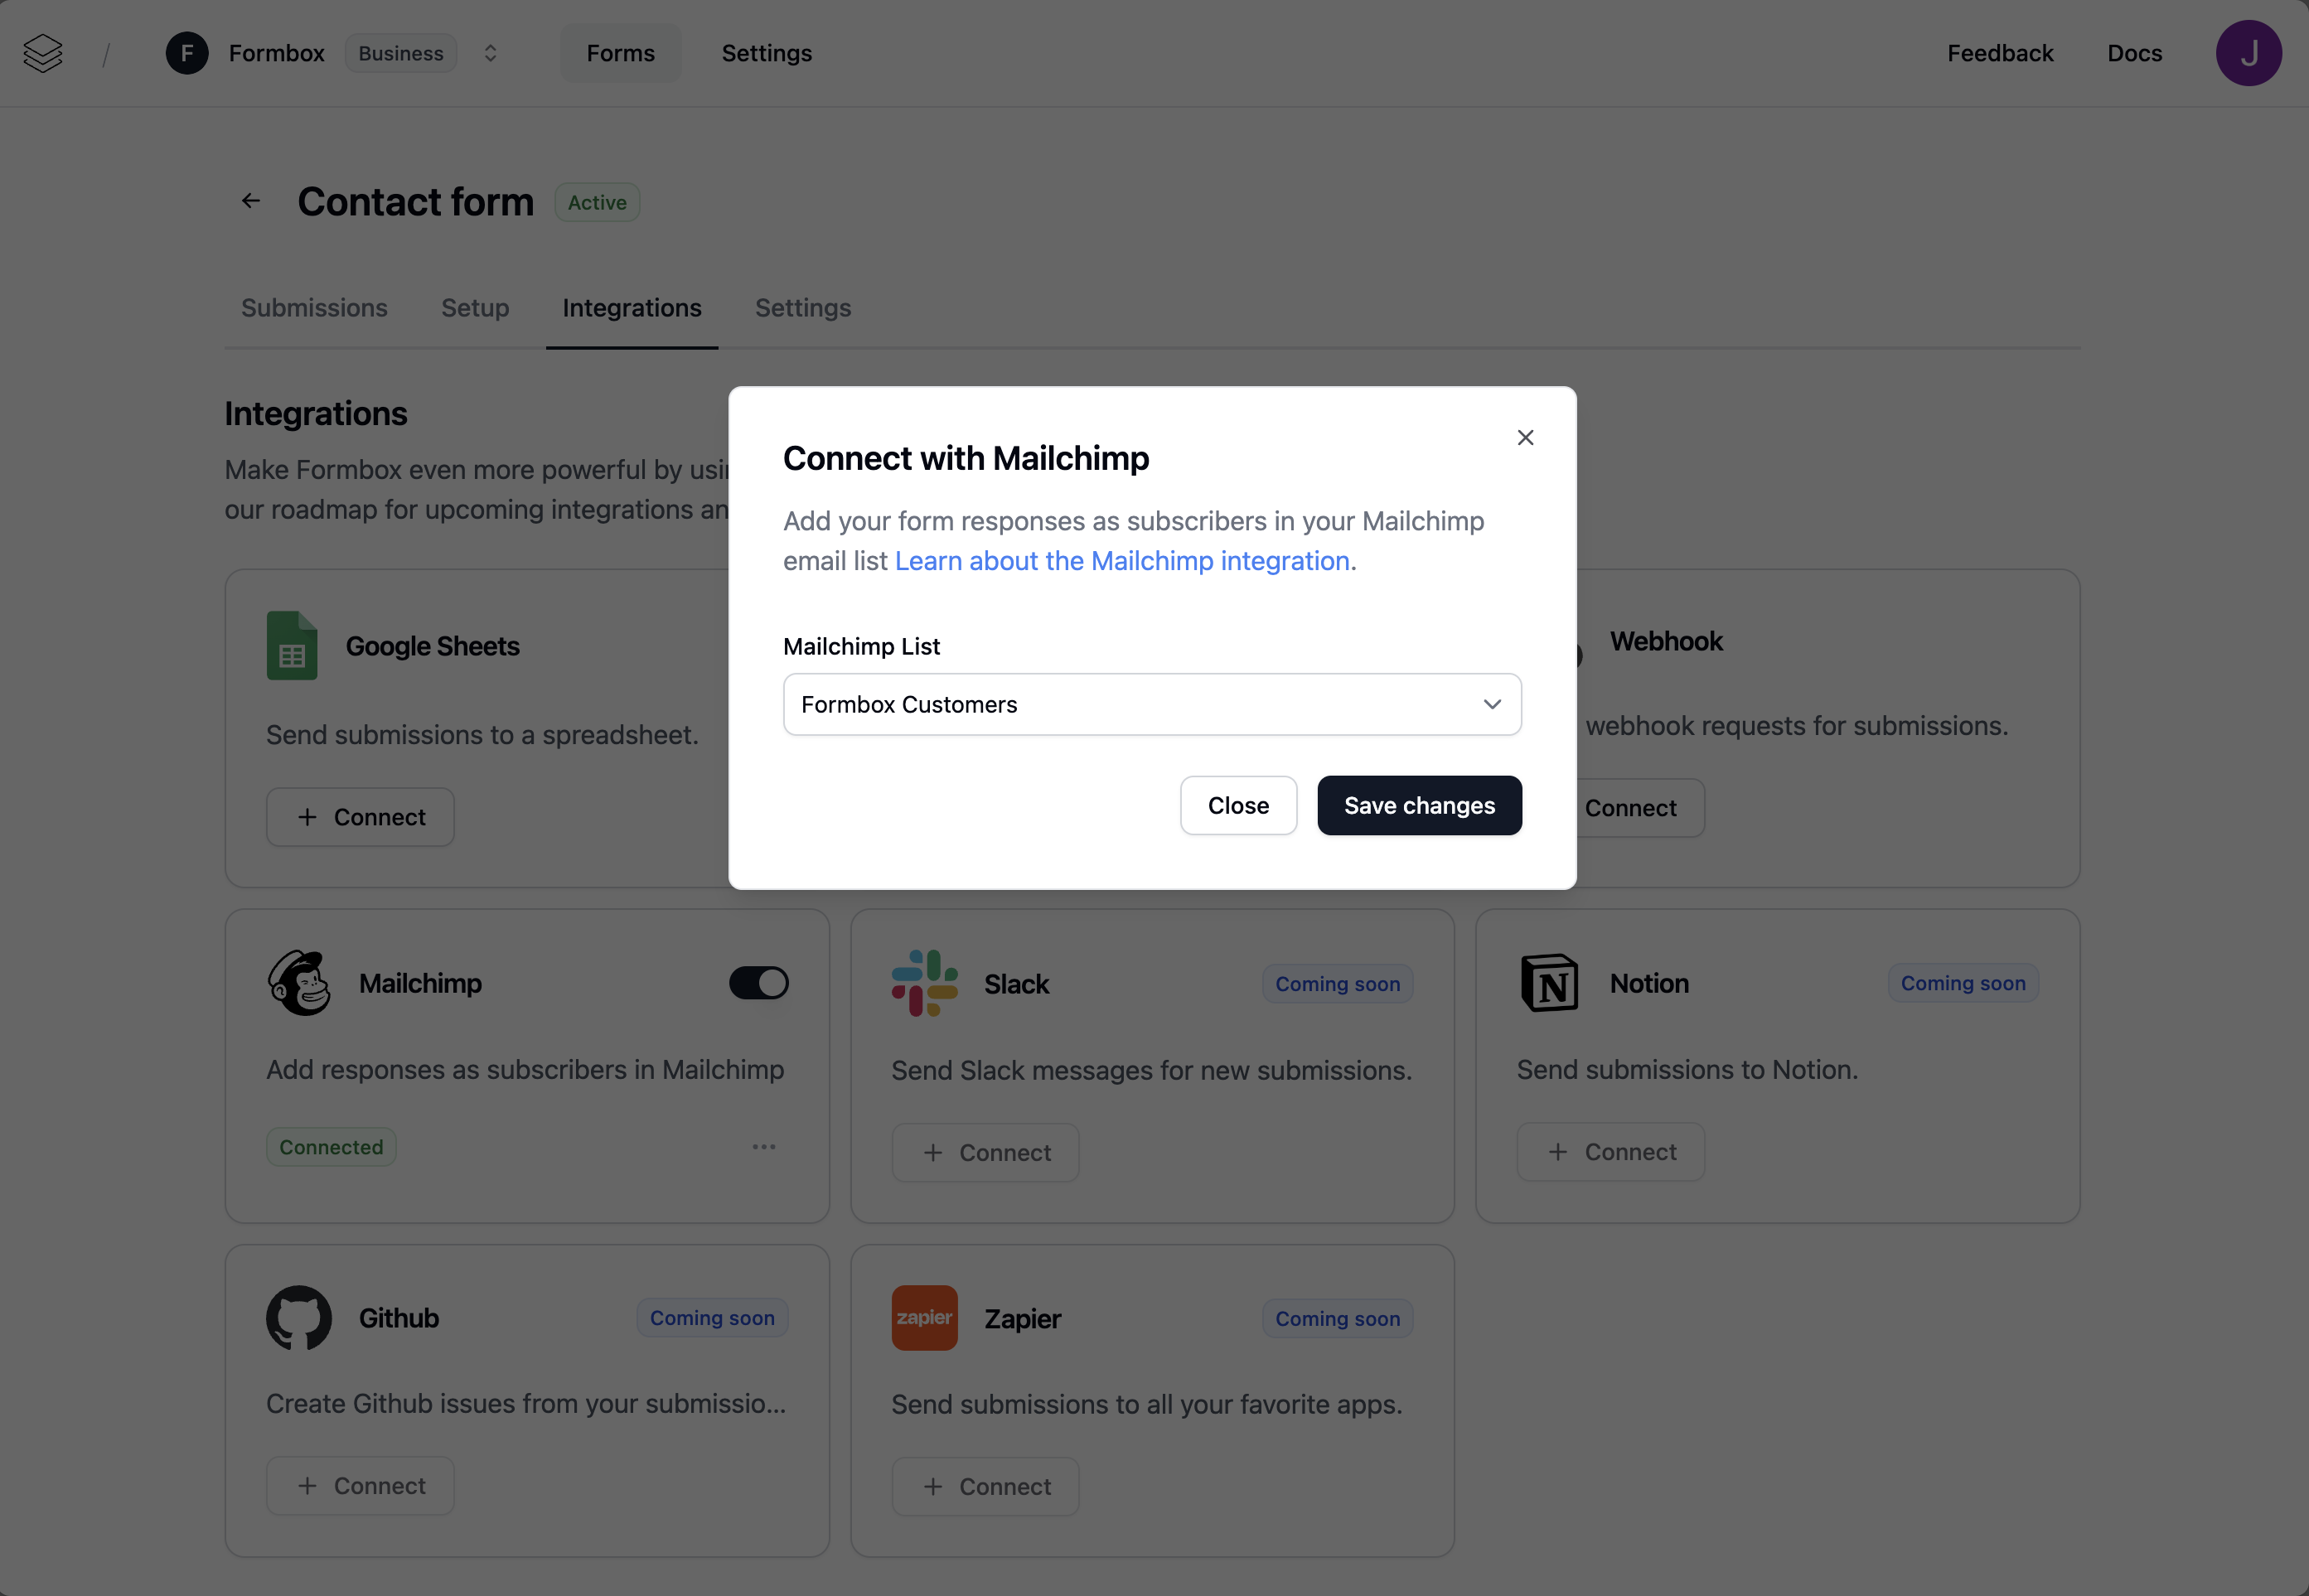
Customizing the integration

You can customize the Mailchimp integration by clicking on the Manage integration option in the dropdown menu.

Here you can change the Mailchimp audience where the form submission emails are added to, by updating the Mailchimp List field.

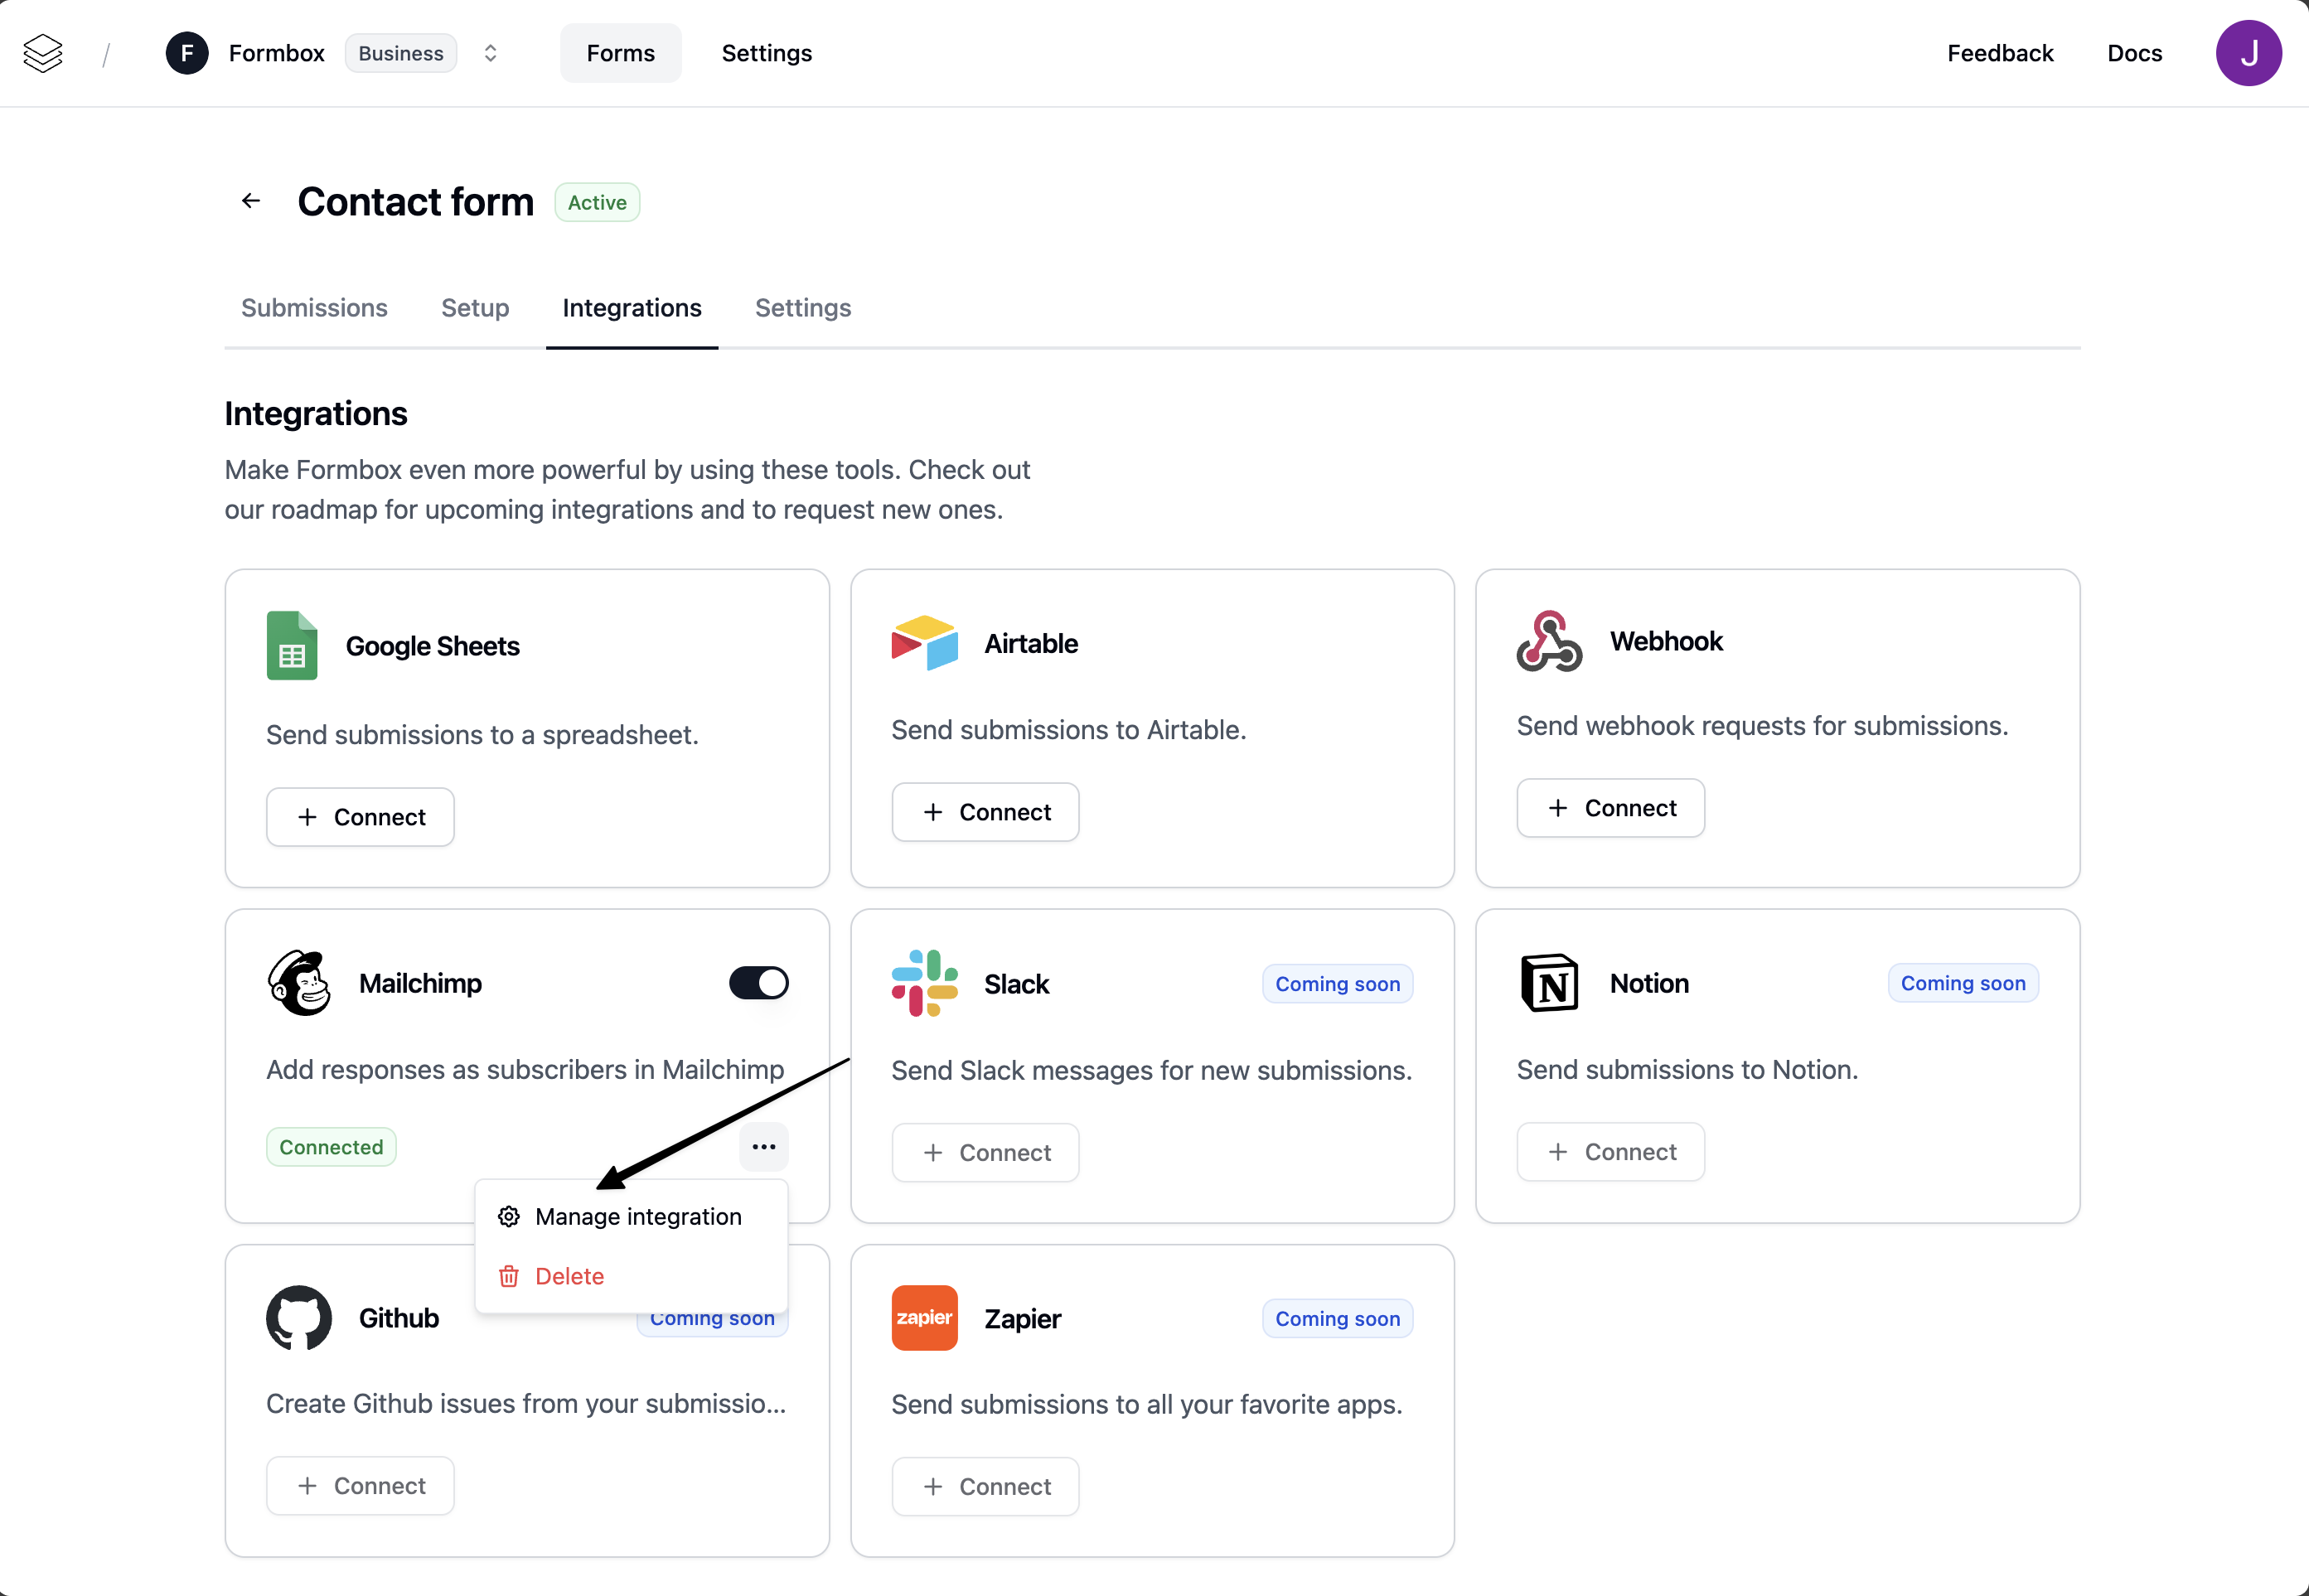
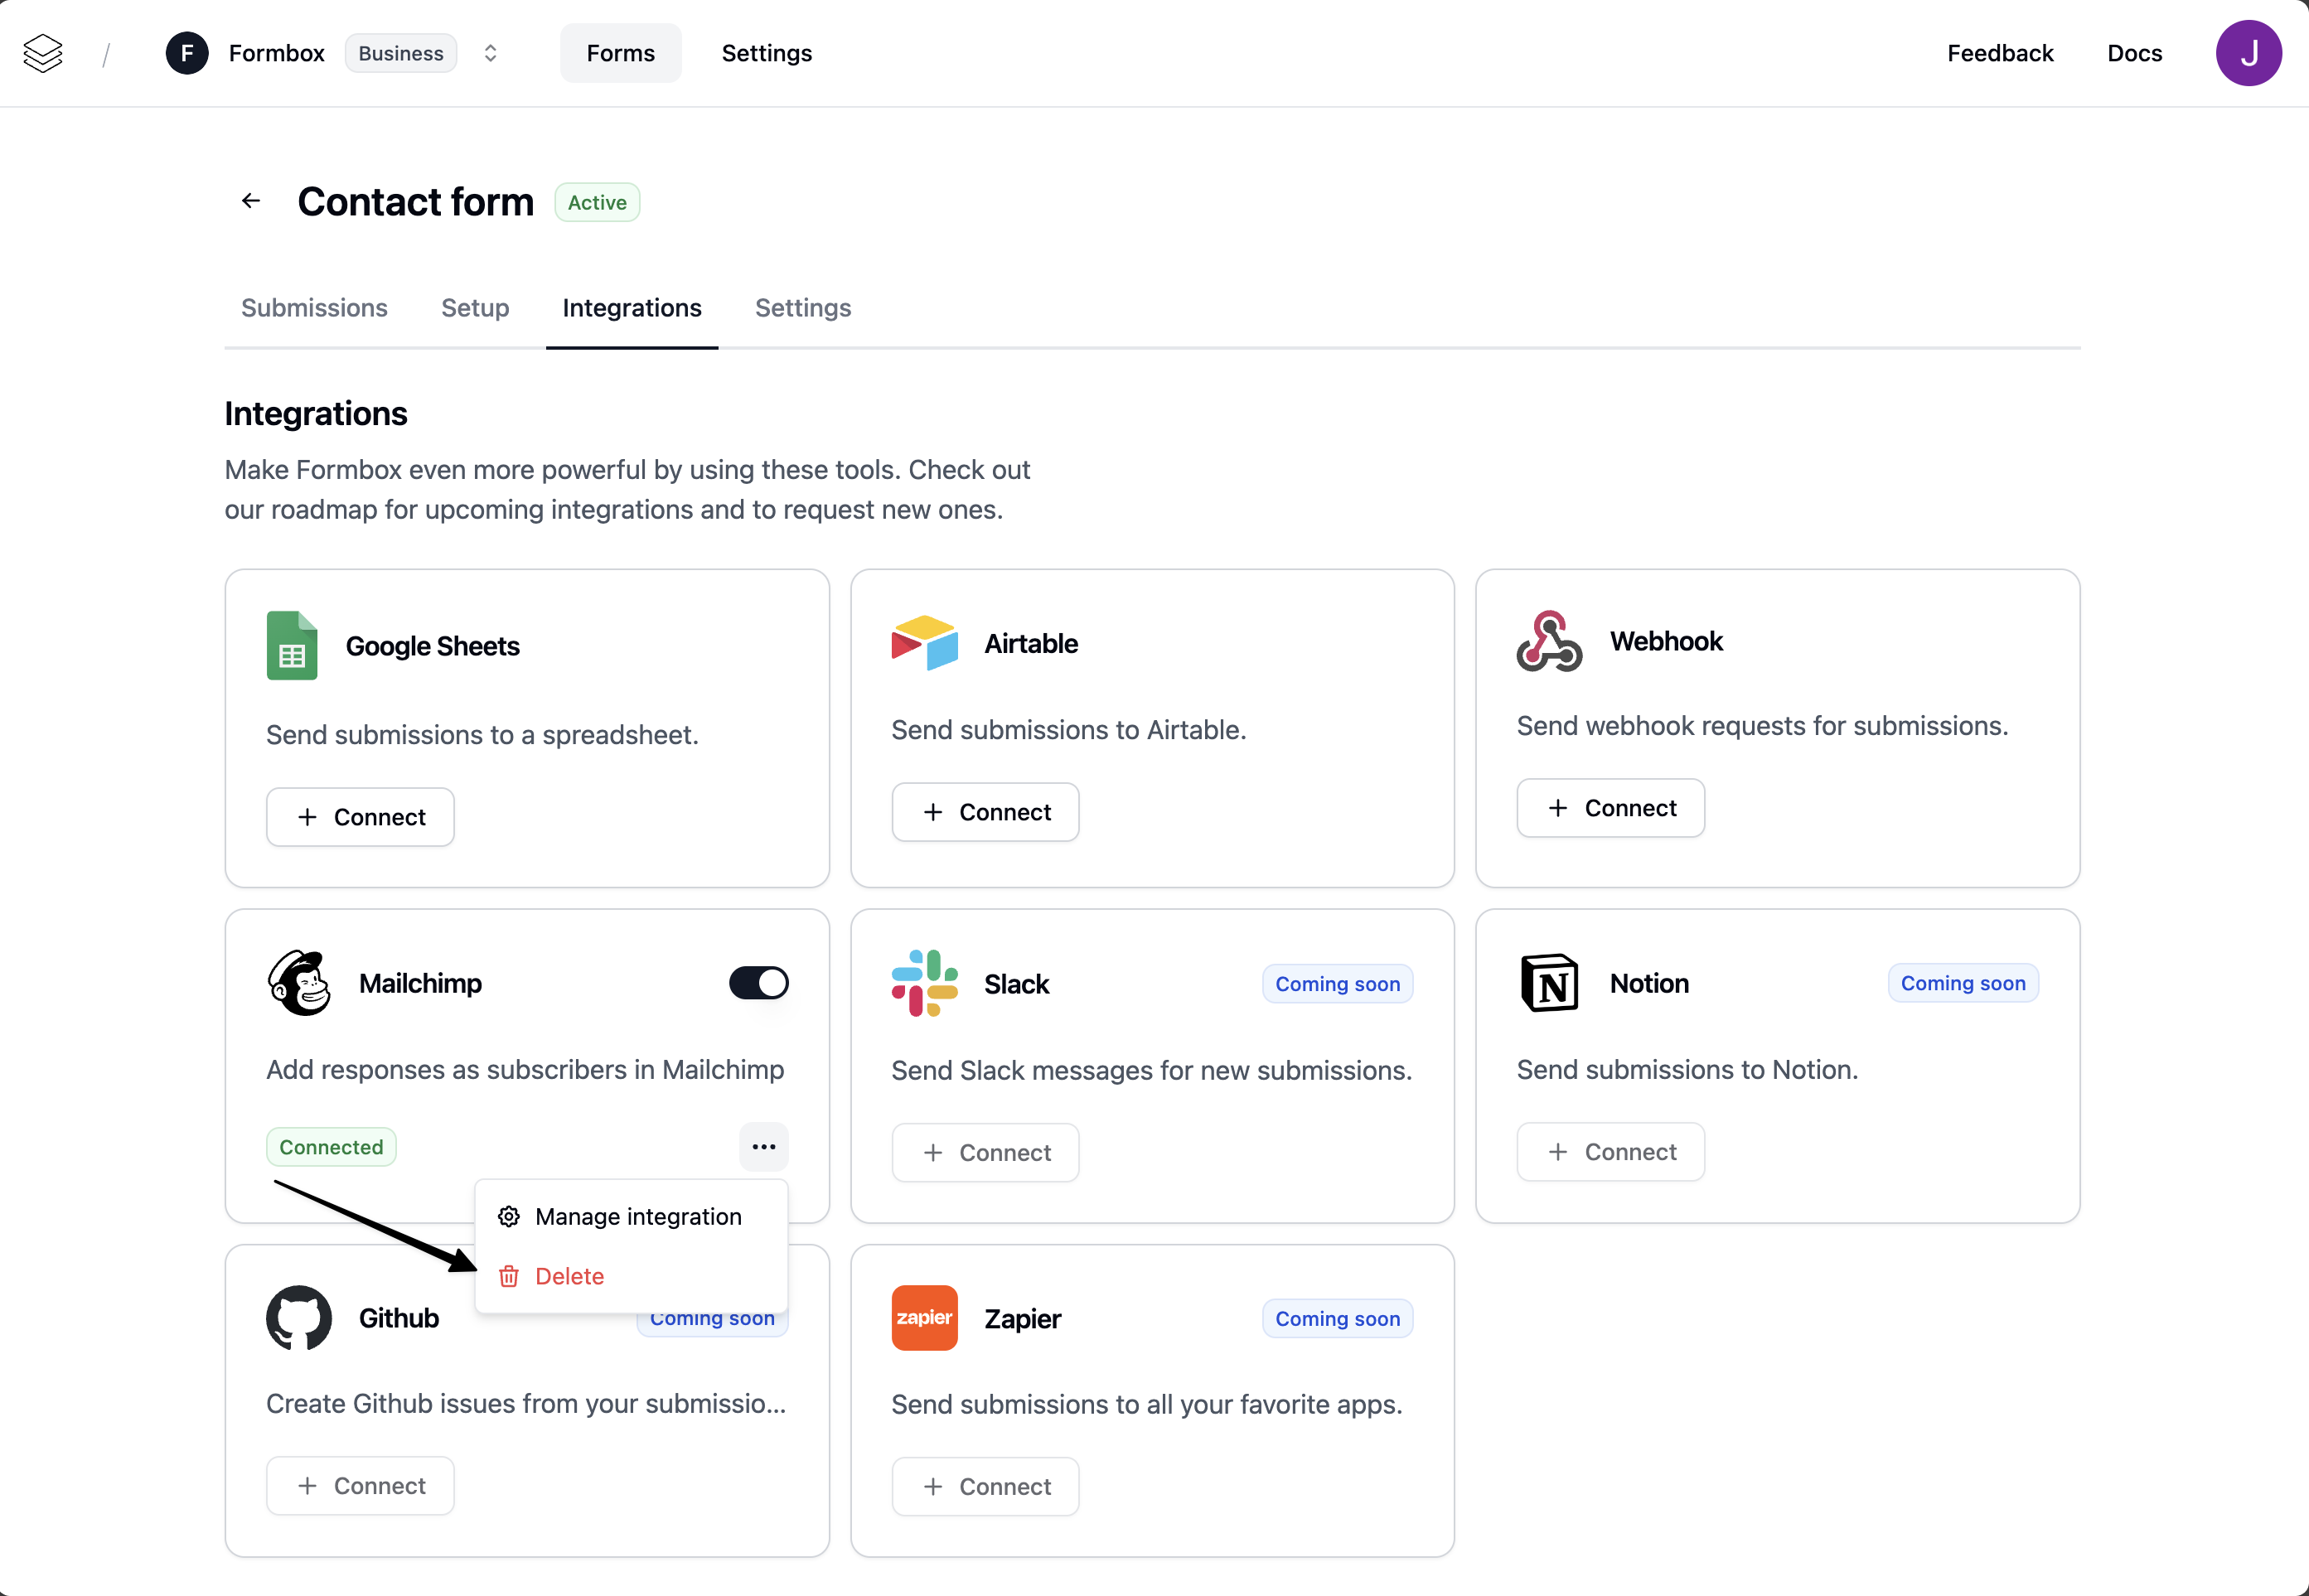
Deleting the integration

If you no longer want your integration to add emails to your Mailchimp audience list, click the Delete option in the dropdown menu. Removing the integration means that Formbox will not add emails to your list for any future form submissions.