How to enable respondant email notifications
Go to the form you want to enable self email notifications for and navigate to theSettings tab.
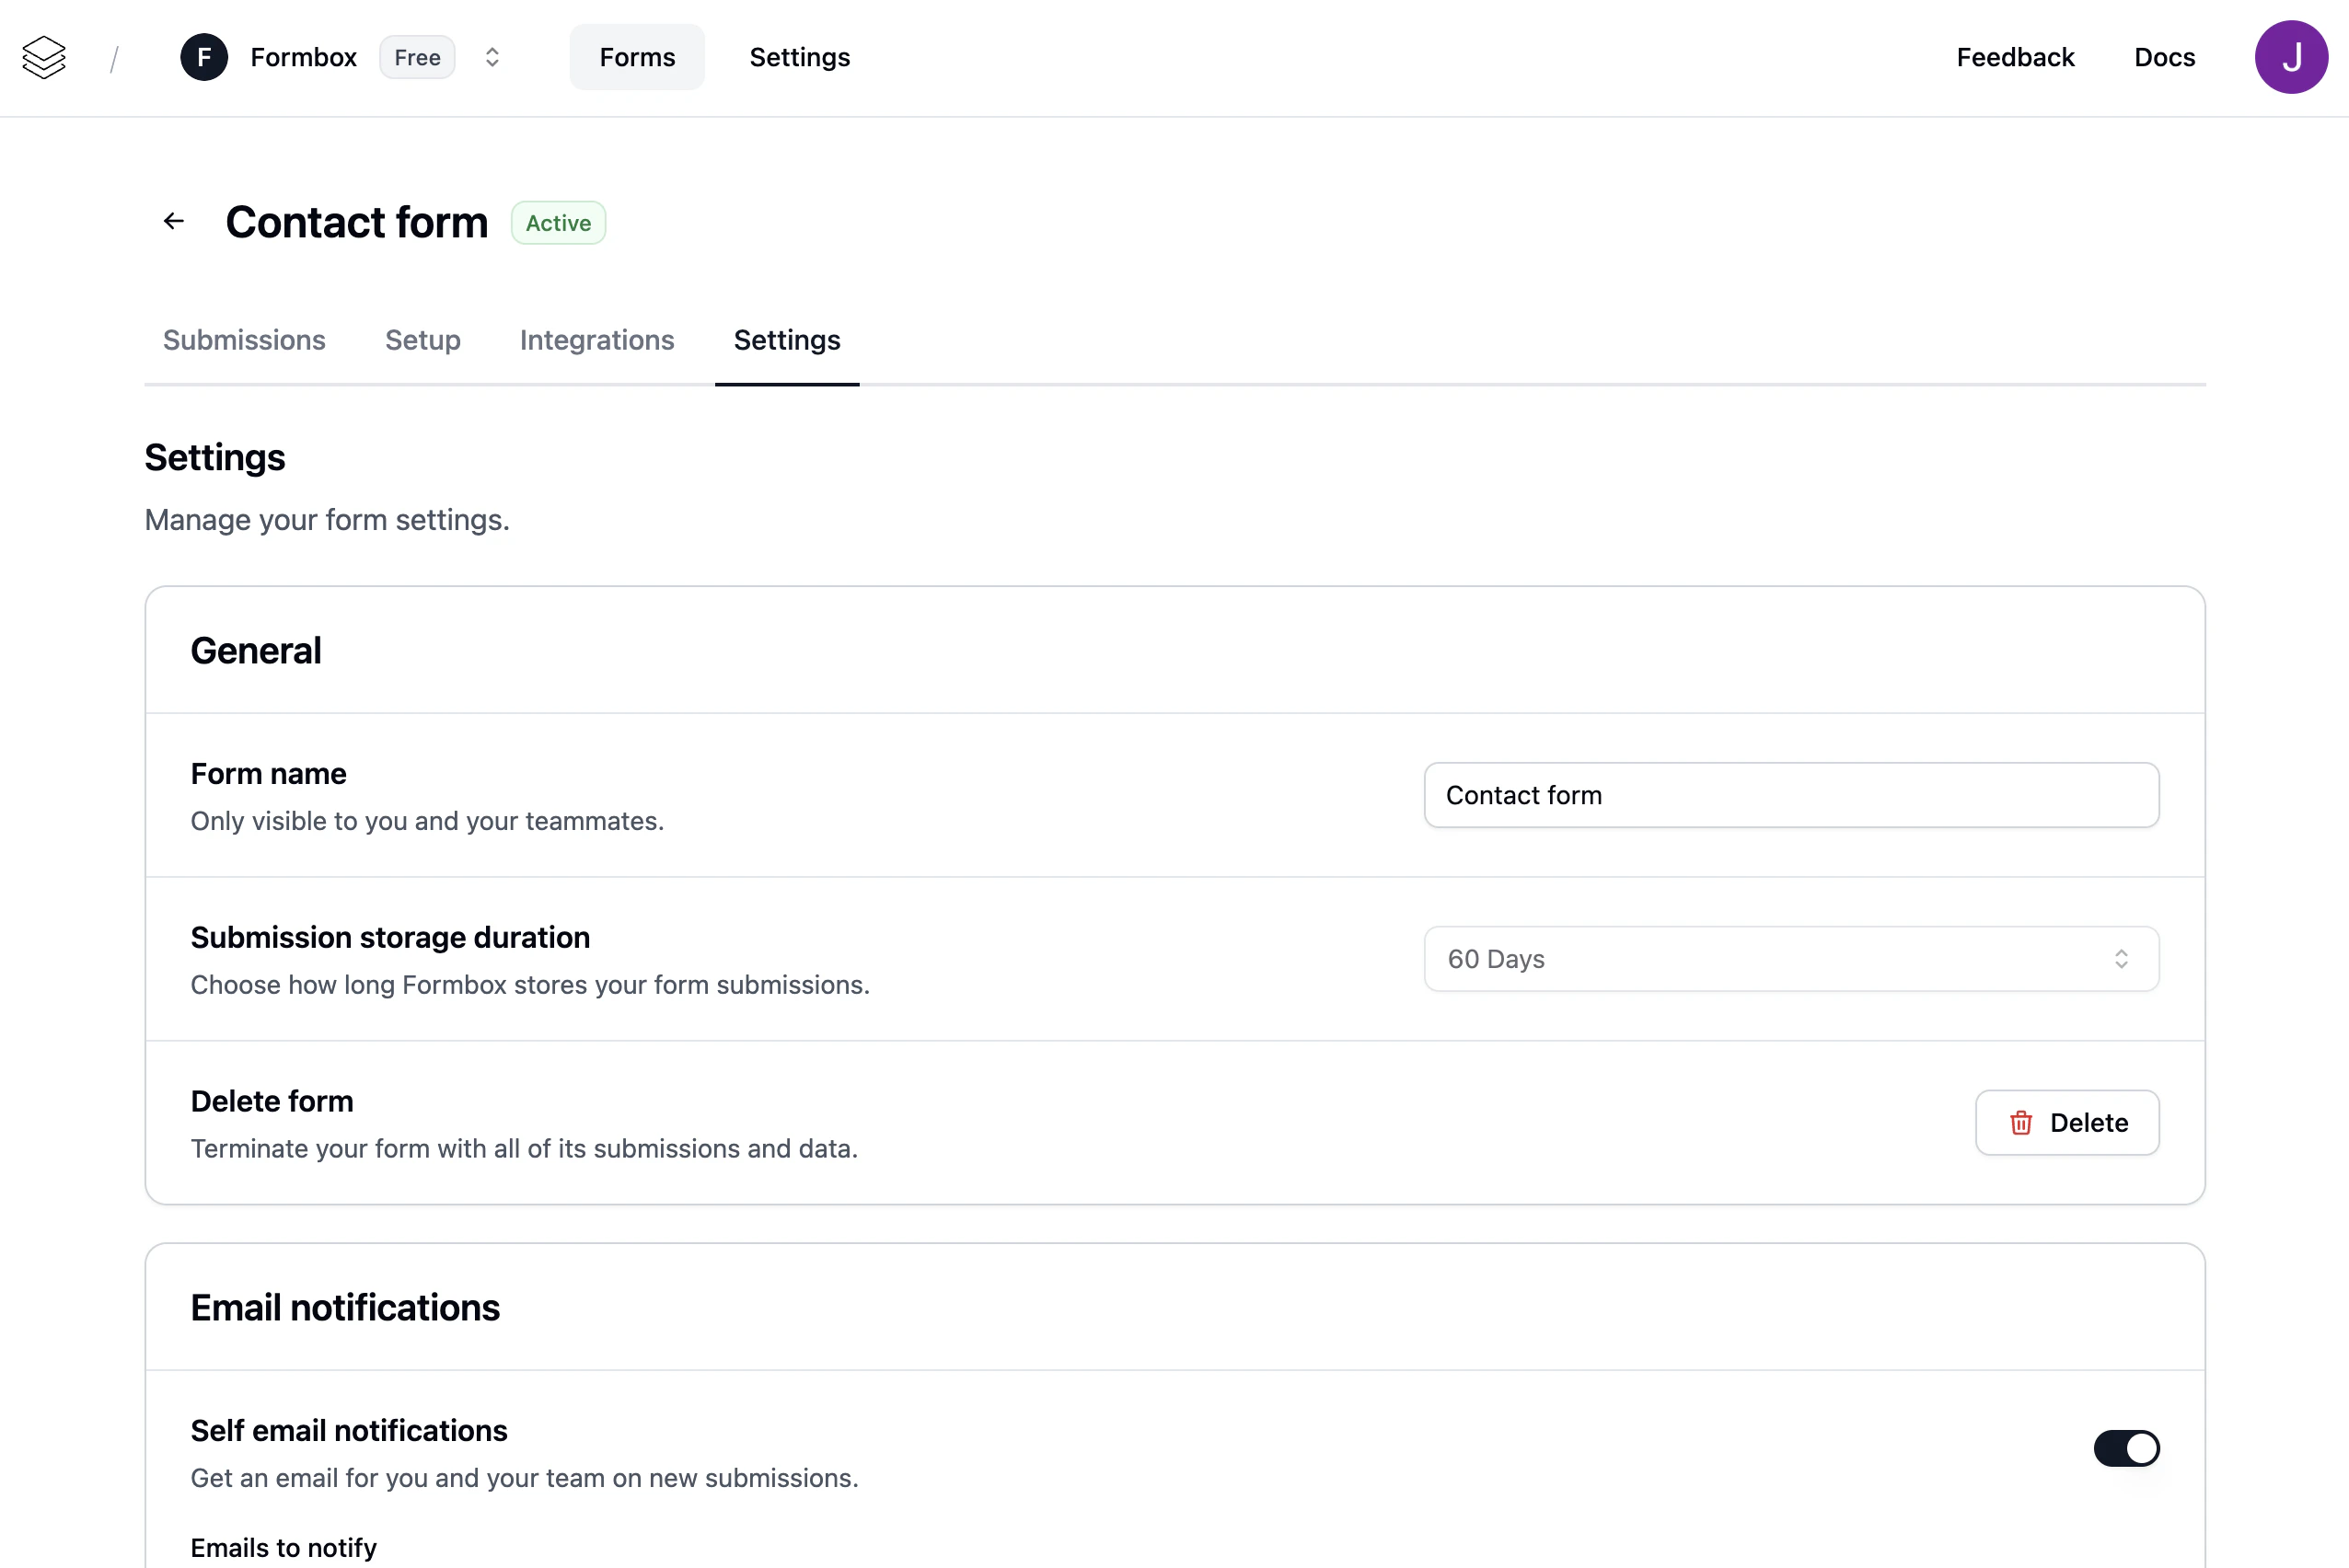
Email configuration section, and enable the toggle.

Edit template button to customize the email.
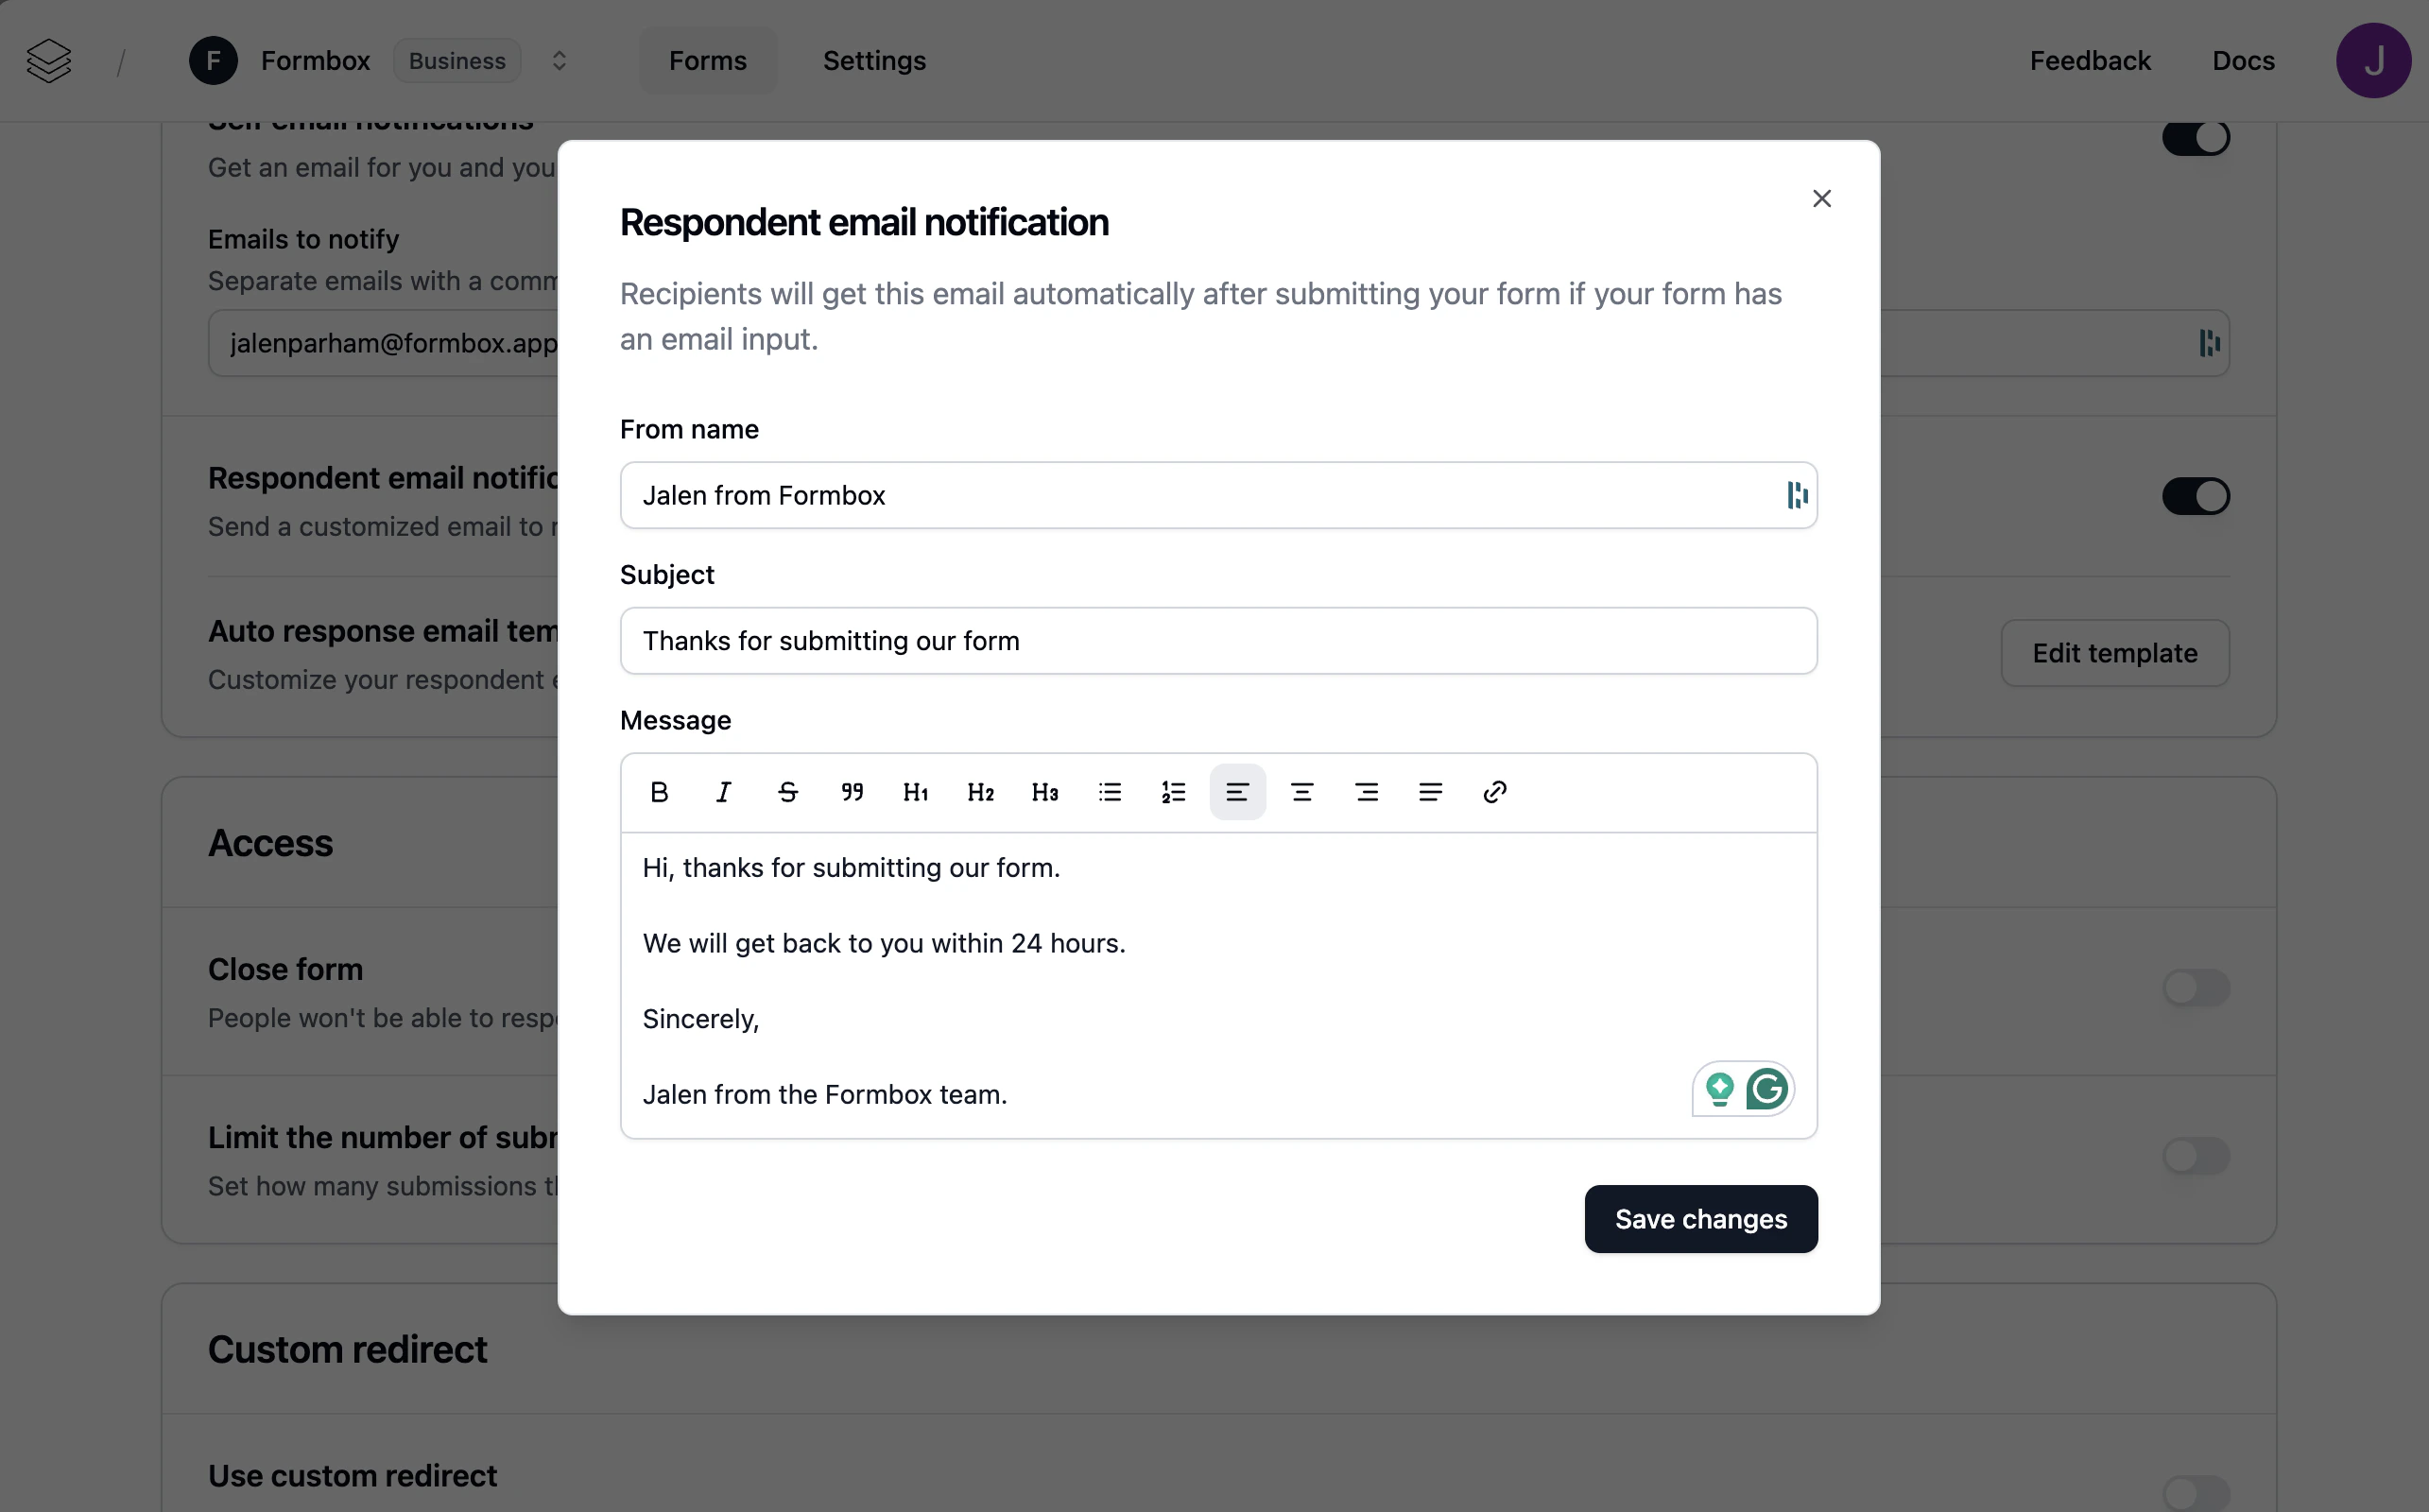
From name, Subject, and Message fields.
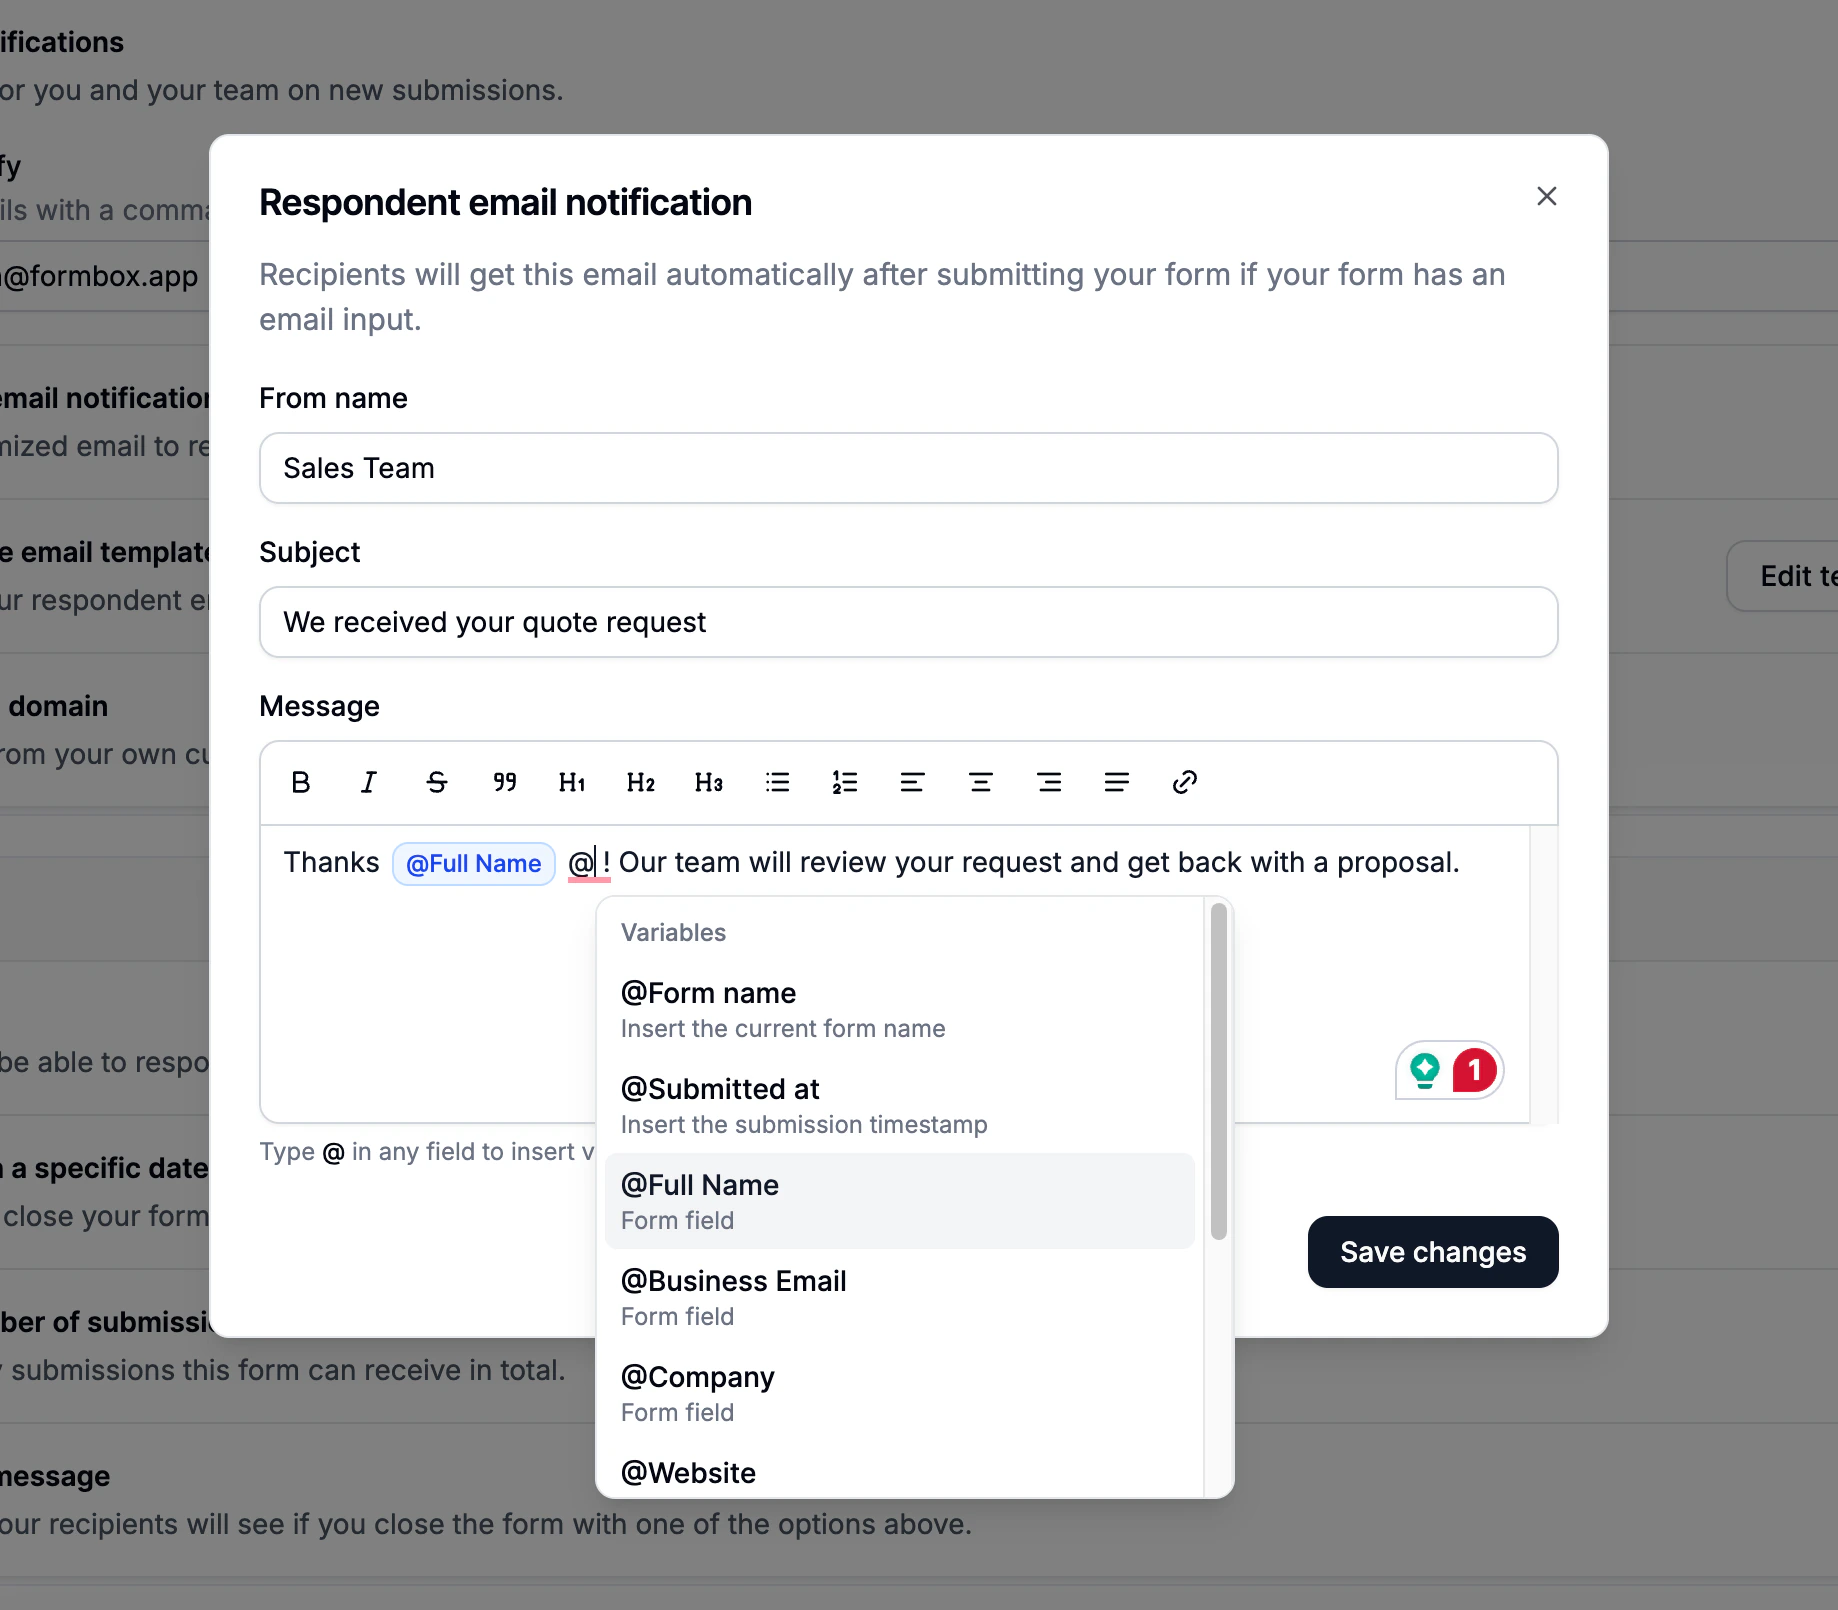
Type @ to insert a variable.
@Form nameinserts the form name.@Submitted atinserts the submission timestamp.- Hosted form fields appear as variables using their field labels. For example,
a
First Namefield appears as@First Name. - Endpoint form field variables appear after the form has received its first processed submission.
The input you collect your users email from must be named as email, otherwise
this feature won’t work.