What is Astro?
Astro is the web framework for building content-driven websites like blogs, marketing, and e-commerce. Astro is best-known for pioneering a new frontend architecture to reduce JavaScript overhead and complexity compared to other frameworks.Prerequisites
Before you begin, you’ll need to have a Formbox form. If you don’t have one yet, you can create a new form by following the steps in the Introduction guide. Once you have your form, make a note of the form’s endpoint url in the setup tab of your form page, as you’ll need it later.Creating a new Astro project
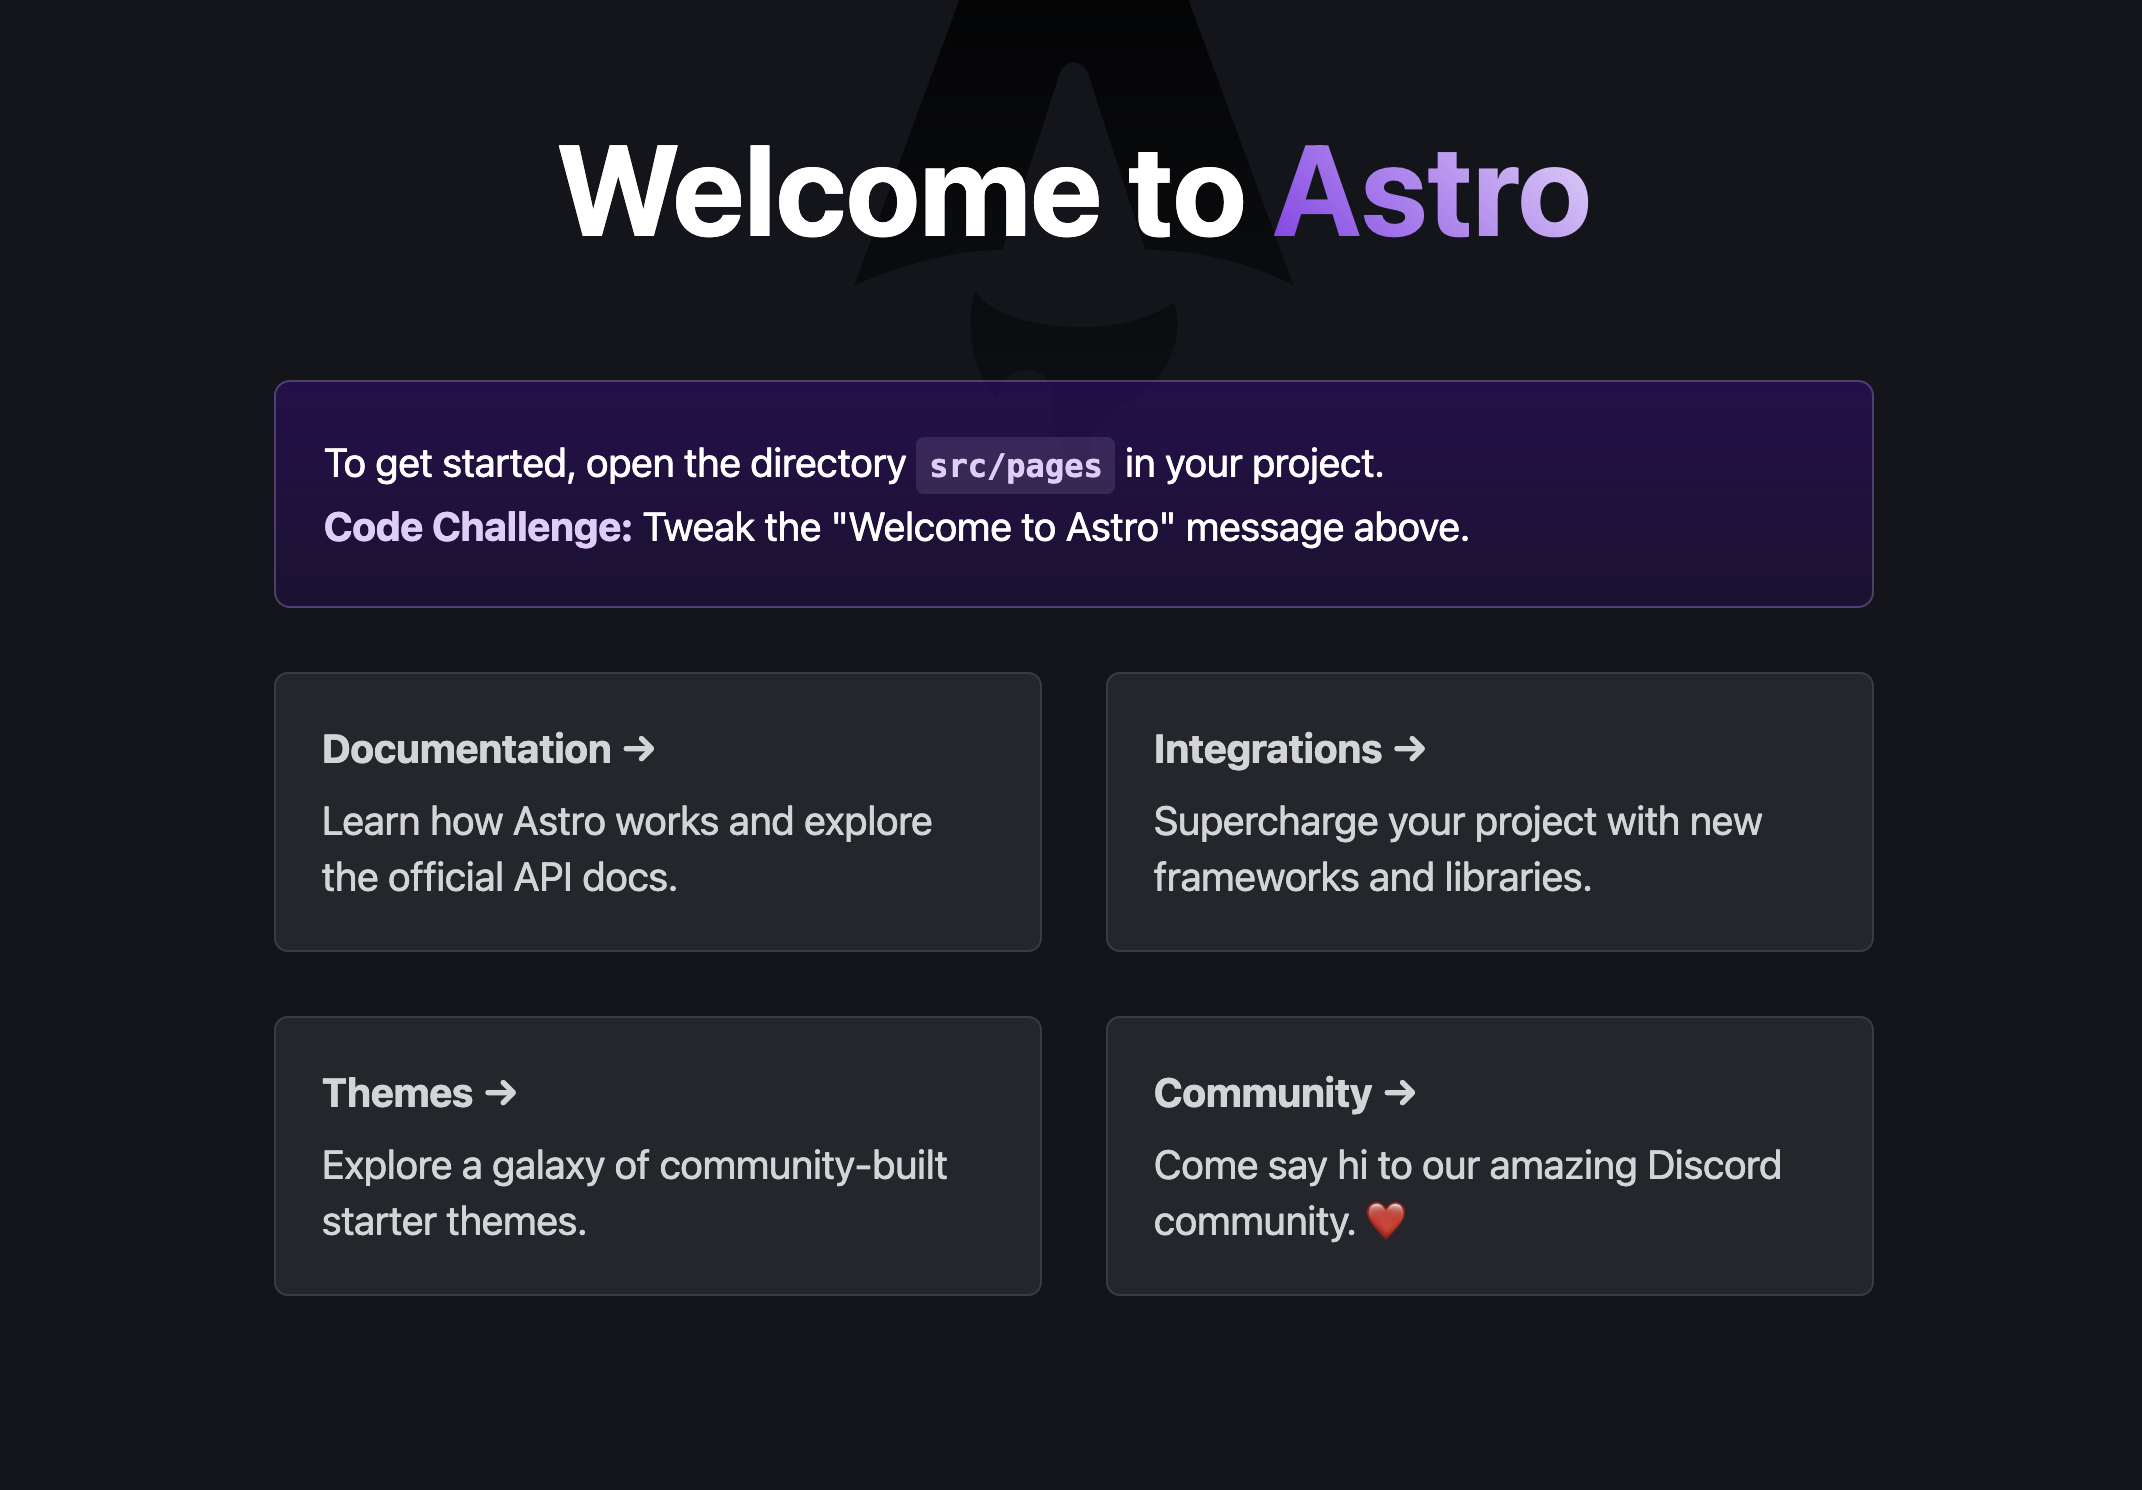
To get up and running quickly, we will follow the official Astro installation guide to create a new Astro project. In your terminal, run the following command:http://localhost:4321. You should see a new Astro application running.

Adding your Formbox form to your Astro project
Now that we have a new Astro project set up, let’s add our Formbox form to it. For styling purposes, we’ll use Tailwind CSS. You can learn how to add Tailwind CSS to your project by following the Astro installation guide. Once you have Tailwind CSS set up, let’s add our form. Open up theindex.astro file within the root of the pages directory and replace everything in the file with the following code block:
index.astro
action attribute as shown in the code block above.
Save the file and navigate to http://localhost:4321 in your browser. You should see a form that you can fill out and submit.

