Creating your first form
Get started with Formbox by creating your first form. You can create a form from scratch or use one of our templates to get started quickly.Before we start, here is what you’ll need:
- A Formbox account. You can sign up here
- An HTML form. You can create a new form or use one of our templates.
- Basic Javascript knowledge (optional)
Step 1. Creating an HTML form
Create a simple contact form using HTML:The most important aspect of an HTML form is the This sends form data to
action="#" attribute, which
specifies the URL where you want to process form data. In a typical website,
it will look like this:https://mysite.com/form.php, where you would need to write back-end code (in PHP, Node.js, Go, Ruby, etc.) to process the data.
Formbox handles this process for you by providing a unique URL that processes your form without any back-end code. Your unique URL allows you to receive emails from your form, send auto-responses, upload files, and trigger integrations.
An example Formbox endpoint looks like this: https://api.formbox.app/s/XXXXXXXXStep 2. Creating a form in Formbox
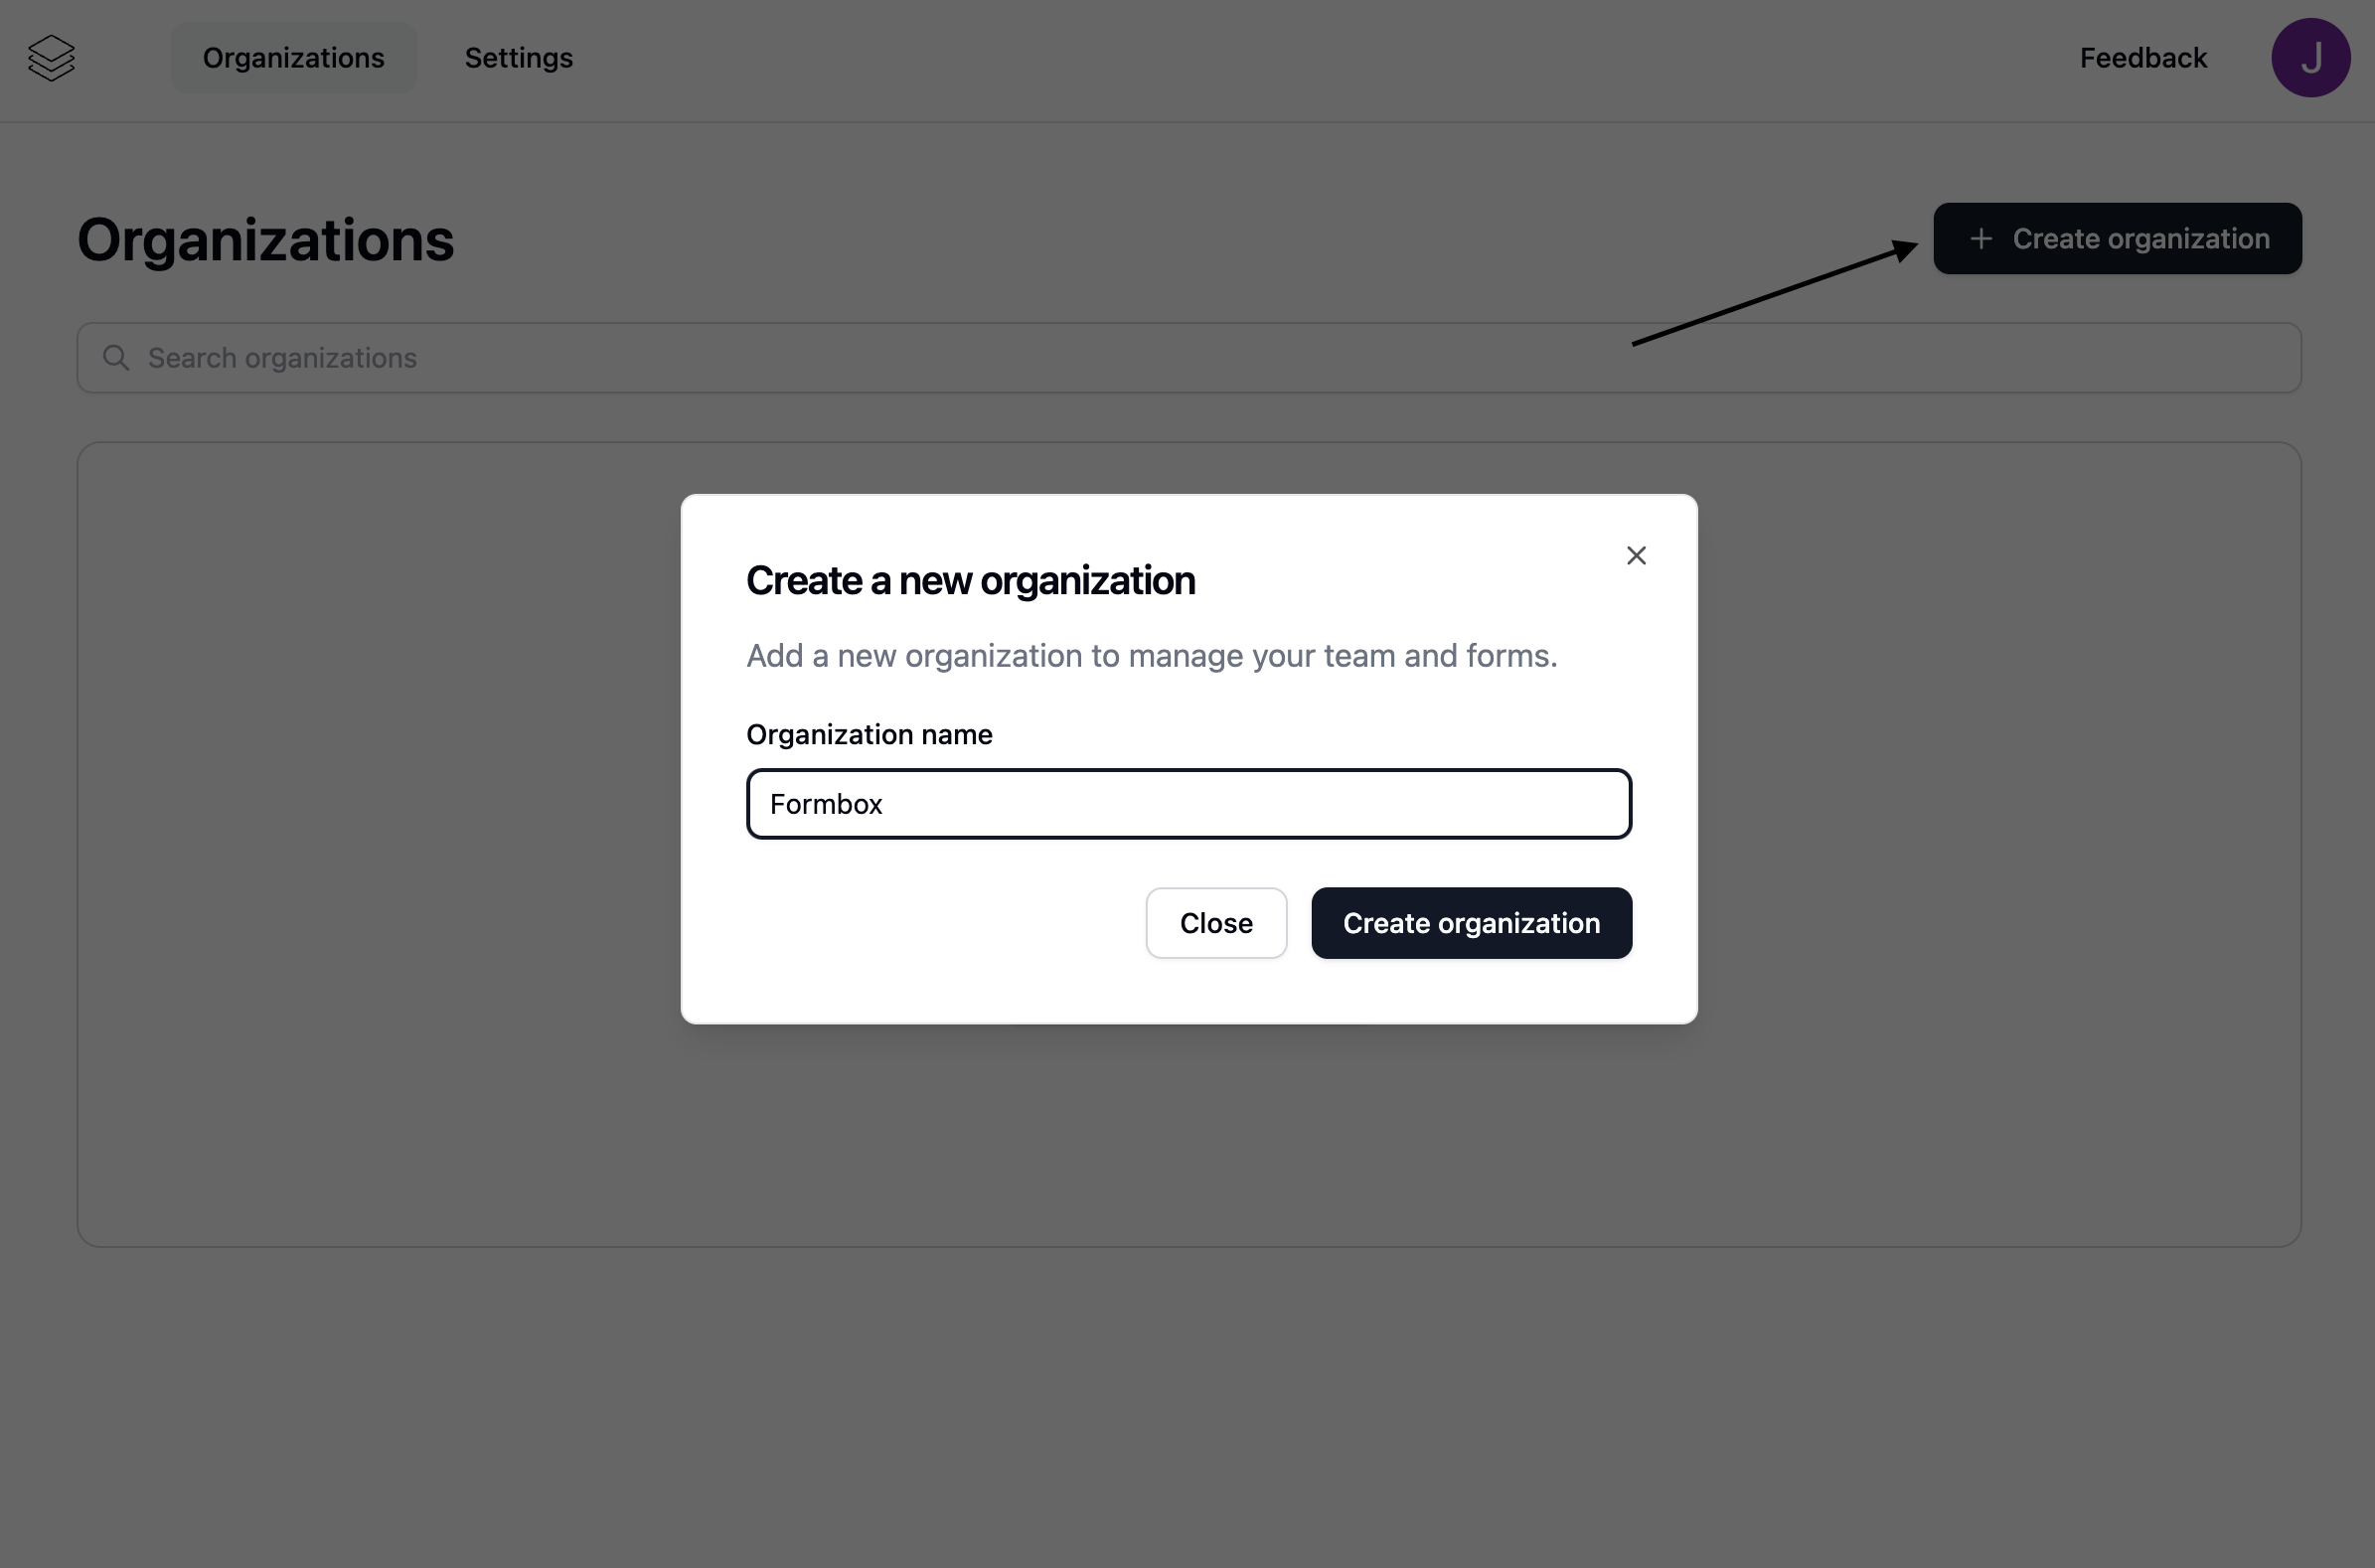
First we need to create an Organization in Formbox dashboard. You can do this by clicking on theCreate organization button in the dashboard.
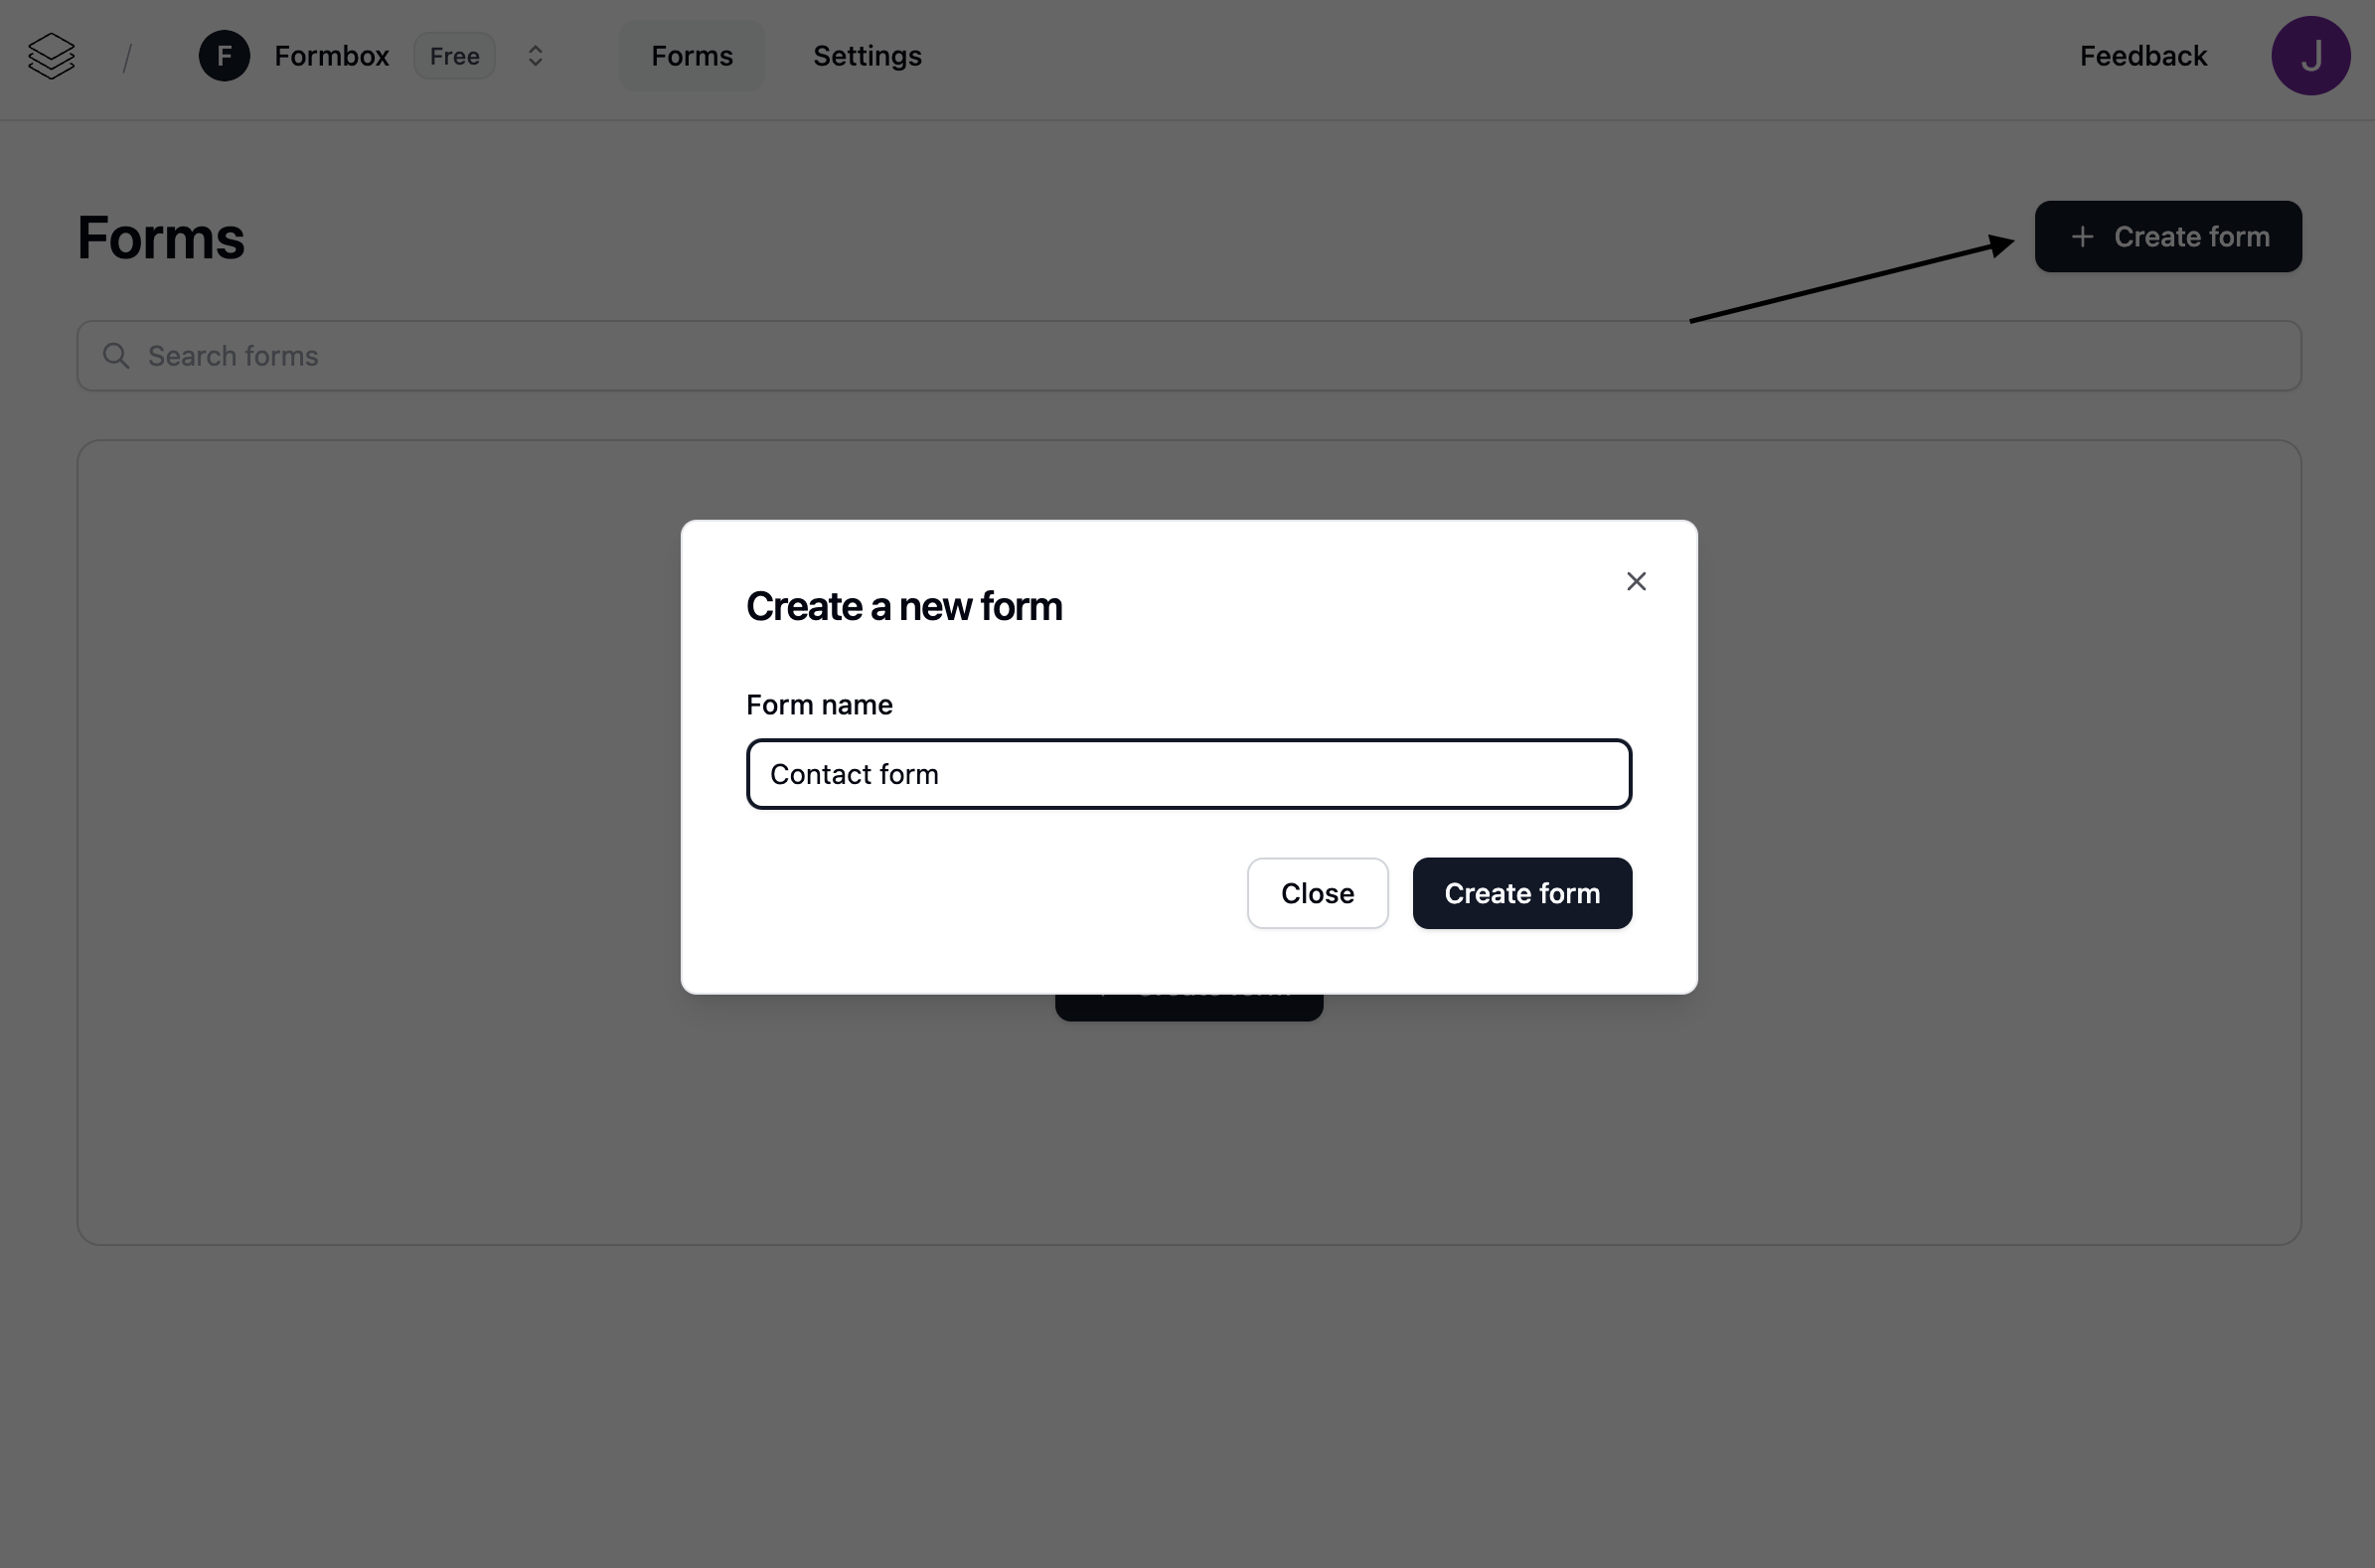
Create form button to create a new form.
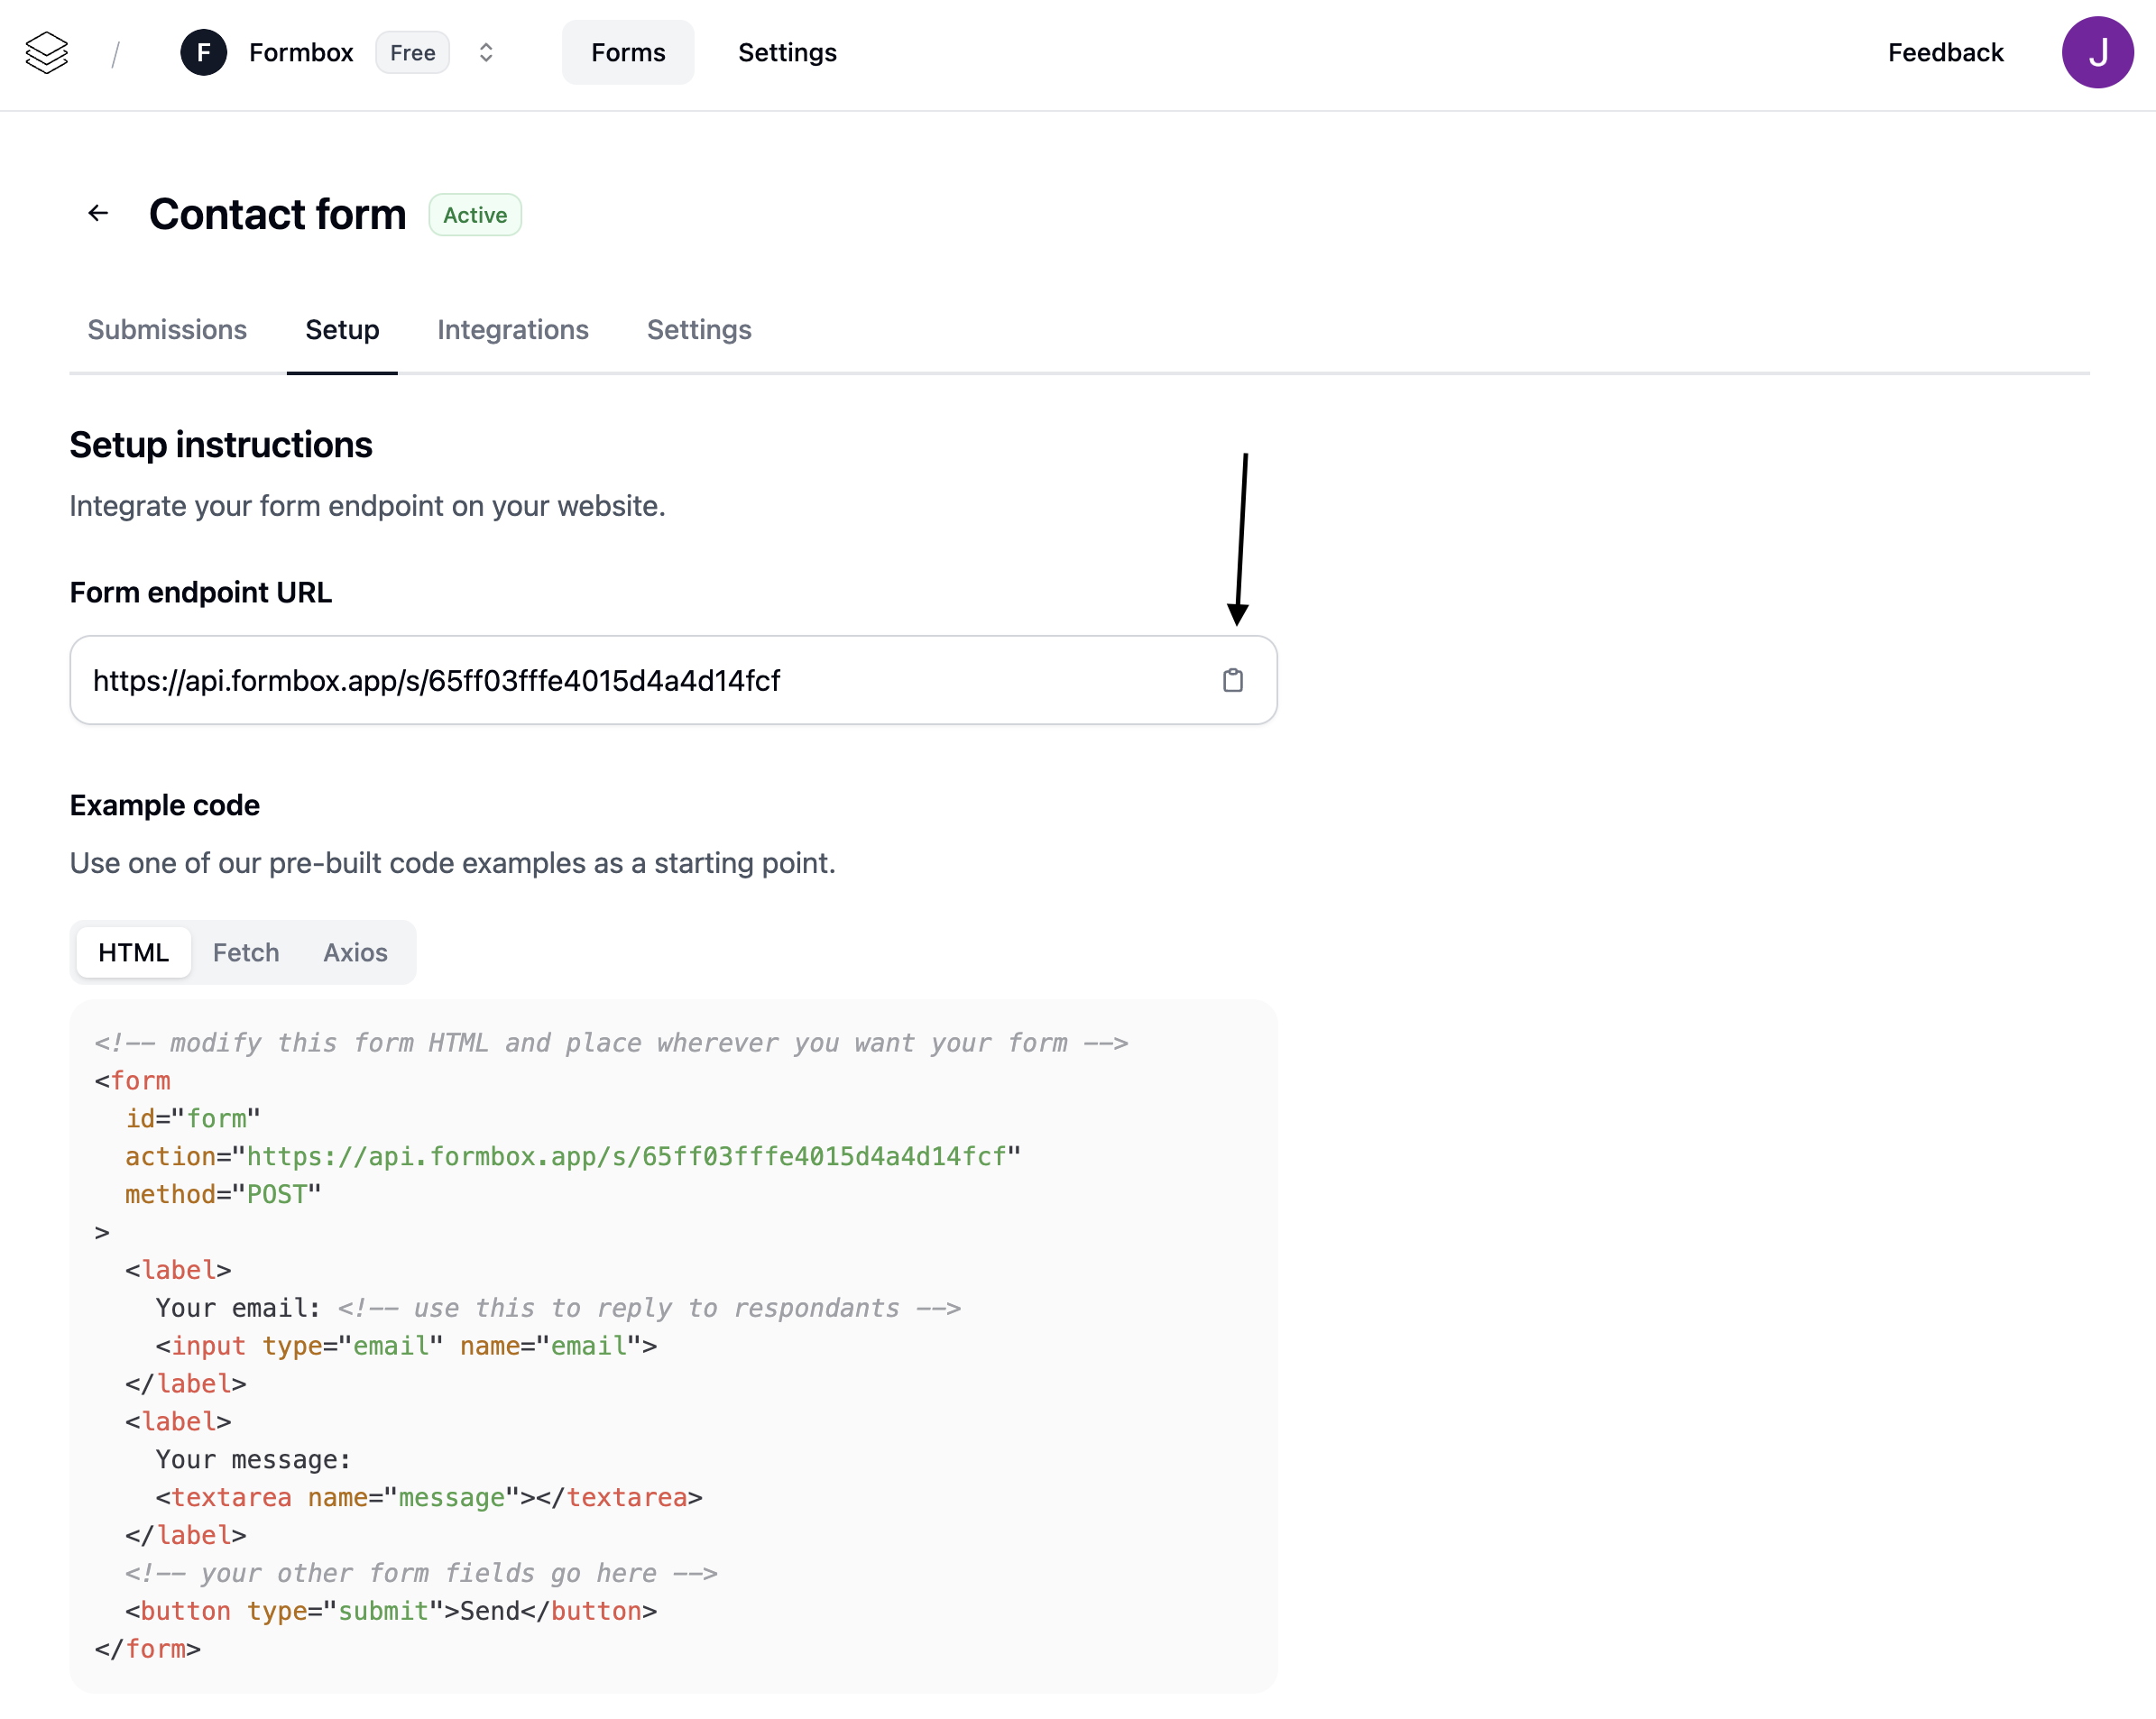
Step 3. Adding the form endpoint to your HTML form
Paste the unique endpoint URL you copied in step 2 into your form’saction attribute:
- ✅ Email notifications
- ✅ Google ReCaptcha
- ✅ Spam blocking
- ✅ Google sheets integration
- ✅ Webhooks
- ✅ CSV & JSON export
- ✅ Autoresponses
Things to know
- Each input field must have a
nameattribute
- Content-Type: JSON, form-data, and x-www-form-urlencoded are supported. If you’re just using an HTML form without JavaScript, you don’t need to worry. However, if you’re using JavaScript to make a request, you should set this attribute.
-
For file uploads, set the
Content-Typetomultipart/form-data. -
If you want to receive a JSON response message, you must set the HTTP
Acceptheader toapplication/json.