> ## Documentation Index
> Fetch the complete documentation index at: https://docs.formbox.app/llms.txt
> Use this file to discover all available pages before exploring further.
# Webhooks
> If you only need to forward submission data to your app or service, then a custom webhook is a great solution. Formbox supports settiing up webhooks for your forms
This instant notification lets you build automated workflows to take action on form entries.
## How it works
When a submission is received by a form with a configured webhook URL, Formbox will queue up a post request to your service on your behalf. If the webhook fails, we will retry up to 5 times with an exponential backoff.
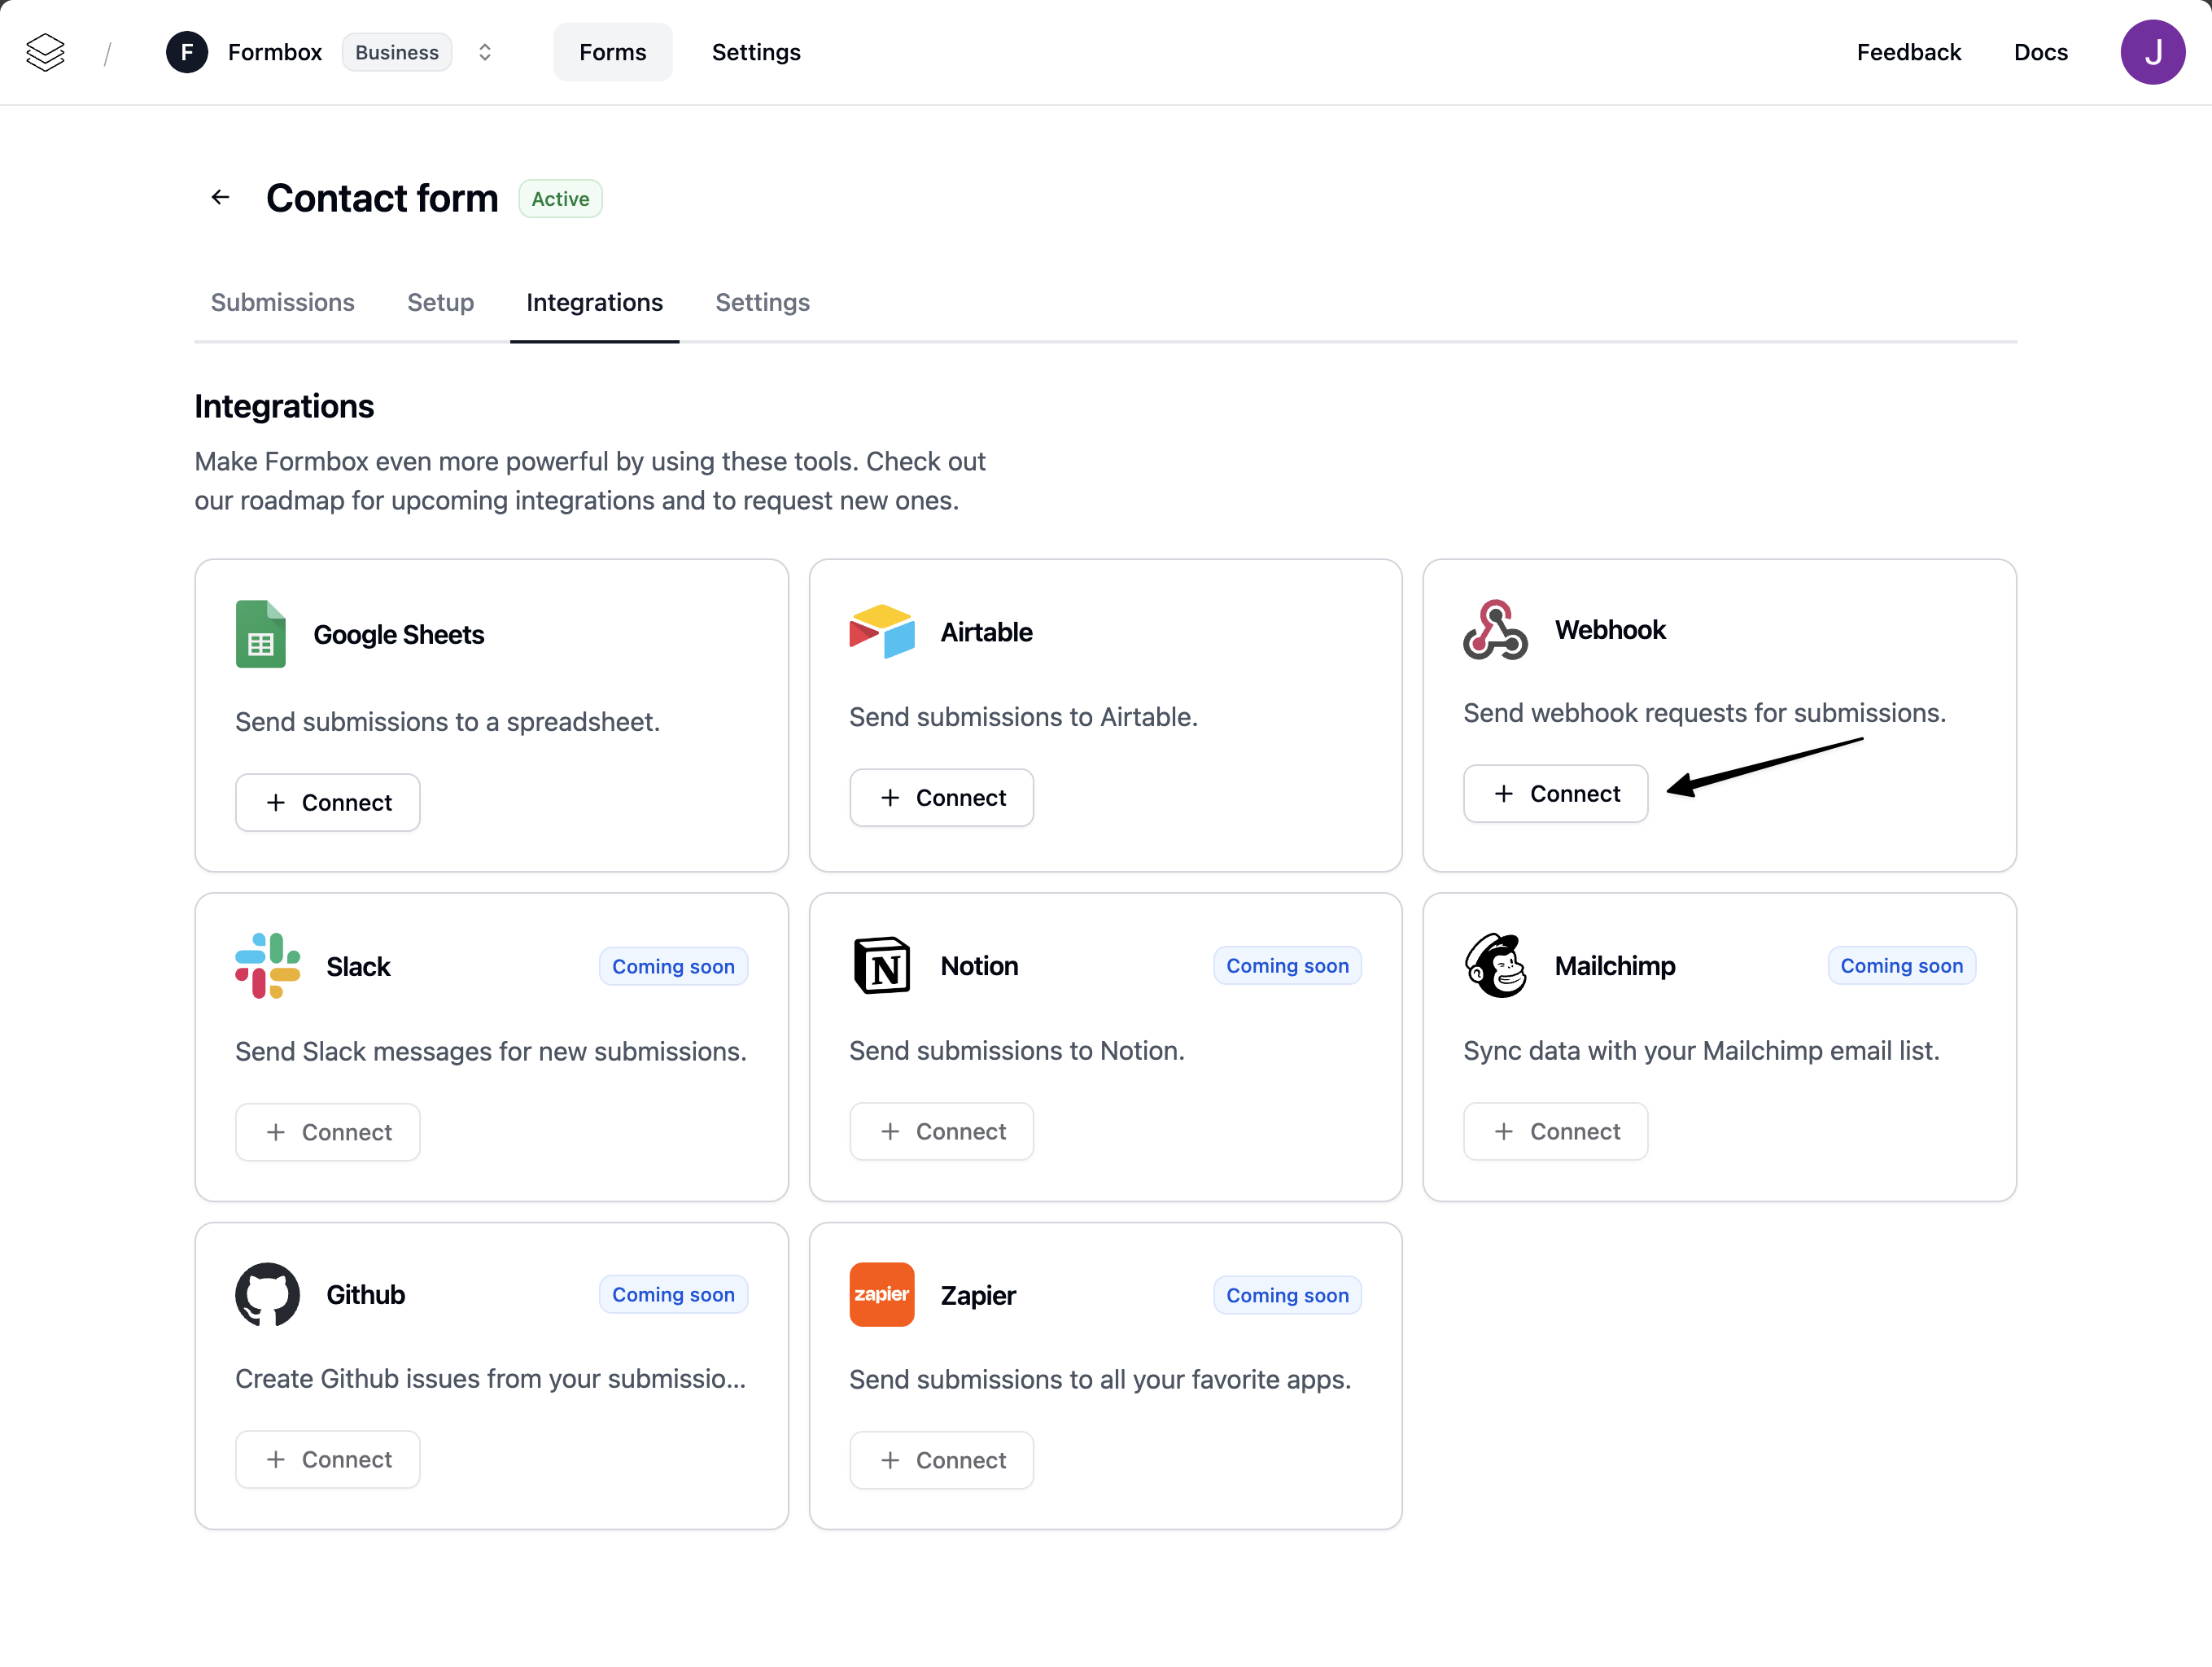
## Setting up the integration
Go to the **Integrations** tab of your Formbox form and click **Connect** on the Webhook integration.
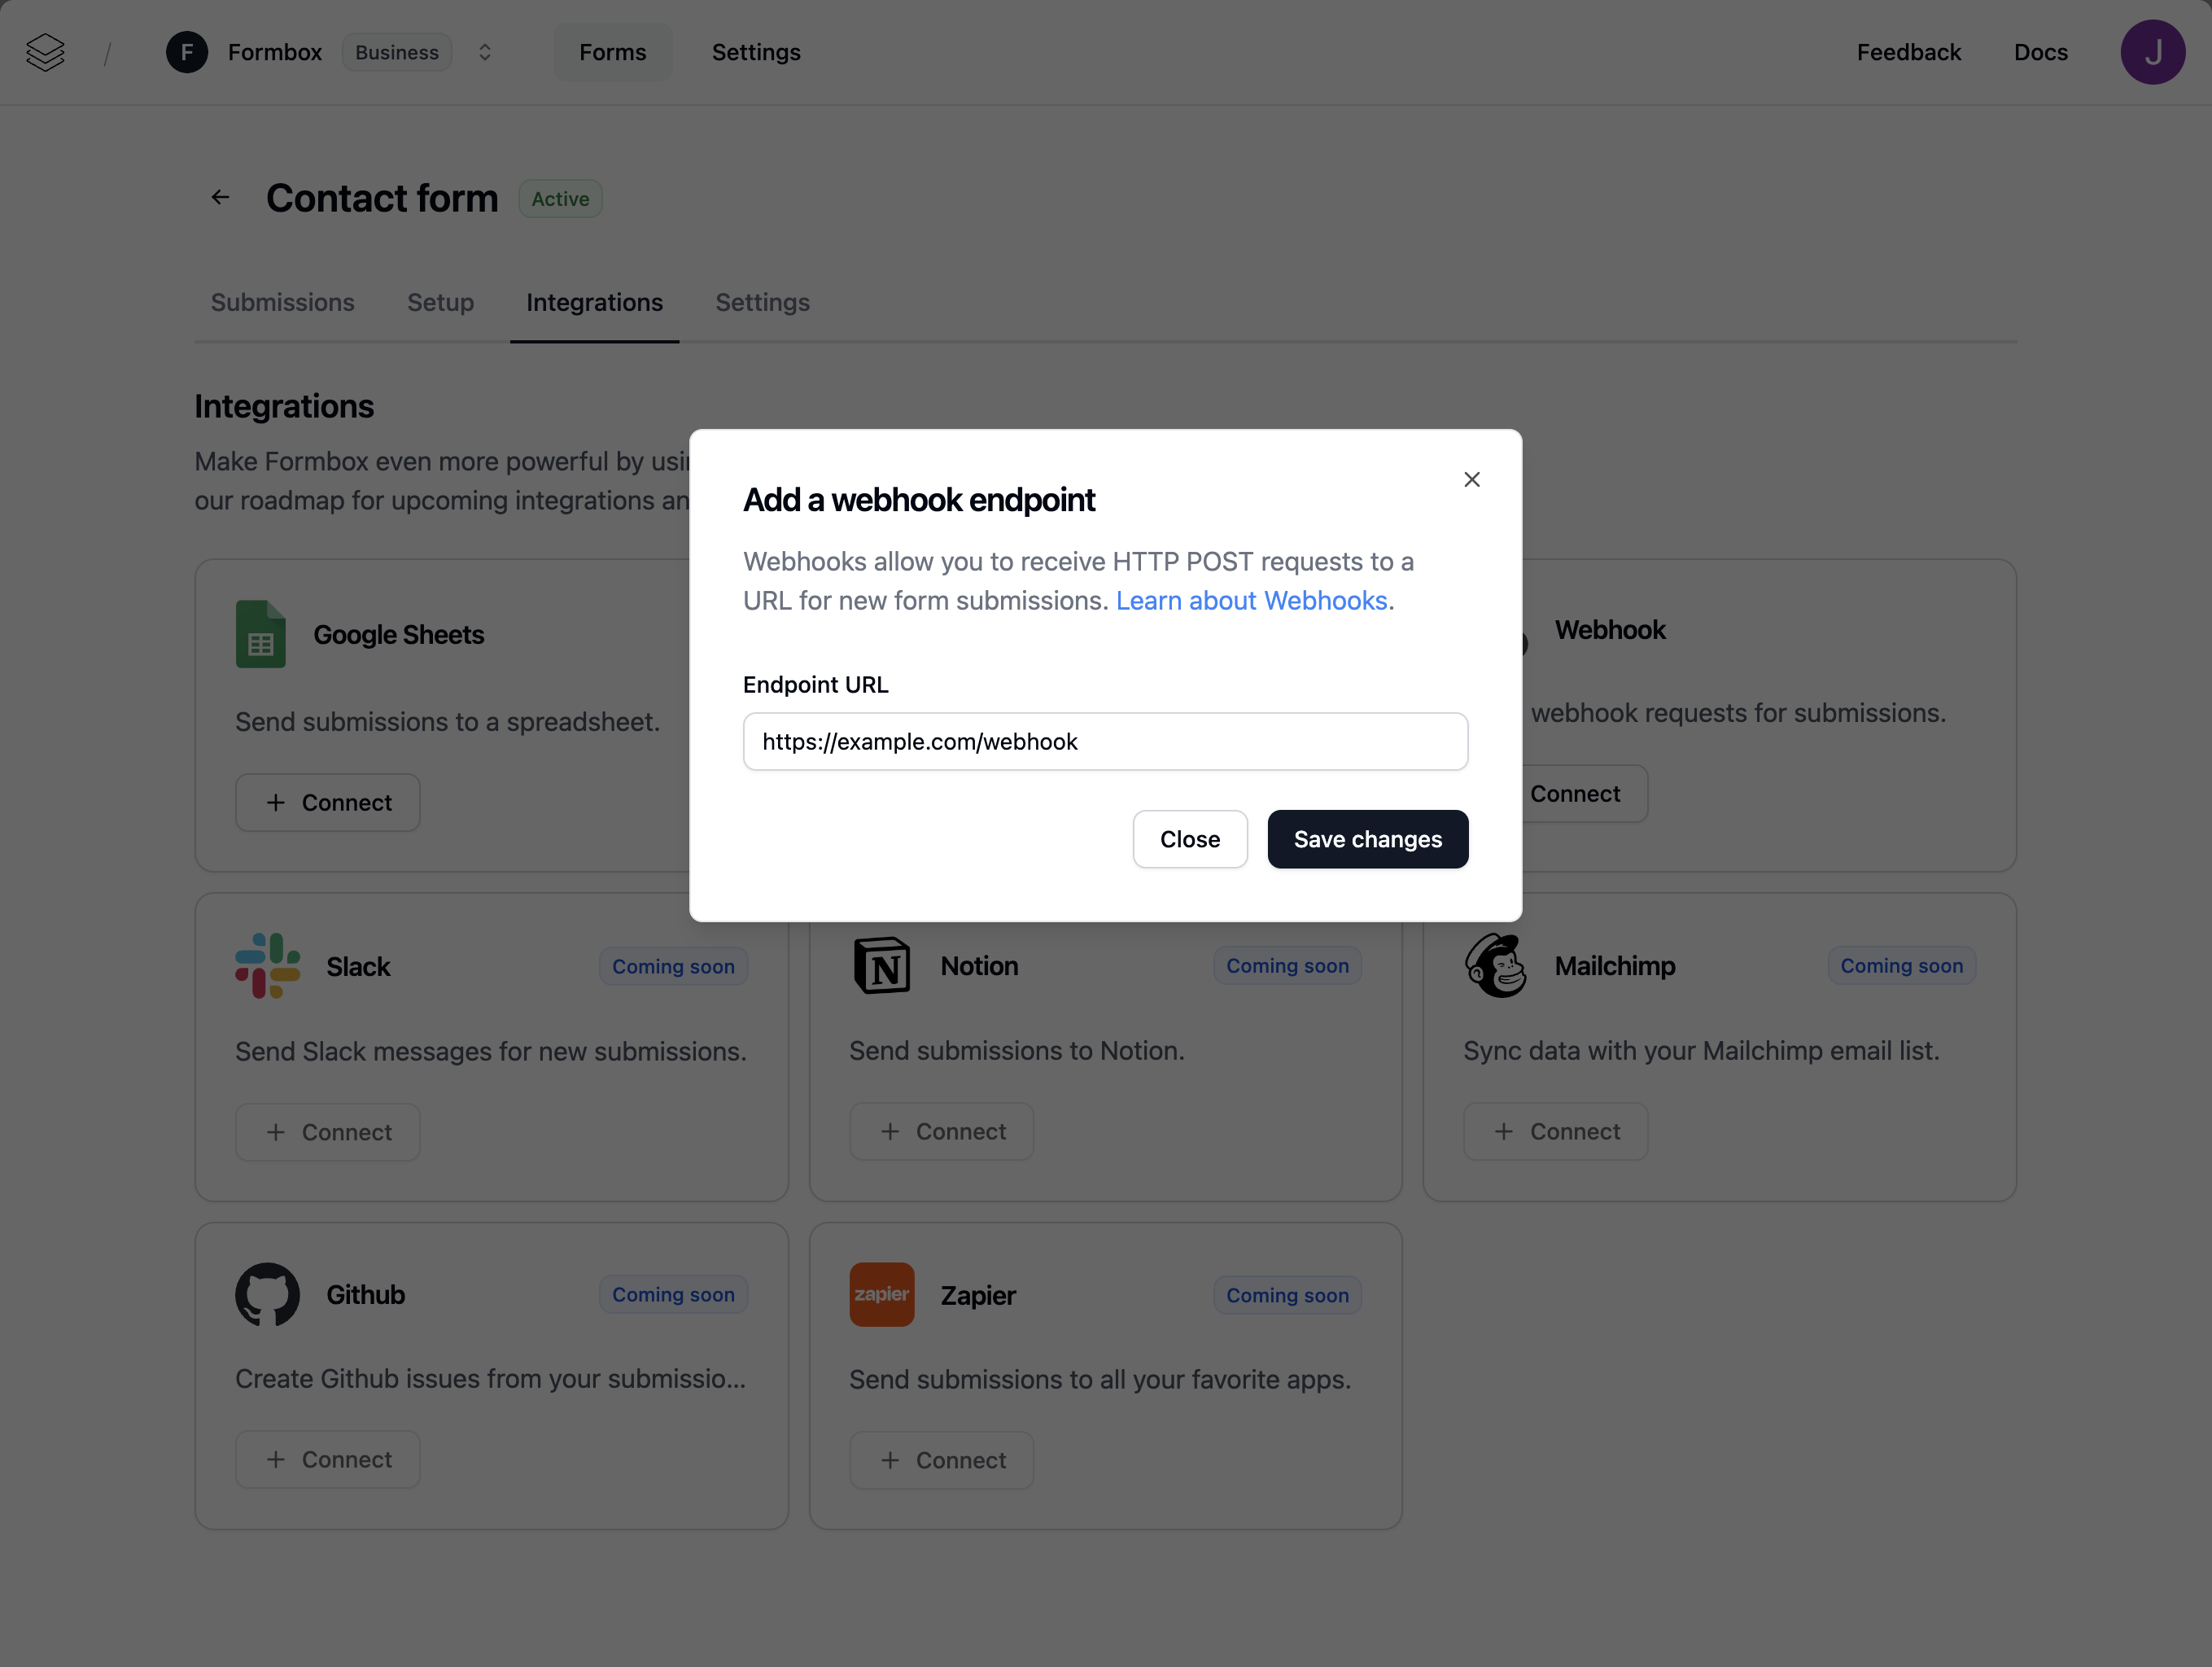
 A window will pop up, prompting you to add an enpoint url for your webhook. This is the url that we will send the HTTP POST request to on successful submissions.
 The payload format we send to your service will include exactly what we receive on the inital form submission.
Example payload:
```json theme={null}
{
"formId": "xxxxxxxxxxxxxxxxxxx",
"submissionId": "xxxxxxxxxxxxxxxxxxx",
"data": {
"name": "John Doe",
"email": "johndoe@example.com",
"message": "Some message here."
}
}
```
Make sure you have a publicly available HTTP API that can receive requests. If you don’t, you can use something like requestcatcher.com or webhook.site to test the webhook integration out.
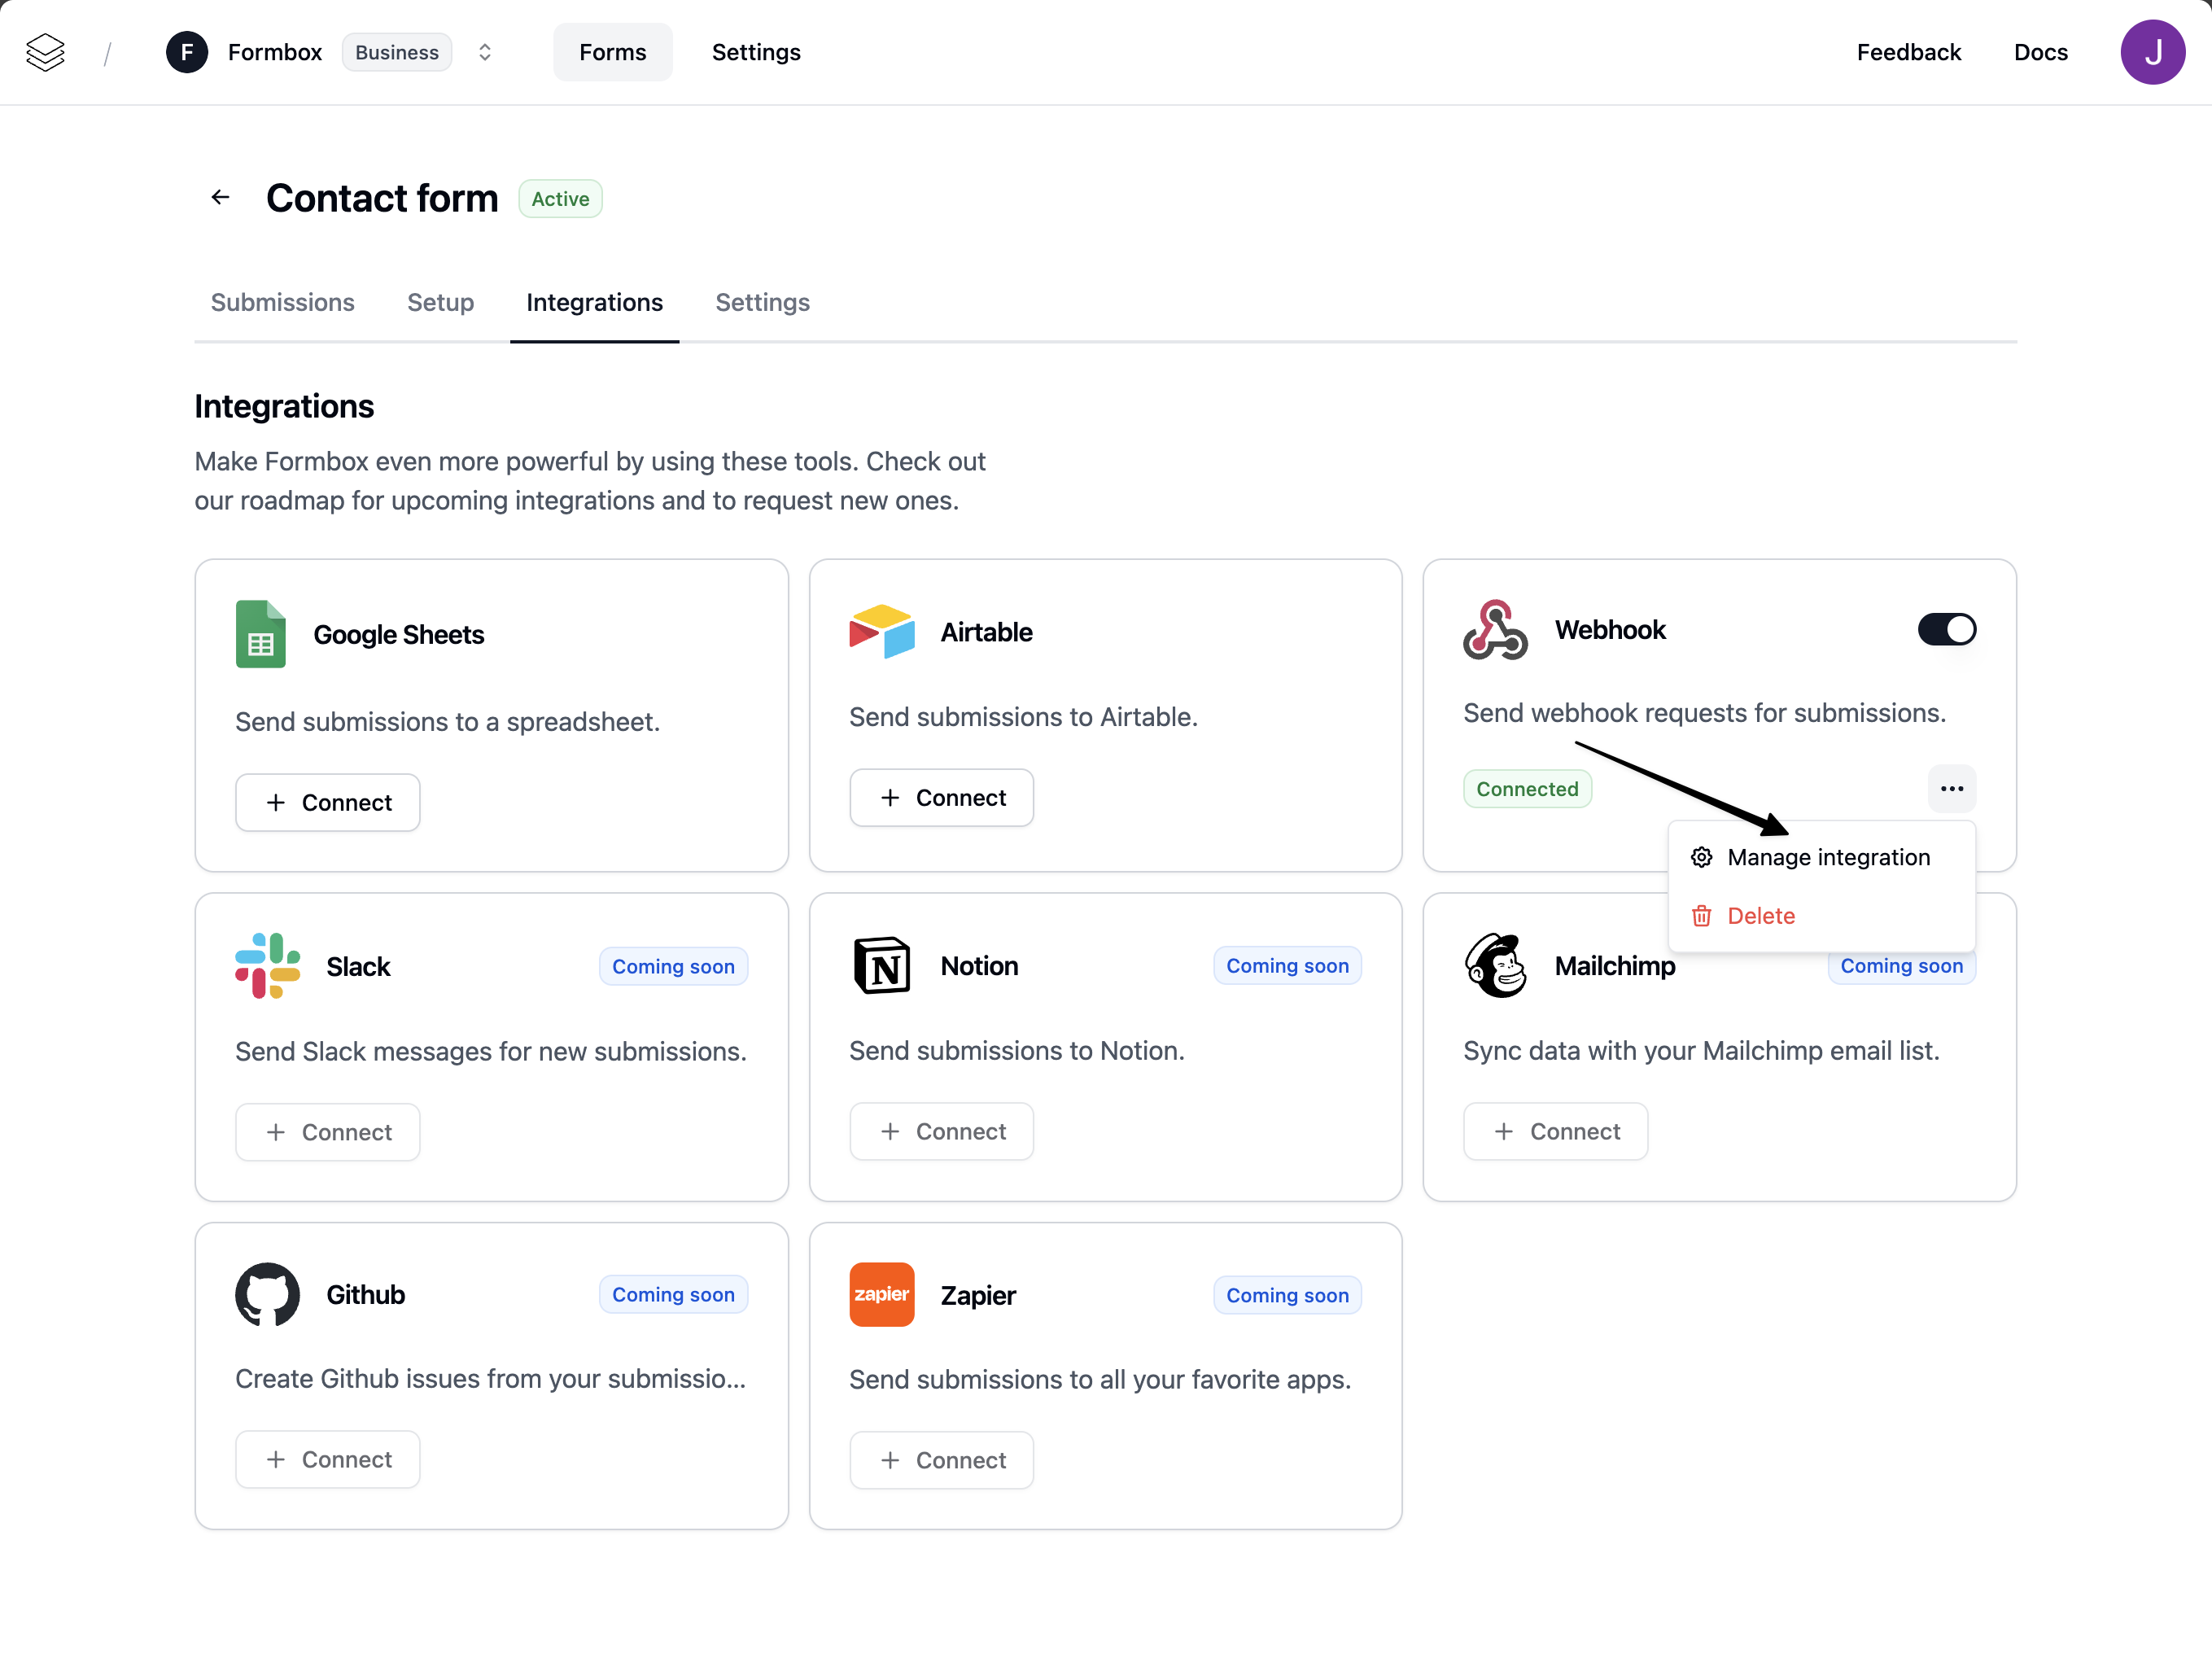
## Customizing the integration
Once the integration is setup you can customize the Webhook integration by clicking on the **Manage integration** option in the dropdown menu.
The payload format we send to your service will include exactly what we receive on the inital form submission.
Example payload:
```json theme={null}
{
"formId": "xxxxxxxxxxxxxxxxxxx",
"submissionId": "xxxxxxxxxxxxxxxxxxx",
"data": {
"name": "John Doe",
"email": "johndoe@example.com",
"message": "Some message here."
}
}
```
Make sure you have a publicly available HTTP API that can receive requests. If you don’t, you can use something like requestcatcher.com or webhook.site to test the webhook integration out.
## Customizing the integration
Once the integration is setup you can customize the Webhook integration by clicking on the **Manage integration** option in the dropdown menu.
 Here you can change the Webhook endpoint url where the form submissions are sent to.
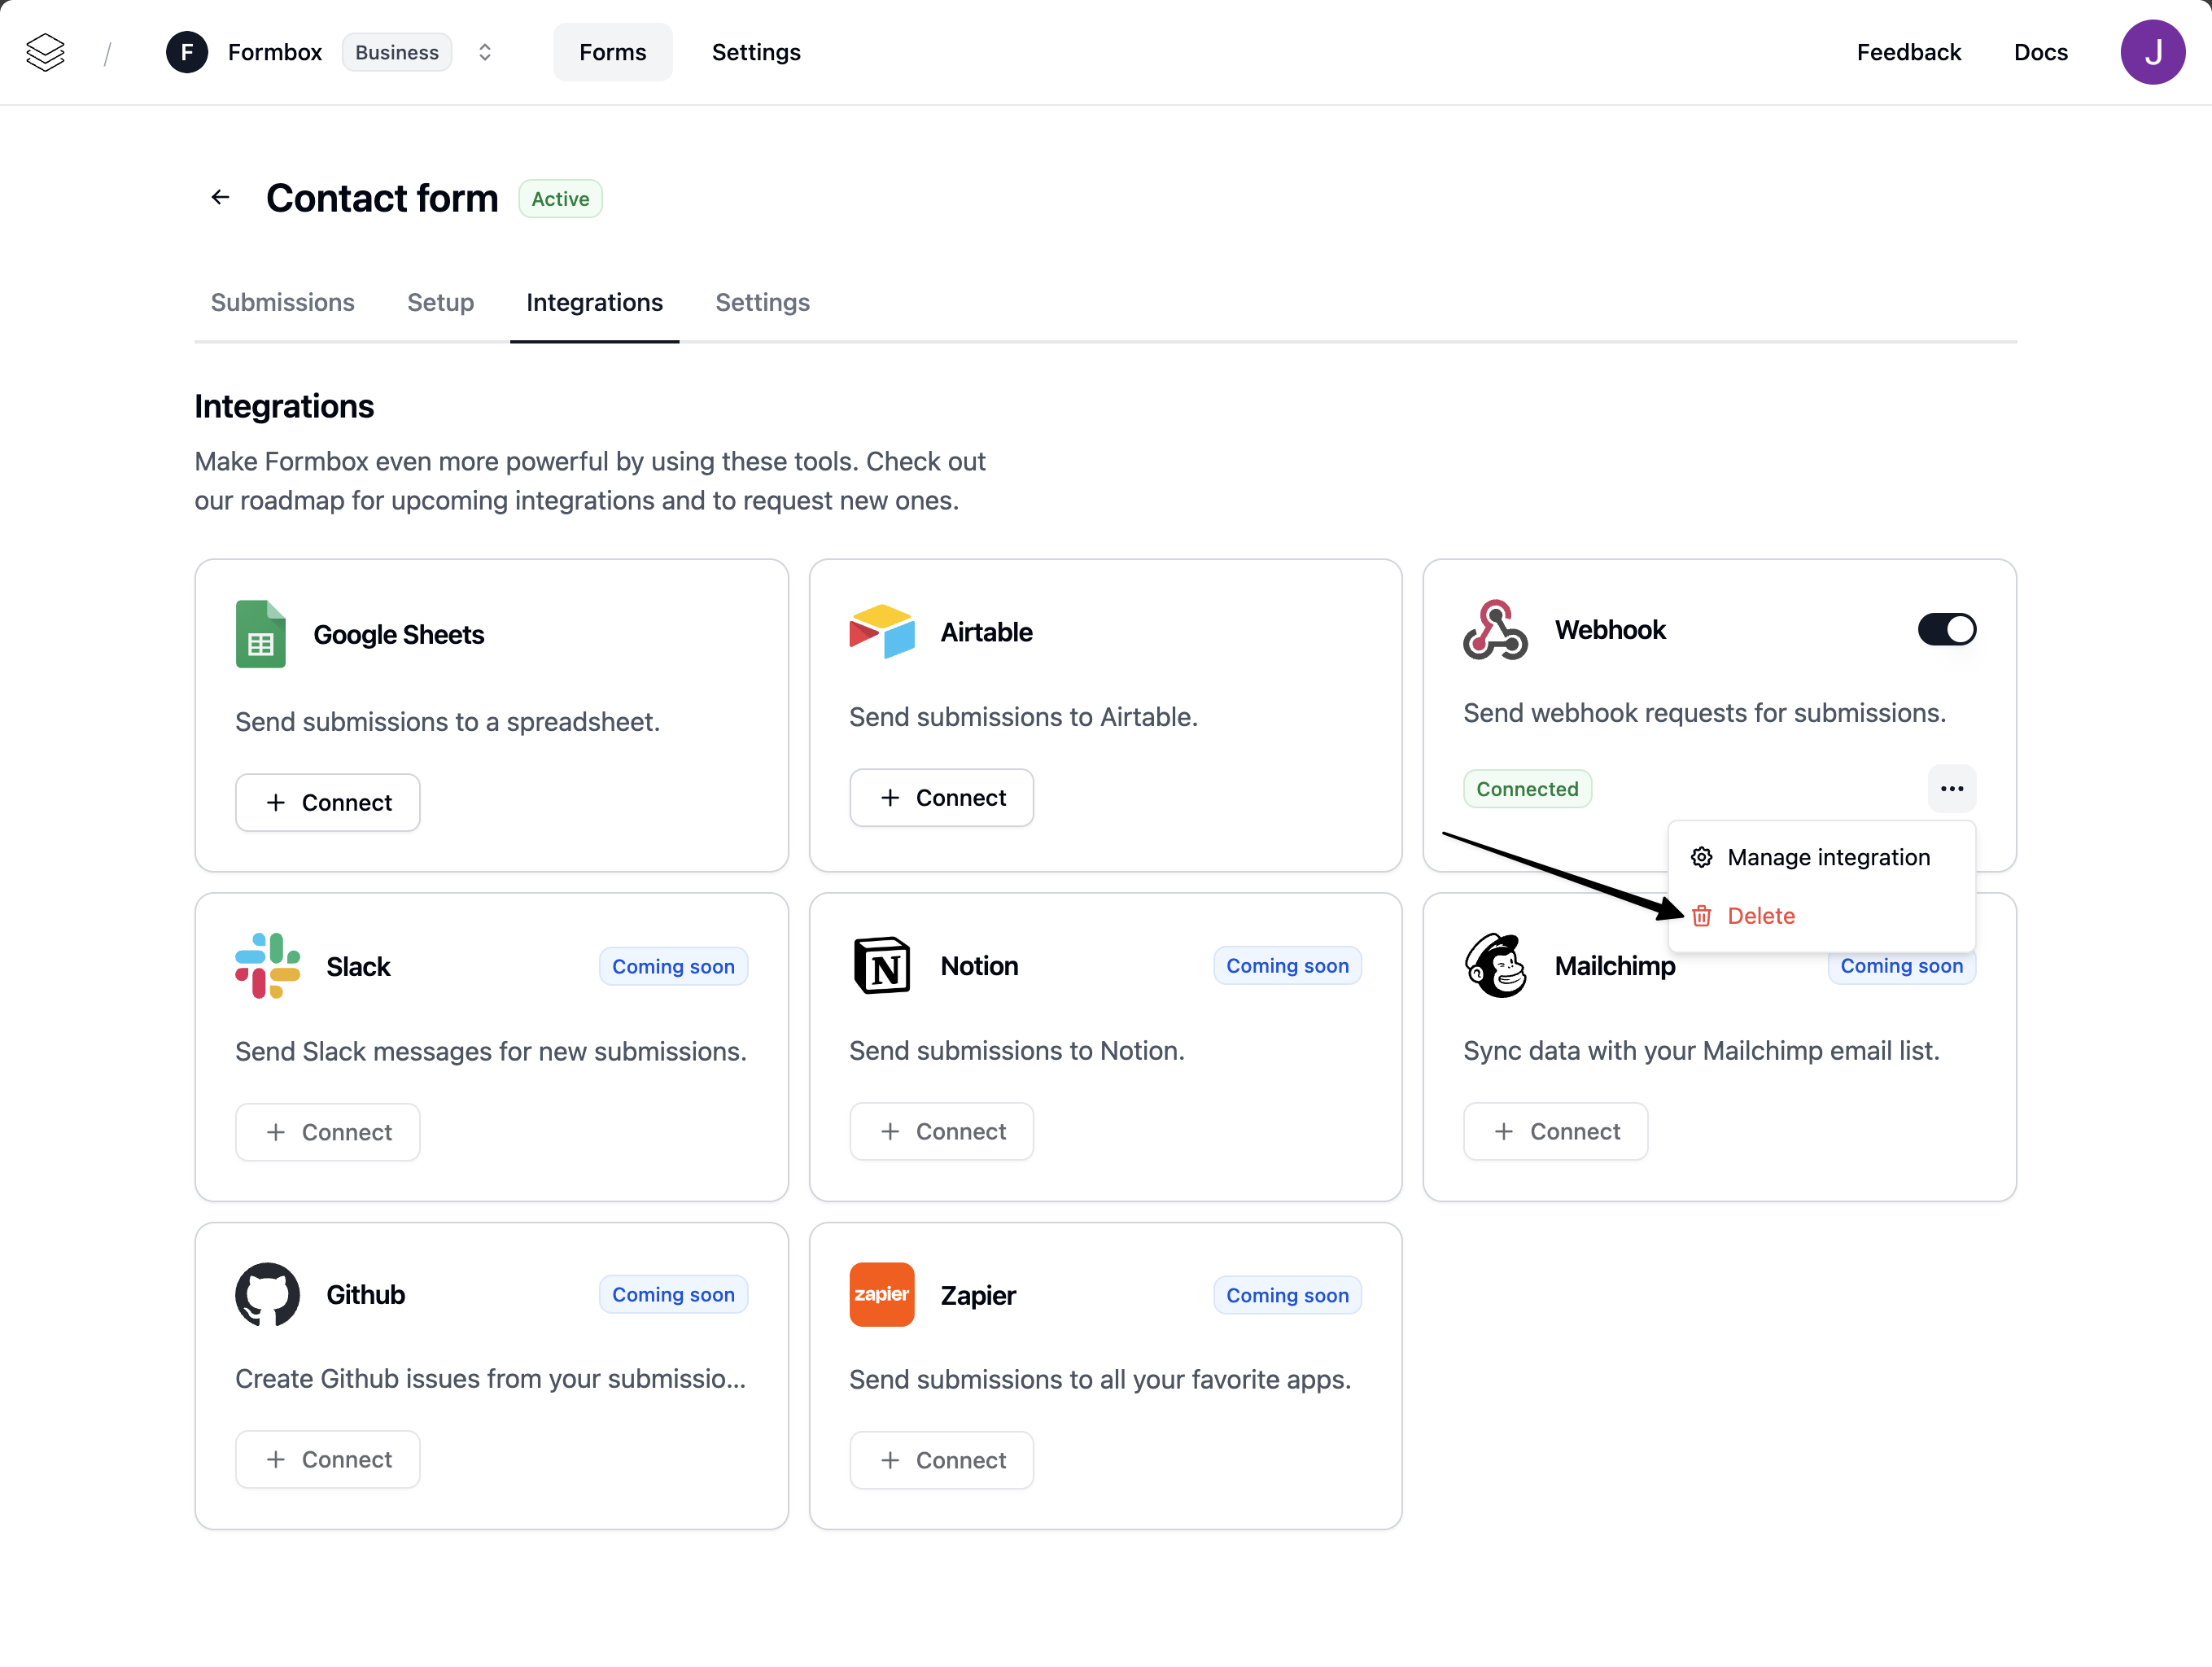
## Deleting the integration
If you no longer want your integration to send form submissions to your webhook, click the **Delete** option in the dropdown menu. Any future form submissions will stop being sent to your webhook endpoint url.
Here you can change the Webhook endpoint url where the form submissions are sent to.
## Deleting the integration
If you no longer want your integration to send form submissions to your webhook, click the **Delete** option in the dropdown menu. Any future form submissions will stop being sent to your webhook endpoint url.