> ## Documentation Index
> Fetch the complete documentation index at: https://docs.formbox.app/llms.txt
> Use this file to discover all available pages before exploring further.
# Next
> Learn how to integrate your Formbox form with Next.
## What is Next.js?
Next.js is a React framework for building full-stack web applications. You use React Components to build user interfaces, and Next.js for additional features and optimizations.
## Prerequisites
Before you begin, you'll need to have a Formbox form. If you don't have one yet, you can create a new form by following the steps in the [Introduction](/introduction#step-2-creating-a-form-in-formbox) guide. Once you have your form, make a note of the form's endpoint url in the setup tab of your form page, as you'll need it later.
## Creating a new Next project
To get up and running quickly, we will follow the official Next installation guide to create a new Next project. In your terminal, run the following command:
```bash theme={null}
npx create-next-app@latest
```
On installation, you'll see the following prompts:
Make sure to select `Yes` for `Tailwind CSS` and `App Router`.
```bash theme={null}
What is your project named? next-with-formbox
Would you like to use TypeScript? No / Yes
Would you like to use ESLint? No / Yes
Would you like to use Tailwind CSS? No / Yes
Would you like to use `src/` directory? No / Yes
Would you like to use App Router? (recommended) No / Yes
Would you like to customize the default import alias (@/*)? No / Yes
What import alias would you like configured? @/*
```
After the prompts, create-next-app will create a folder with your project name and install the required dependencies.
Go to the new directory for the new website:
```bash theme={null}
cd next-with-formbox
```
Start the development server:
```bash theme={null}
npm run dev
```
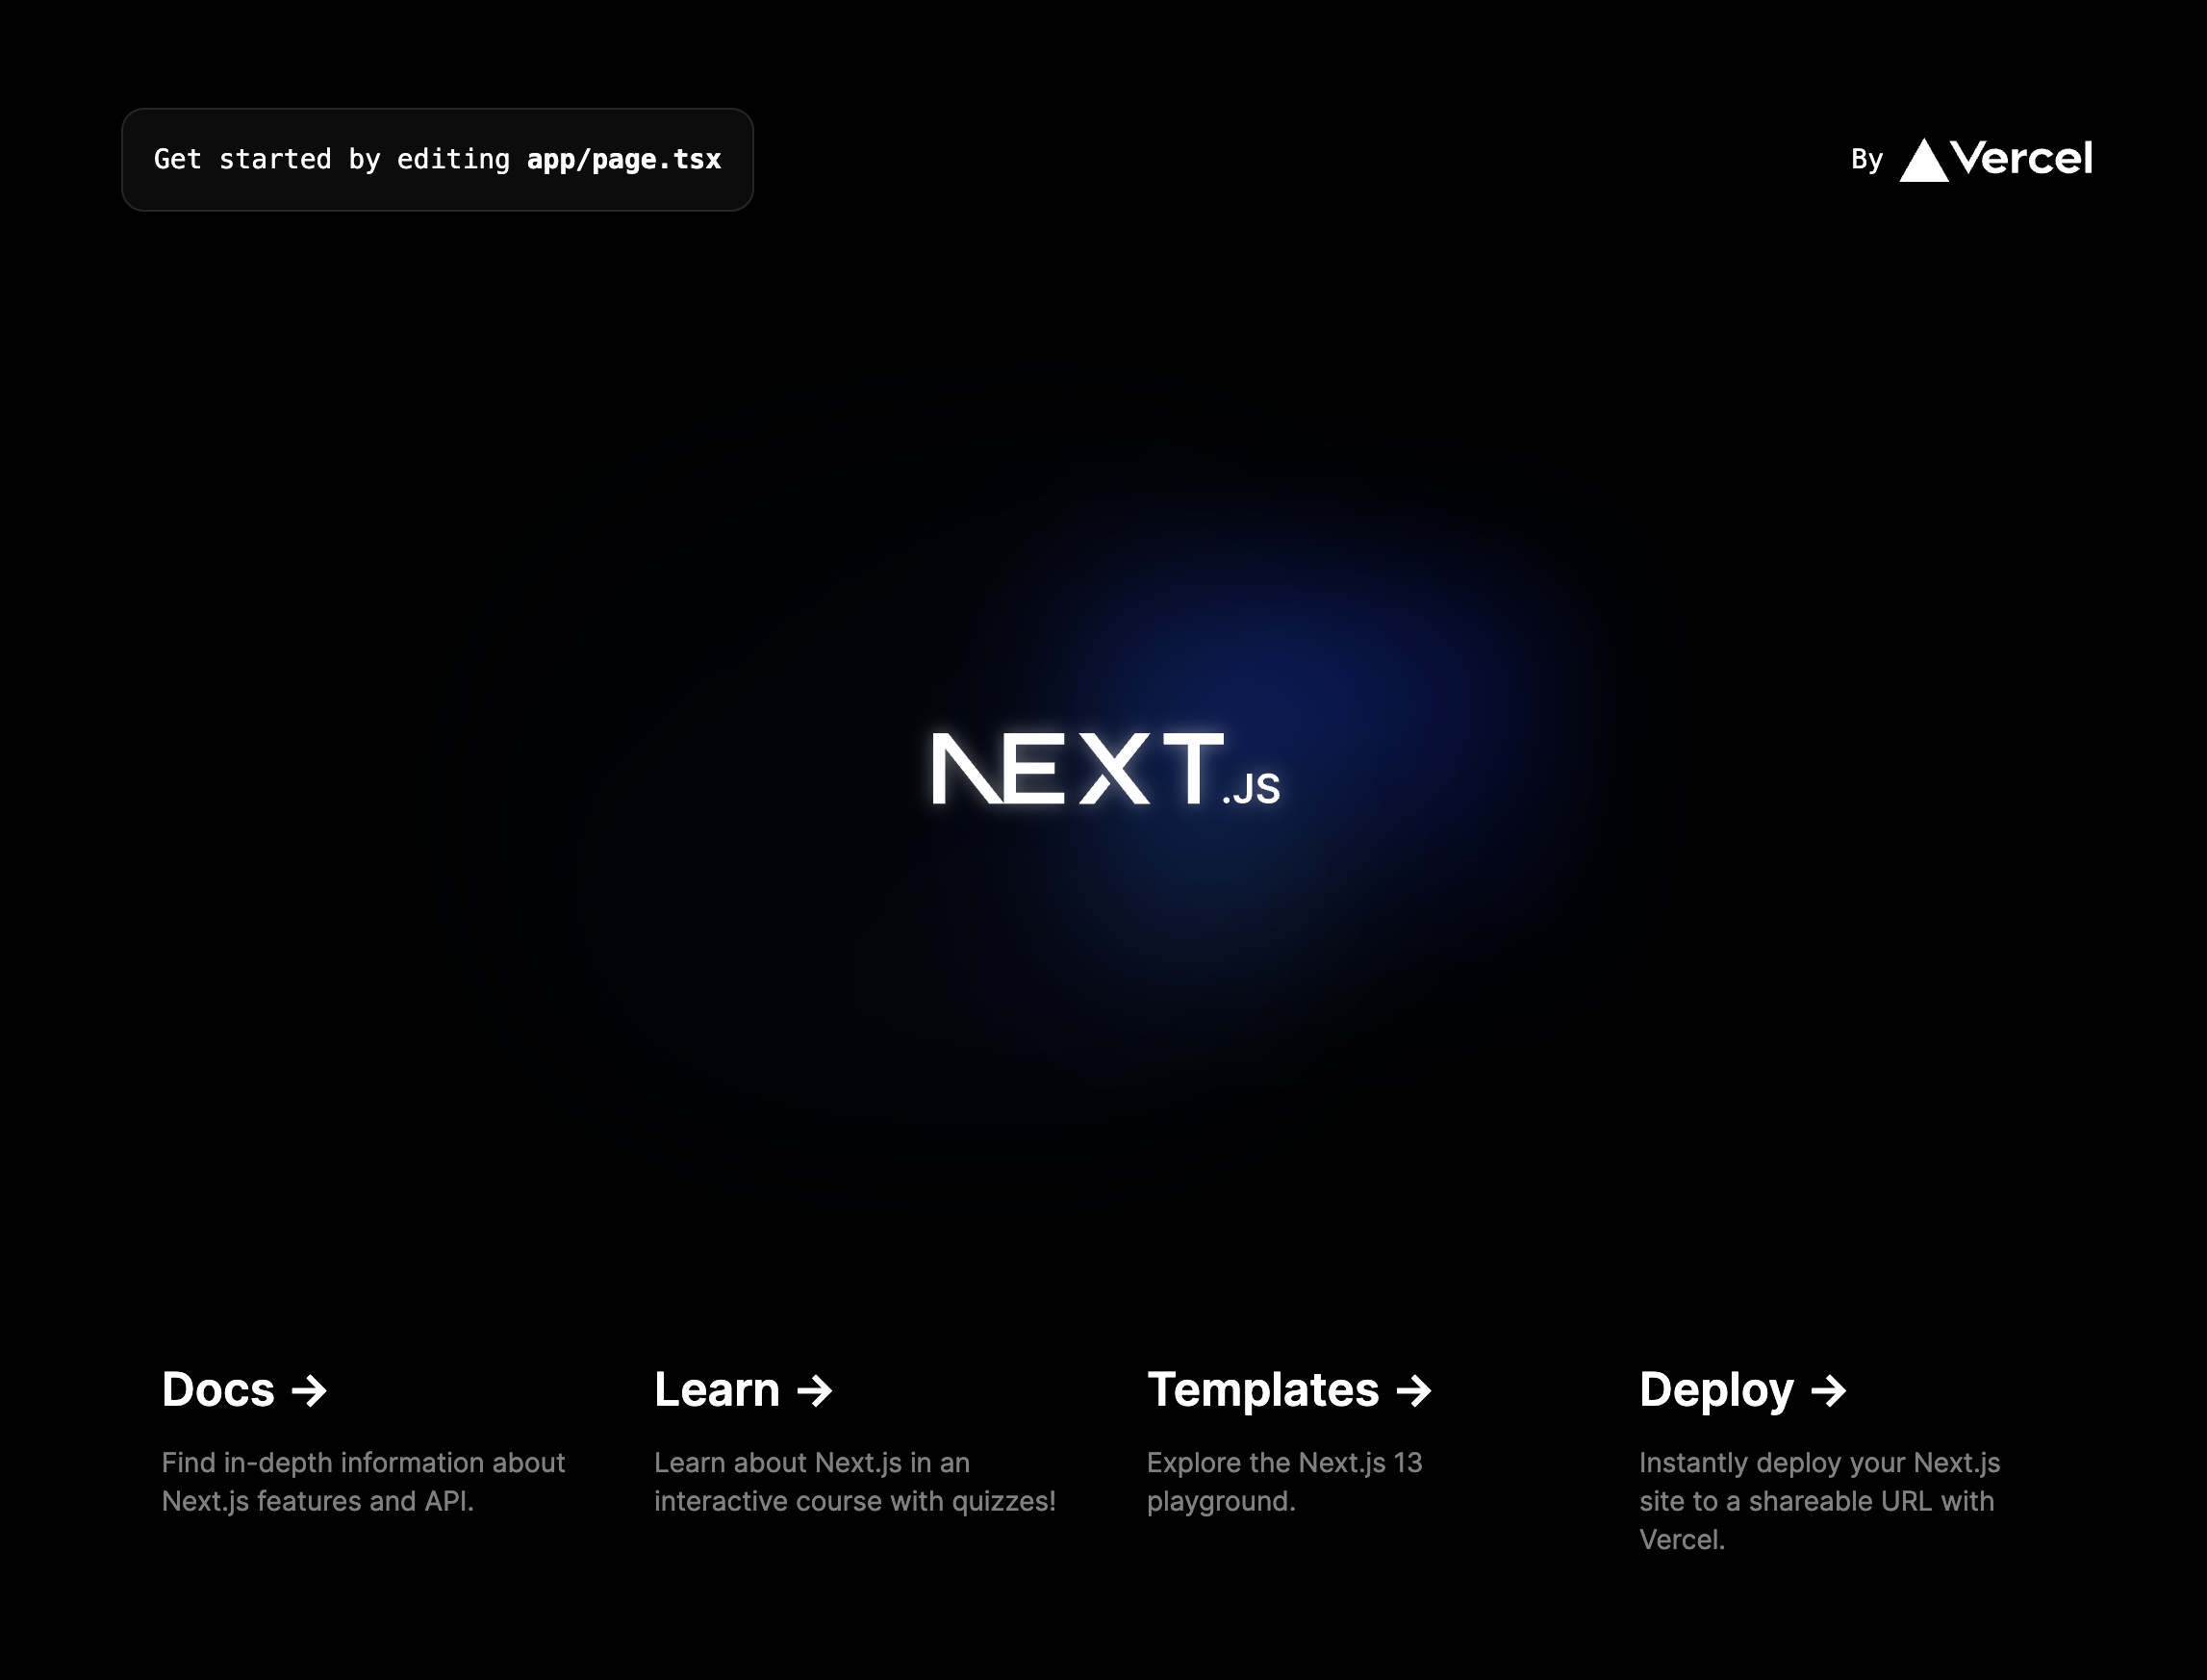
Open your browser and navigate to `http://localhost:3000`. You should see a new Next application running.
 ## Adding your Formbox form to your Next project
Now that we have a new Next project set up, let's add our Formbox form to it.
For styling purposes, we'll use Tailwind CSS. You can learn how to add Tailwind CSS to your project by following the Next installation guide.
When running create-next-app, we selected `Yes` for `Tailwind CSS`, so it should already be set up in your project. If not, you can add it by following the guide linked above.
Once you have Tailwind CSS set up, let's add our form.
Open up the `page.tsx` file within the root of the `app` directory and replace everything in the file with the following code block:
```jsx page.tsx theme={null}
export default function Home() {
return (
);
}
```
Paste the form endpoint url you copied from Formbox into your form’s `action` attribute as shown in the code block above.
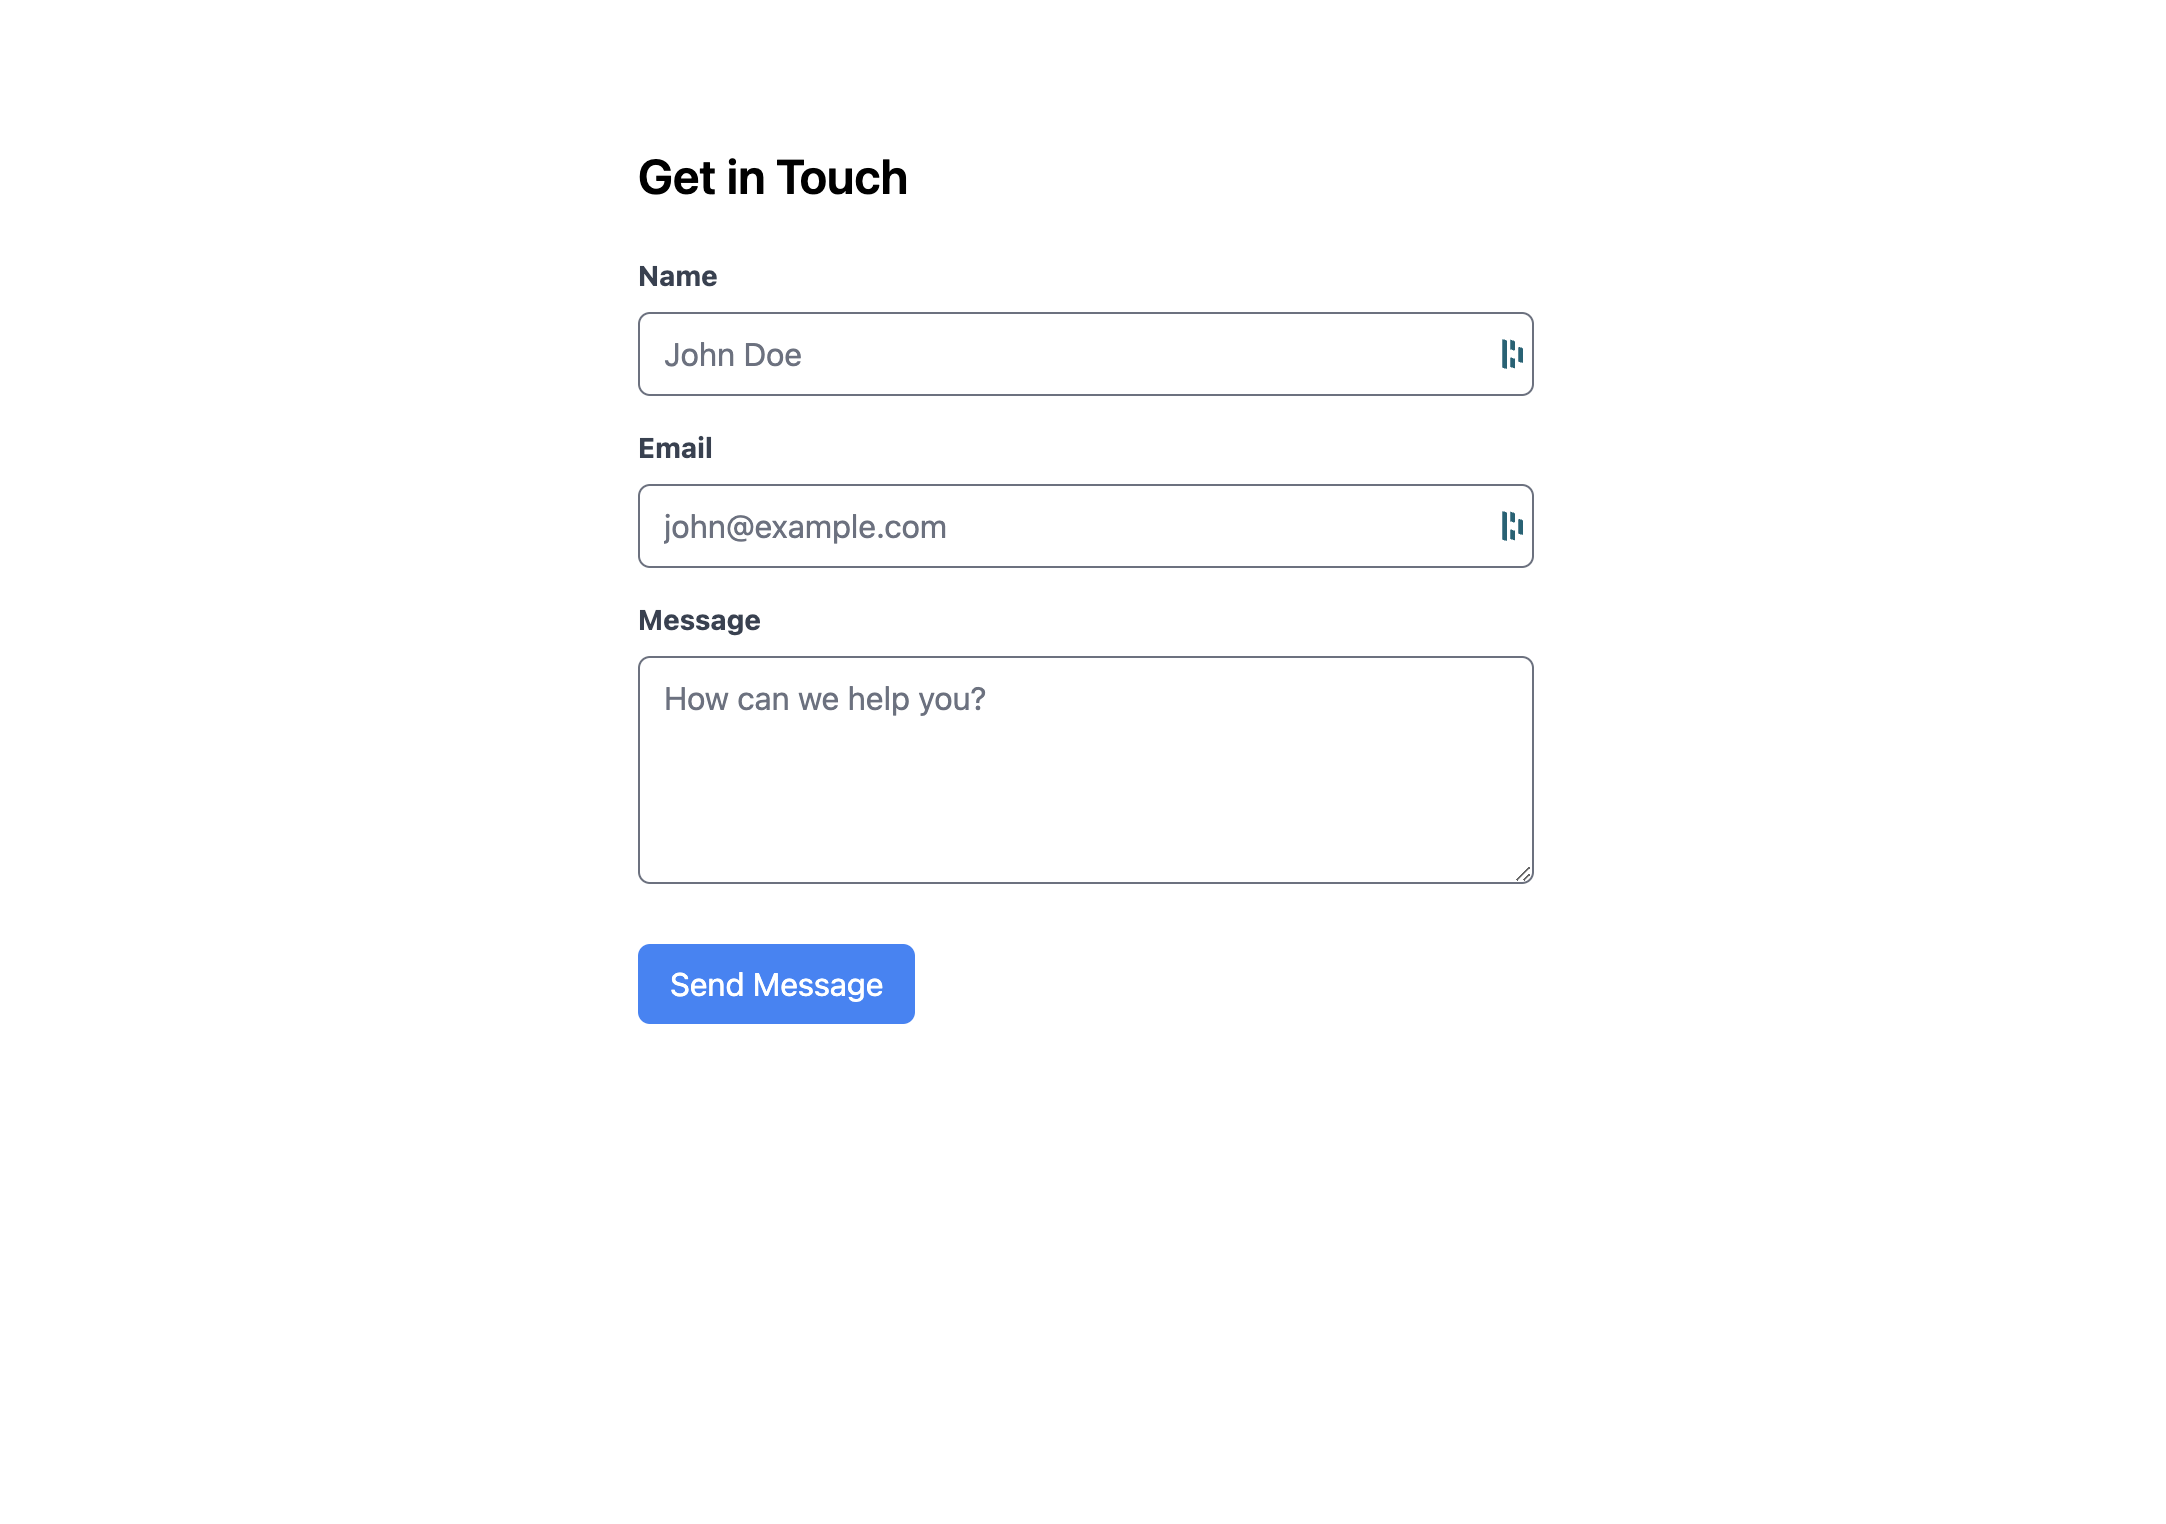
Save the file and navigate to `http://localhost:3000` in your browser. You should see a form that you can fill out and submit.
## Adding your Formbox form to your Next project
Now that we have a new Next project set up, let's add our Formbox form to it.
For styling purposes, we'll use Tailwind CSS. You can learn how to add Tailwind CSS to your project by following the Next installation guide.
When running create-next-app, we selected `Yes` for `Tailwind CSS`, so it should already be set up in your project. If not, you can add it by following the guide linked above.
Once you have Tailwind CSS set up, let's add our form.
Open up the `page.tsx` file within the root of the `app` directory and replace everything in the file with the following code block:
```jsx page.tsx theme={null}
export default function Home() {
return (
);
}
```
Paste the form endpoint url you copied from Formbox into your form’s `action` attribute as shown in the code block above.
Save the file and navigate to `http://localhost:3000` in your browser. You should see a form that you can fill out and submit.
 **And that's it!** Now after filling out and submitting the form you should see the default submission success page displayed.