> ## Documentation Index
> Fetch the complete documentation index at: https://docs.formbox.app/llms.txt
> Use this file to discover all available pages before exploring further.
# Angular
> Learn how to integrate your Formbox form with Angular.
## What is Angular?
Angular is a development platform, built on TypeScript.
As a platform, Angular includes:
* A component-based framework for building scalable web applications
* A collection of well-integrated libraries that cover a wide variety of features, including routing, forms management, client-server communication, and more
* A suite of developer tools to help you develop, build, test, and update your code
With Angular, you're taking advantage of a platform that can scale from single-developer projects to enterprise-level applications.
## Prerequisites
Before you begin, you'll need to have a Formbox form. If you don't have one yet, you can create a new form by following the steps in the [Introduction](/introduction#step-2-creating-a-form-in-formbox) guide. Once you have your form, make a note of the form's endpoint url in the setup tab of your form page, as you'll need it later.
## Creating a new Angular project
If you don't have the Angular CLI installed, you can install it by running the following command:
```bash theme={null}
npm install -g @angular/cli
```
To get up and running quickly, we will follow the official Angular installation guide to create a new Angular project. In your terminal, run the following command:
```bash theme={null}
ng new angular-with-formbox
```
After the prompts, the Angular CLI will create a folder with your project name and install the required dependencies.
Go to the new directory for the new website:
```bash theme={null}
cd angular-with-formbox
```
Start the development server:
```bash theme={null}
npm run start
```
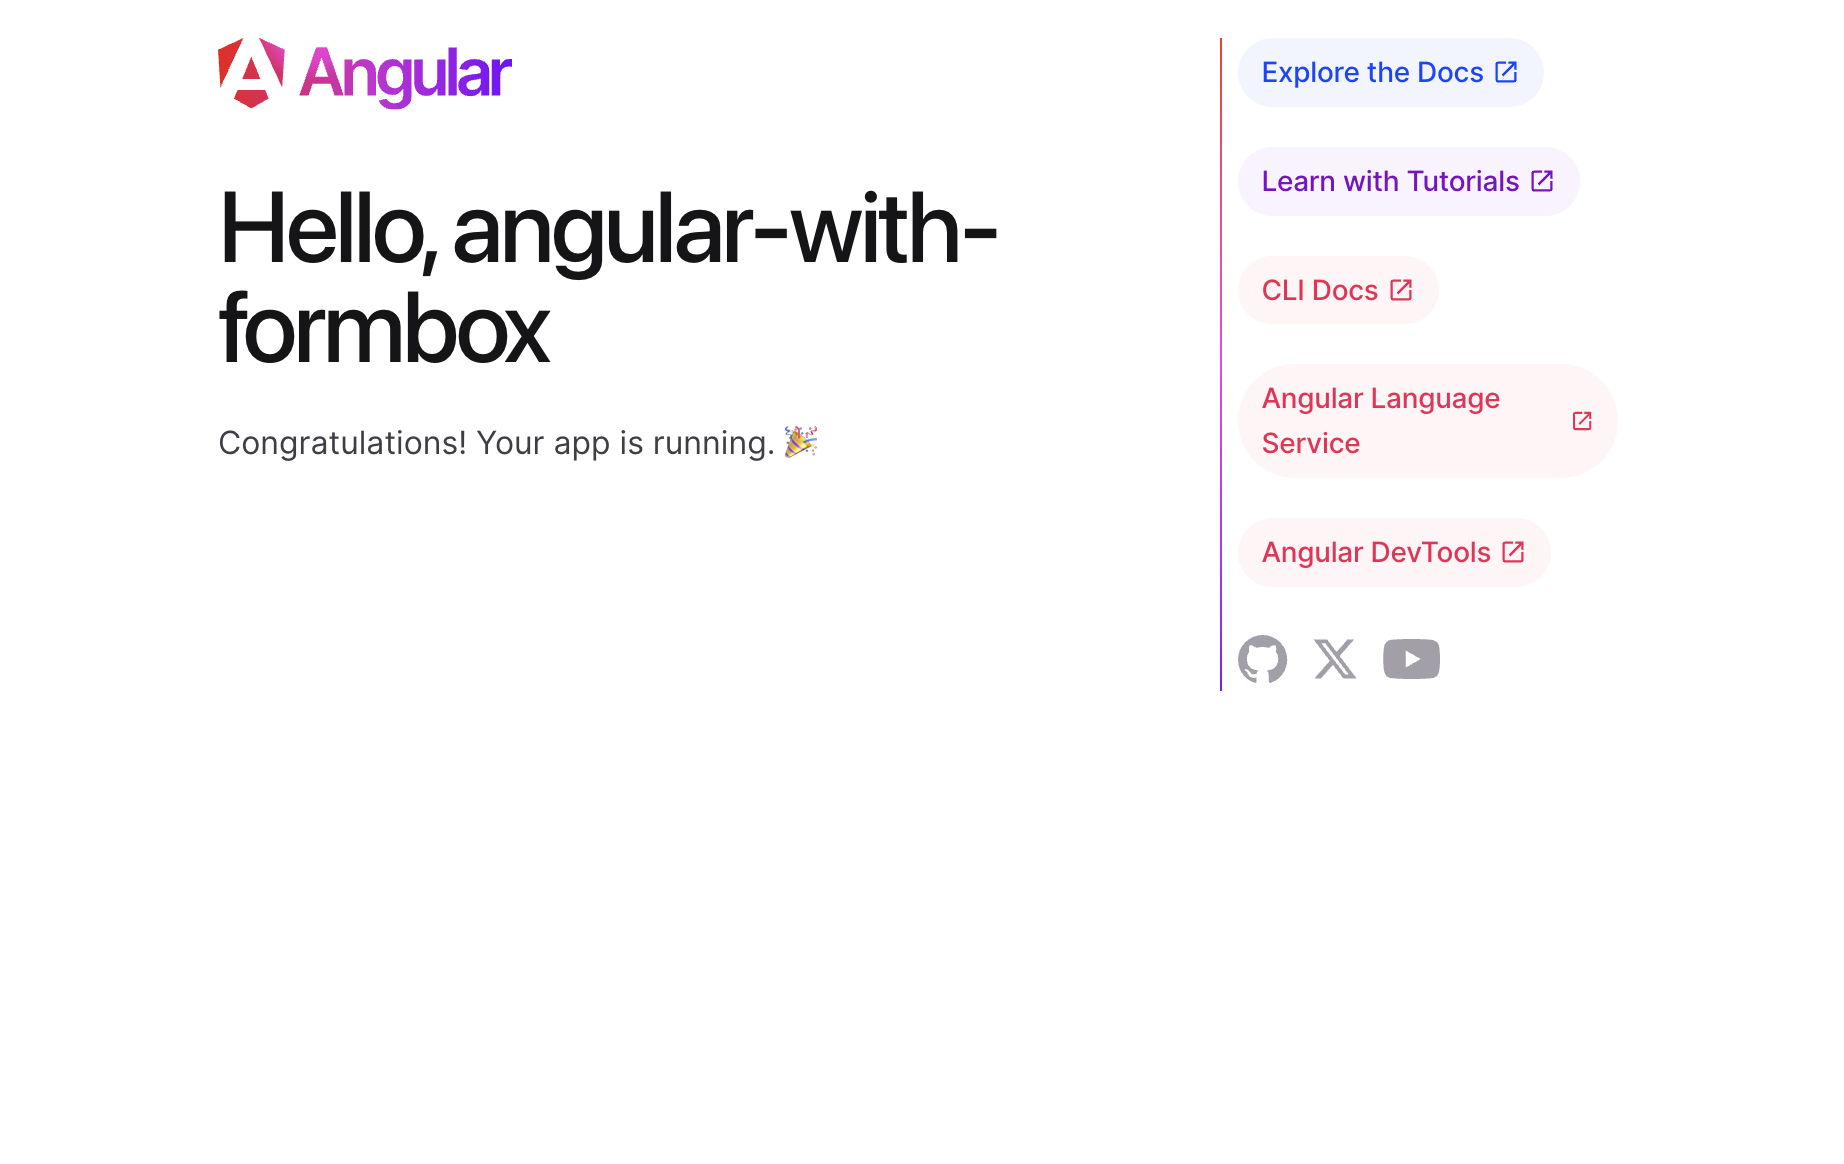
Open your browser and navigate to `http://localhost:4200`. You should see a new Astro application running.
 ## Adding your Formbox form to your Angular project
Now that we have a new Angular project set up, let's add our Formbox form to it.
For styling purposes, we'll use Tailwind CSS. You can learn how to add Tailwind CSS to your project by following the Angular installation guide.
Once you have Tailwind CSS set up, let's add our form.
Open up the `app.component.html` file within the root of the `src/app` directory and replace everything in the file with the following code block:
```html app.component.html theme={null}
```
Paste the form endpoint url you copied from Formbox into your form’s `action` attribute as shown in the code block above.
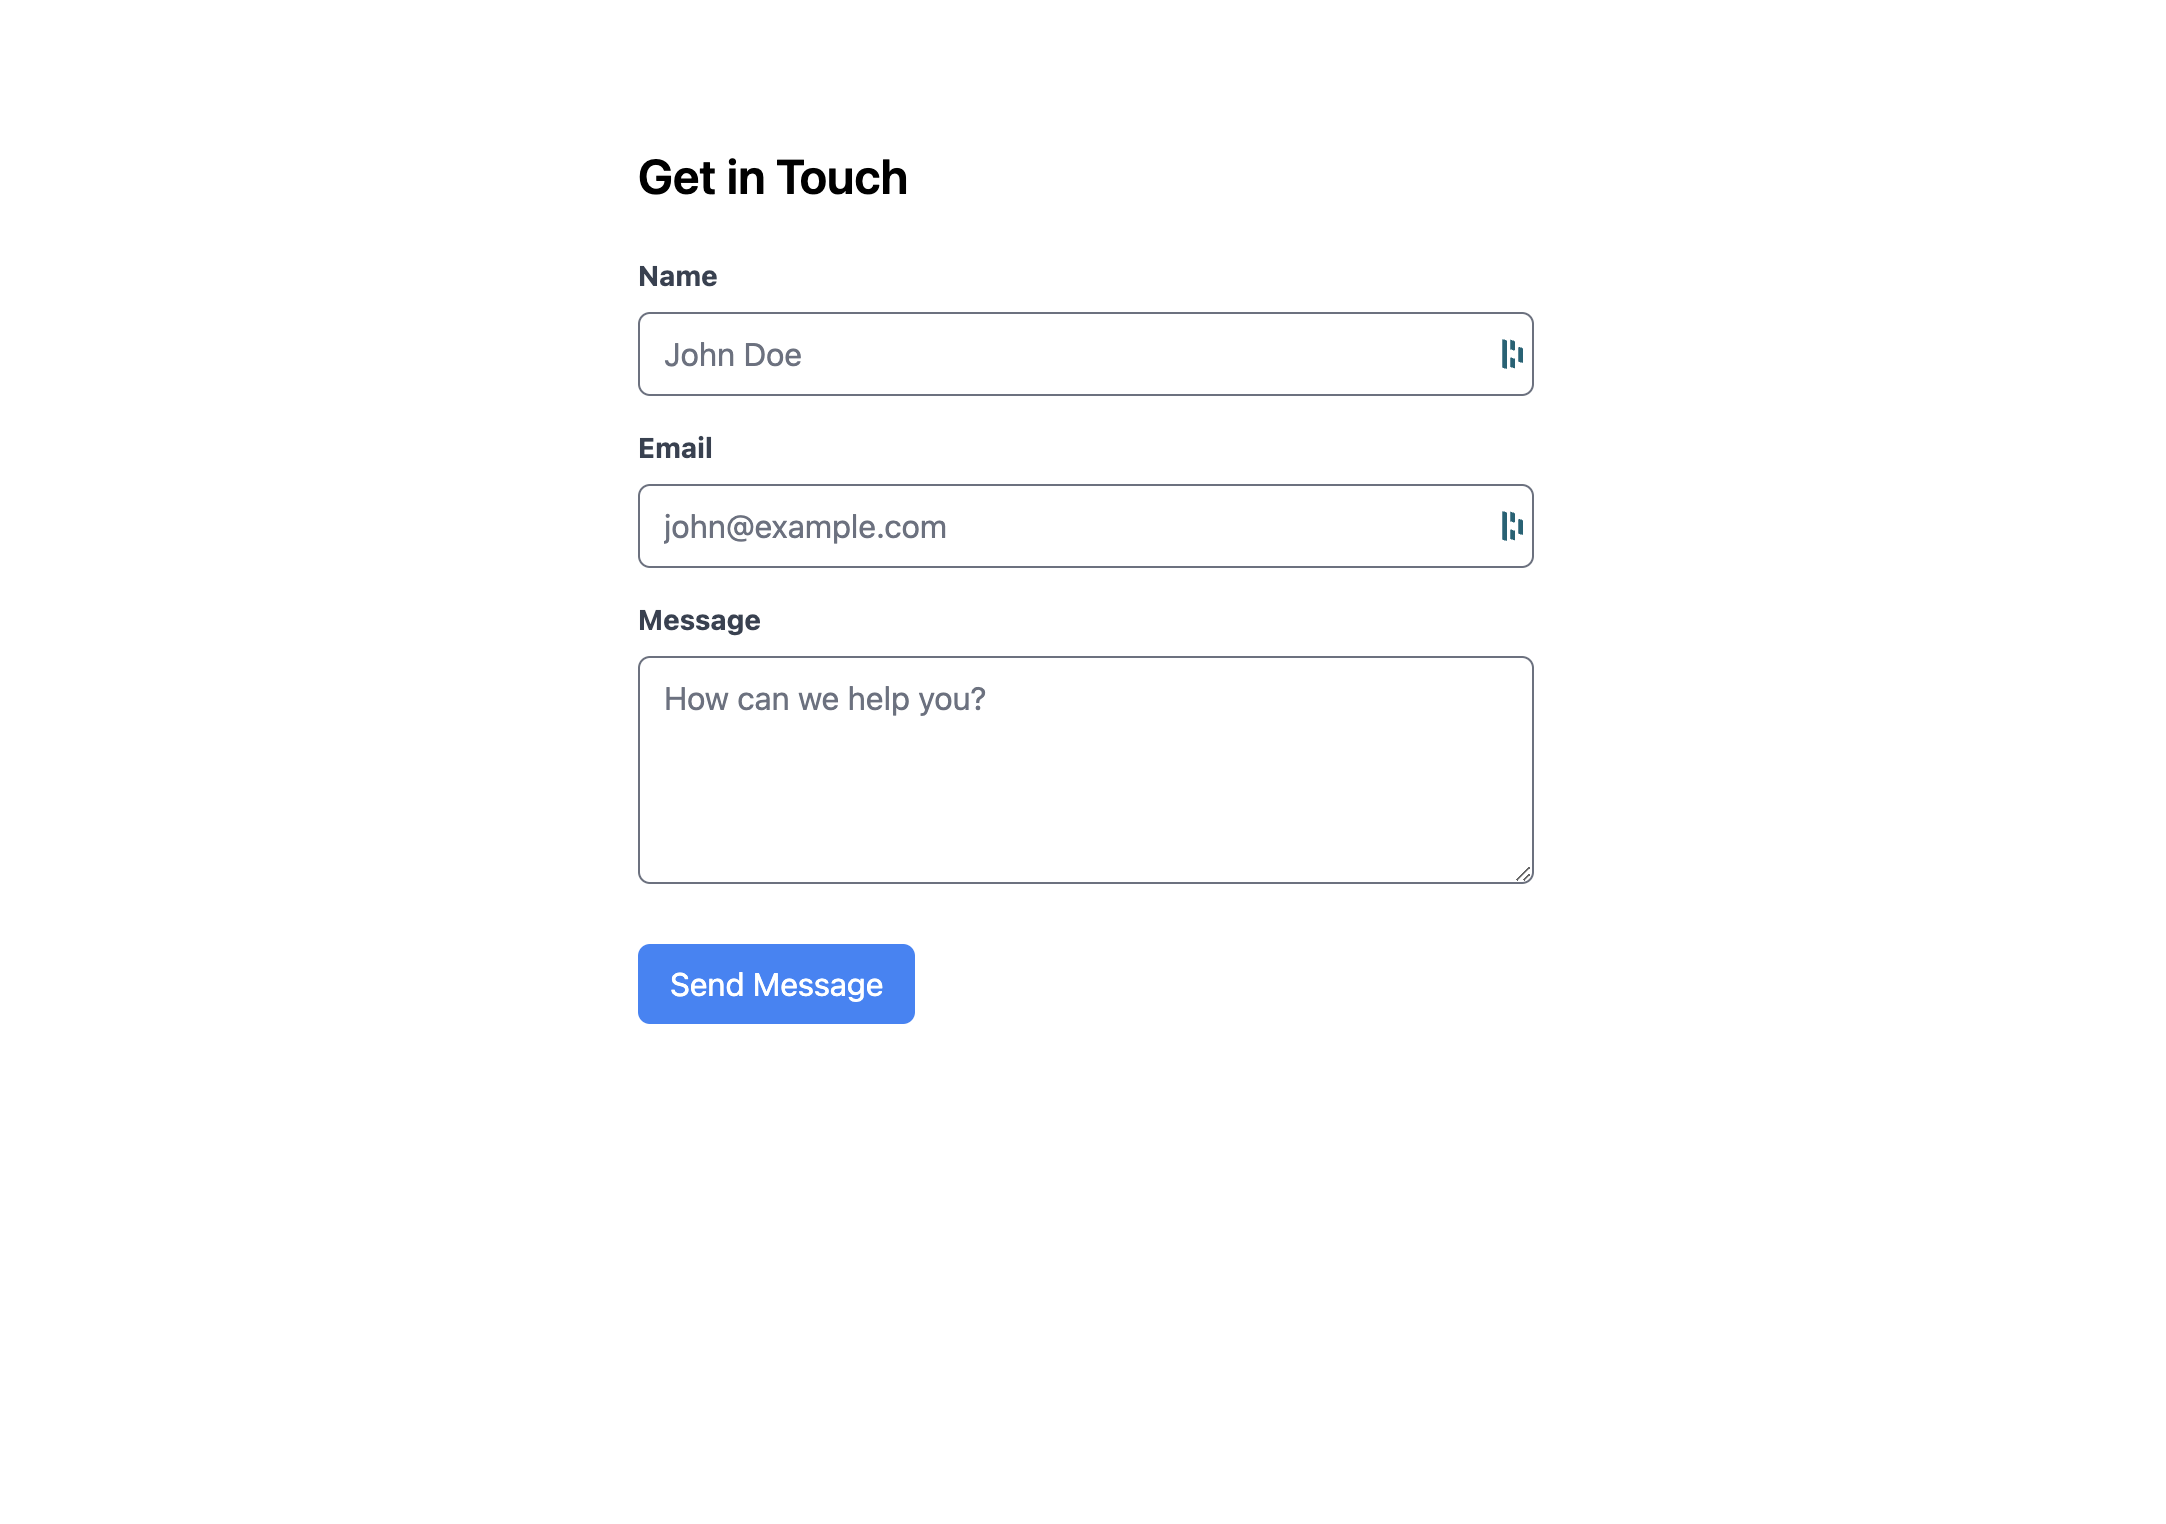
Save the file and navigate to `http://localhost:4200` in your browser. You should see a form that you can fill out and submit.
## Adding your Formbox form to your Angular project
Now that we have a new Angular project set up, let's add our Formbox form to it.
For styling purposes, we'll use Tailwind CSS. You can learn how to add Tailwind CSS to your project by following the Angular installation guide.
Once you have Tailwind CSS set up, let's add our form.
Open up the `app.component.html` file within the root of the `src/app` directory and replace everything in the file with the following code block:
```html app.component.html theme={null}
```
Paste the form endpoint url you copied from Formbox into your form’s `action` attribute as shown in the code block above.
Save the file and navigate to `http://localhost:4200` in your browser. You should see a form that you can fill out and submit.
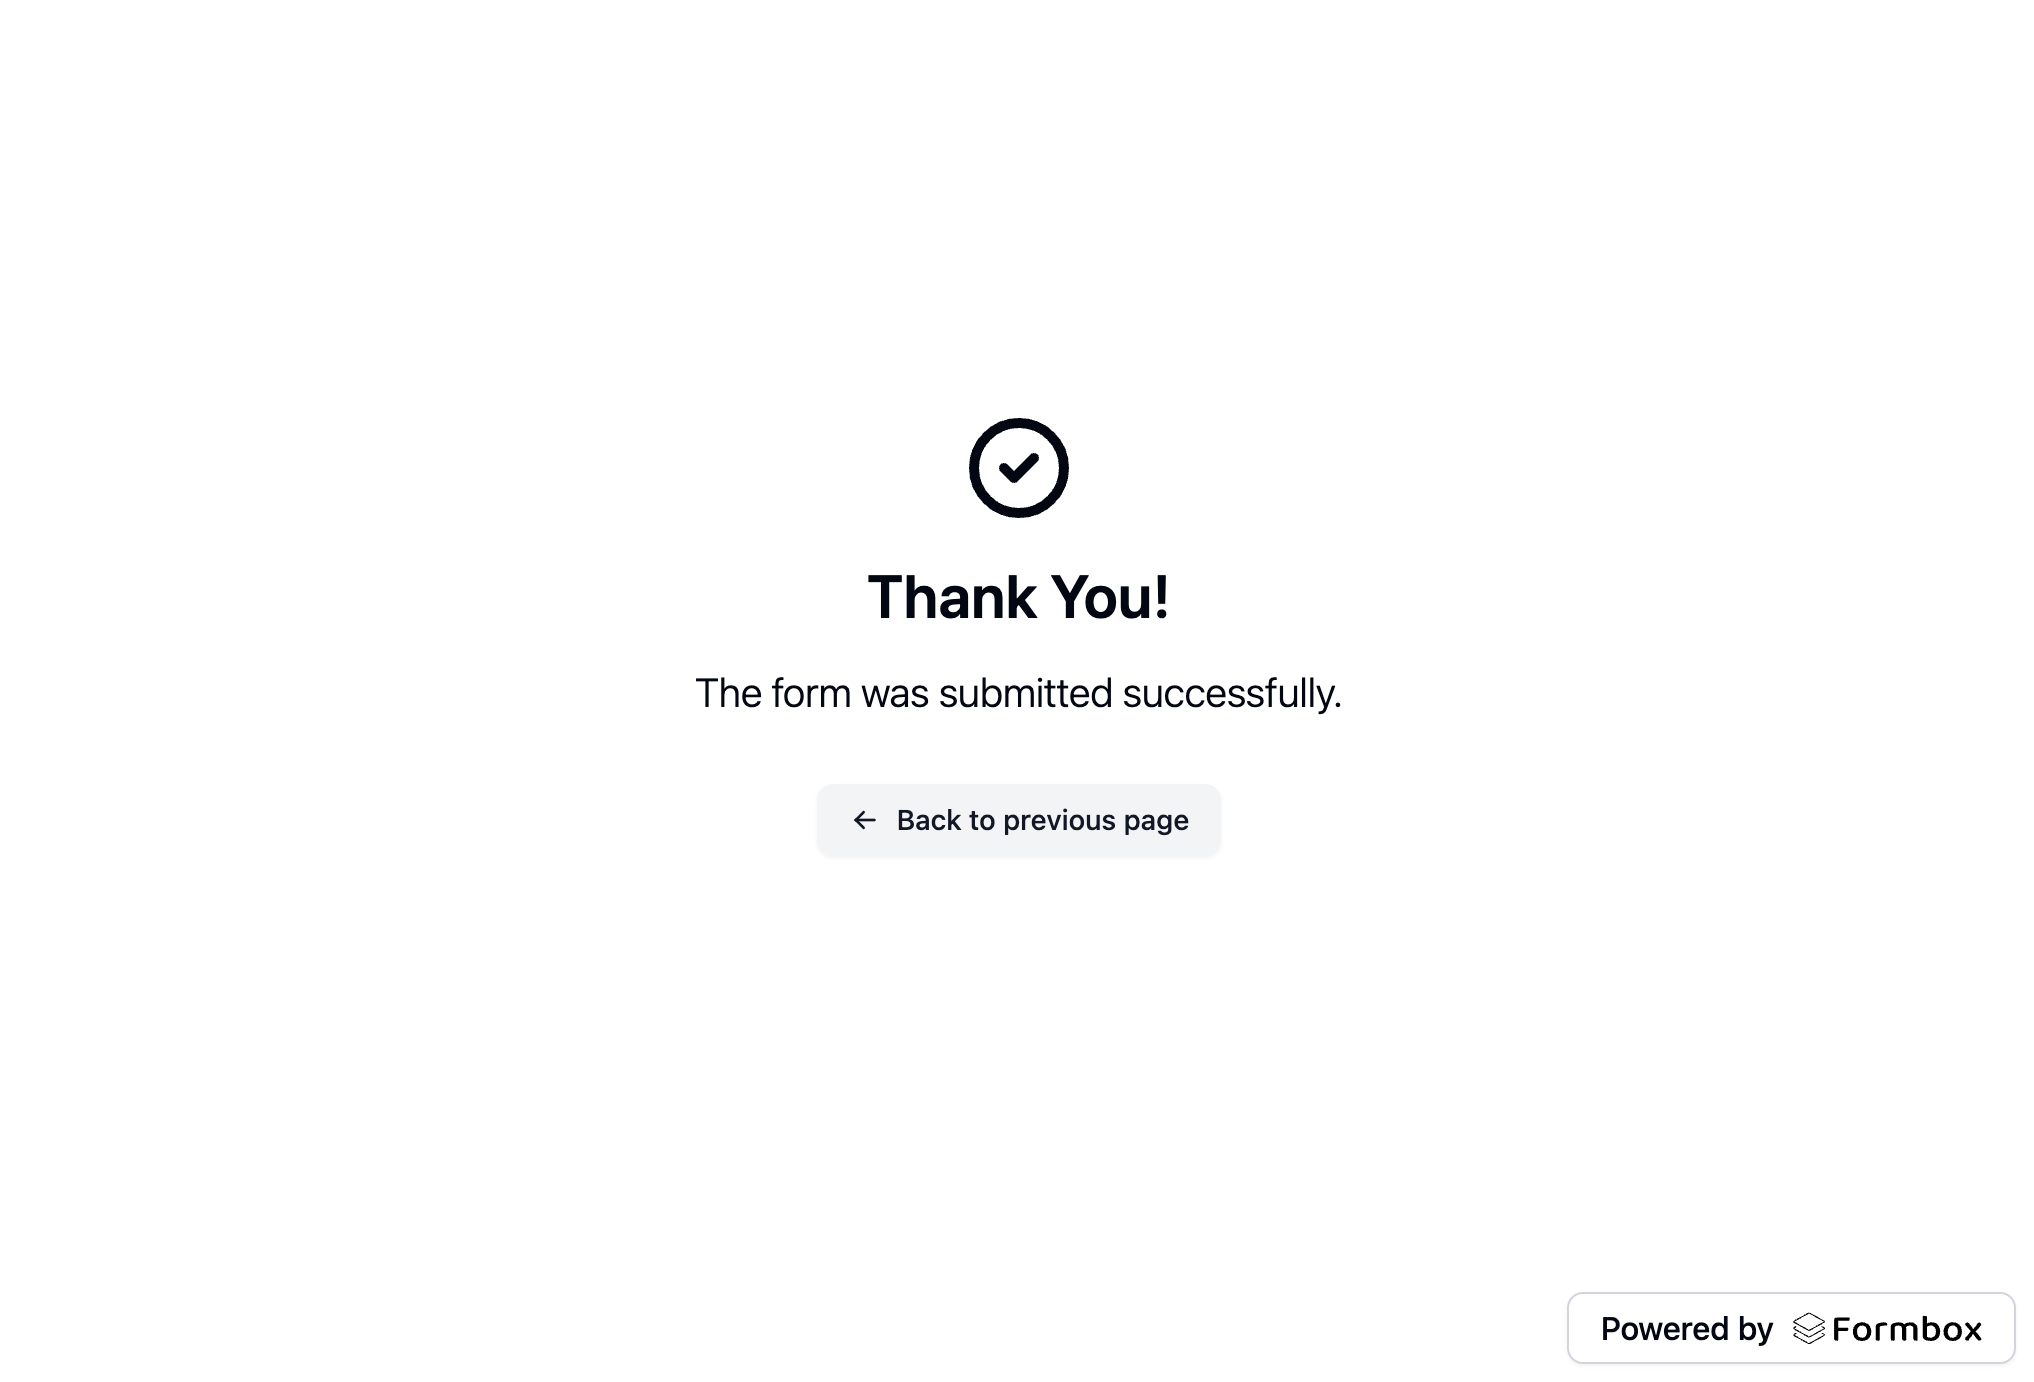
 **And that's it!** Now after filling out and submitting the form you should see the default submission success page displayed.