> ## Documentation Index
> Fetch the complete documentation index at: https://docs.formbox.app/llms.txt
> Use this file to discover all available pages before exploring further.
# Organizations
> Looking for a way to organize your Formbox forms based on a company or client? Organizations lets you group your forms, invite team members, and manage access rights for every organization.
## How to create an organization
First start by creating an account on Formbox. Once you have an account, you will end up on the organizations page. Click on the `Create Organization` button to create a new organization.
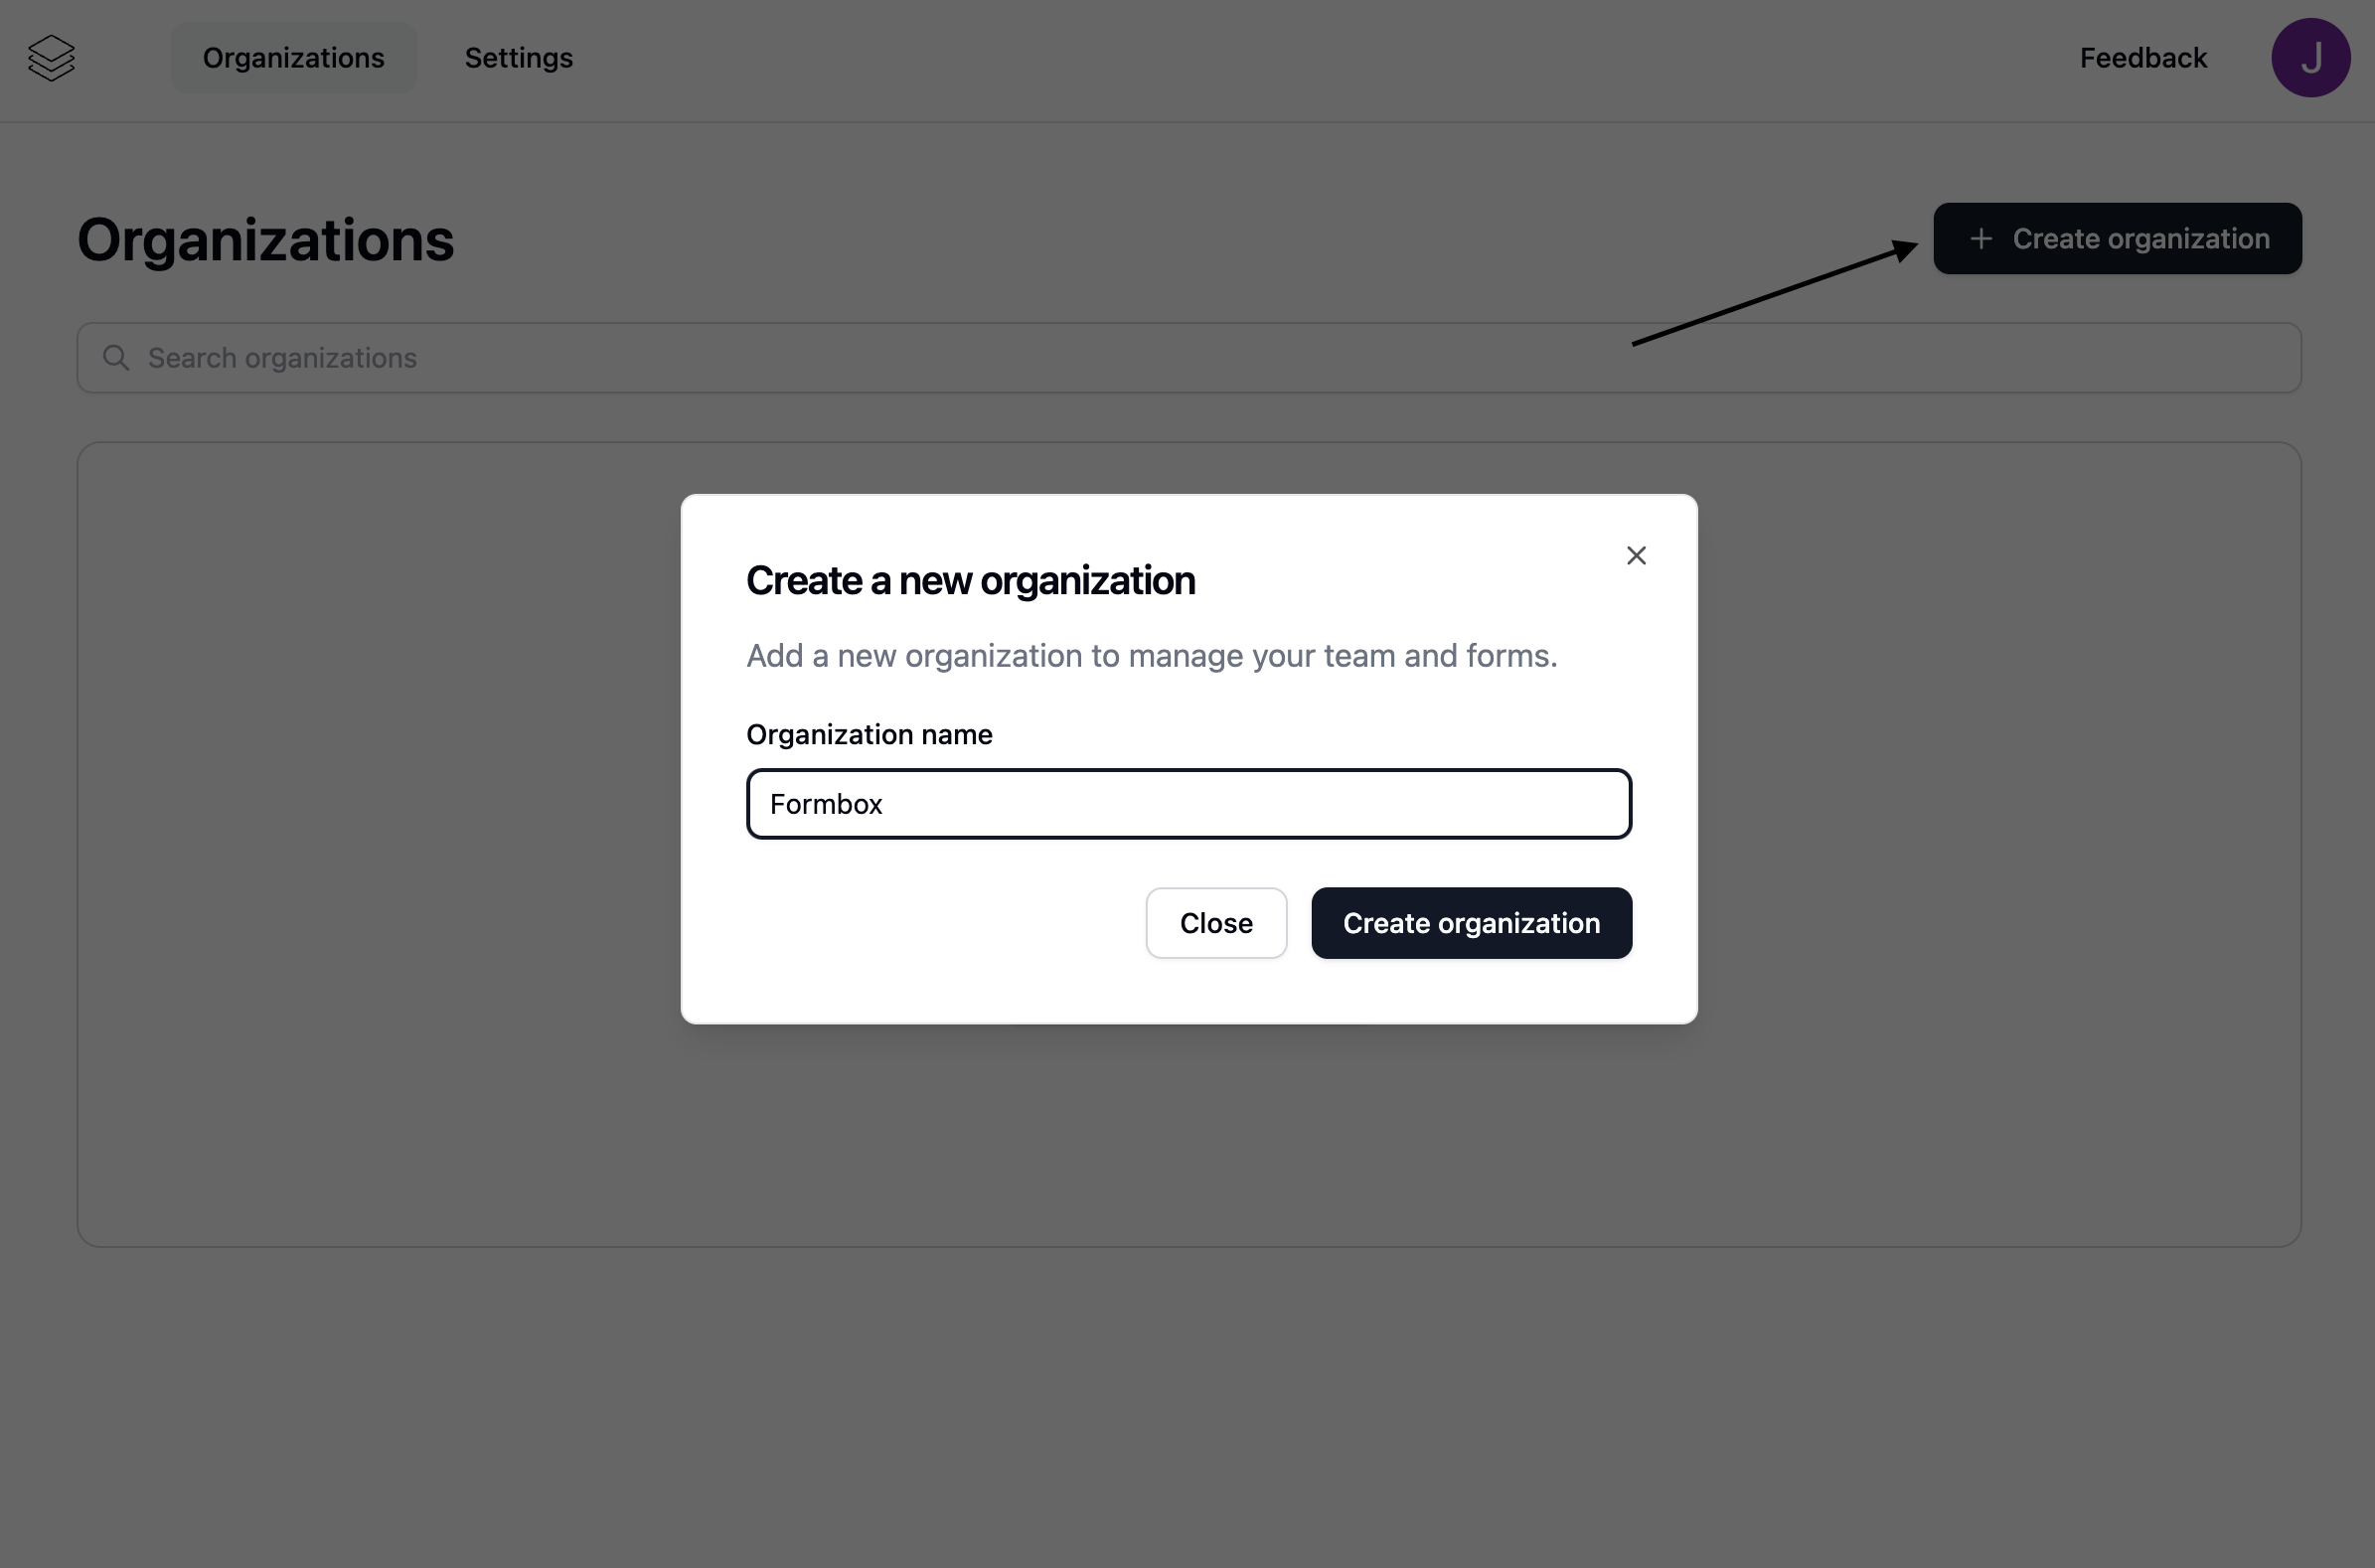 Give the organization a name and click on the `Create organization` button in the modal.
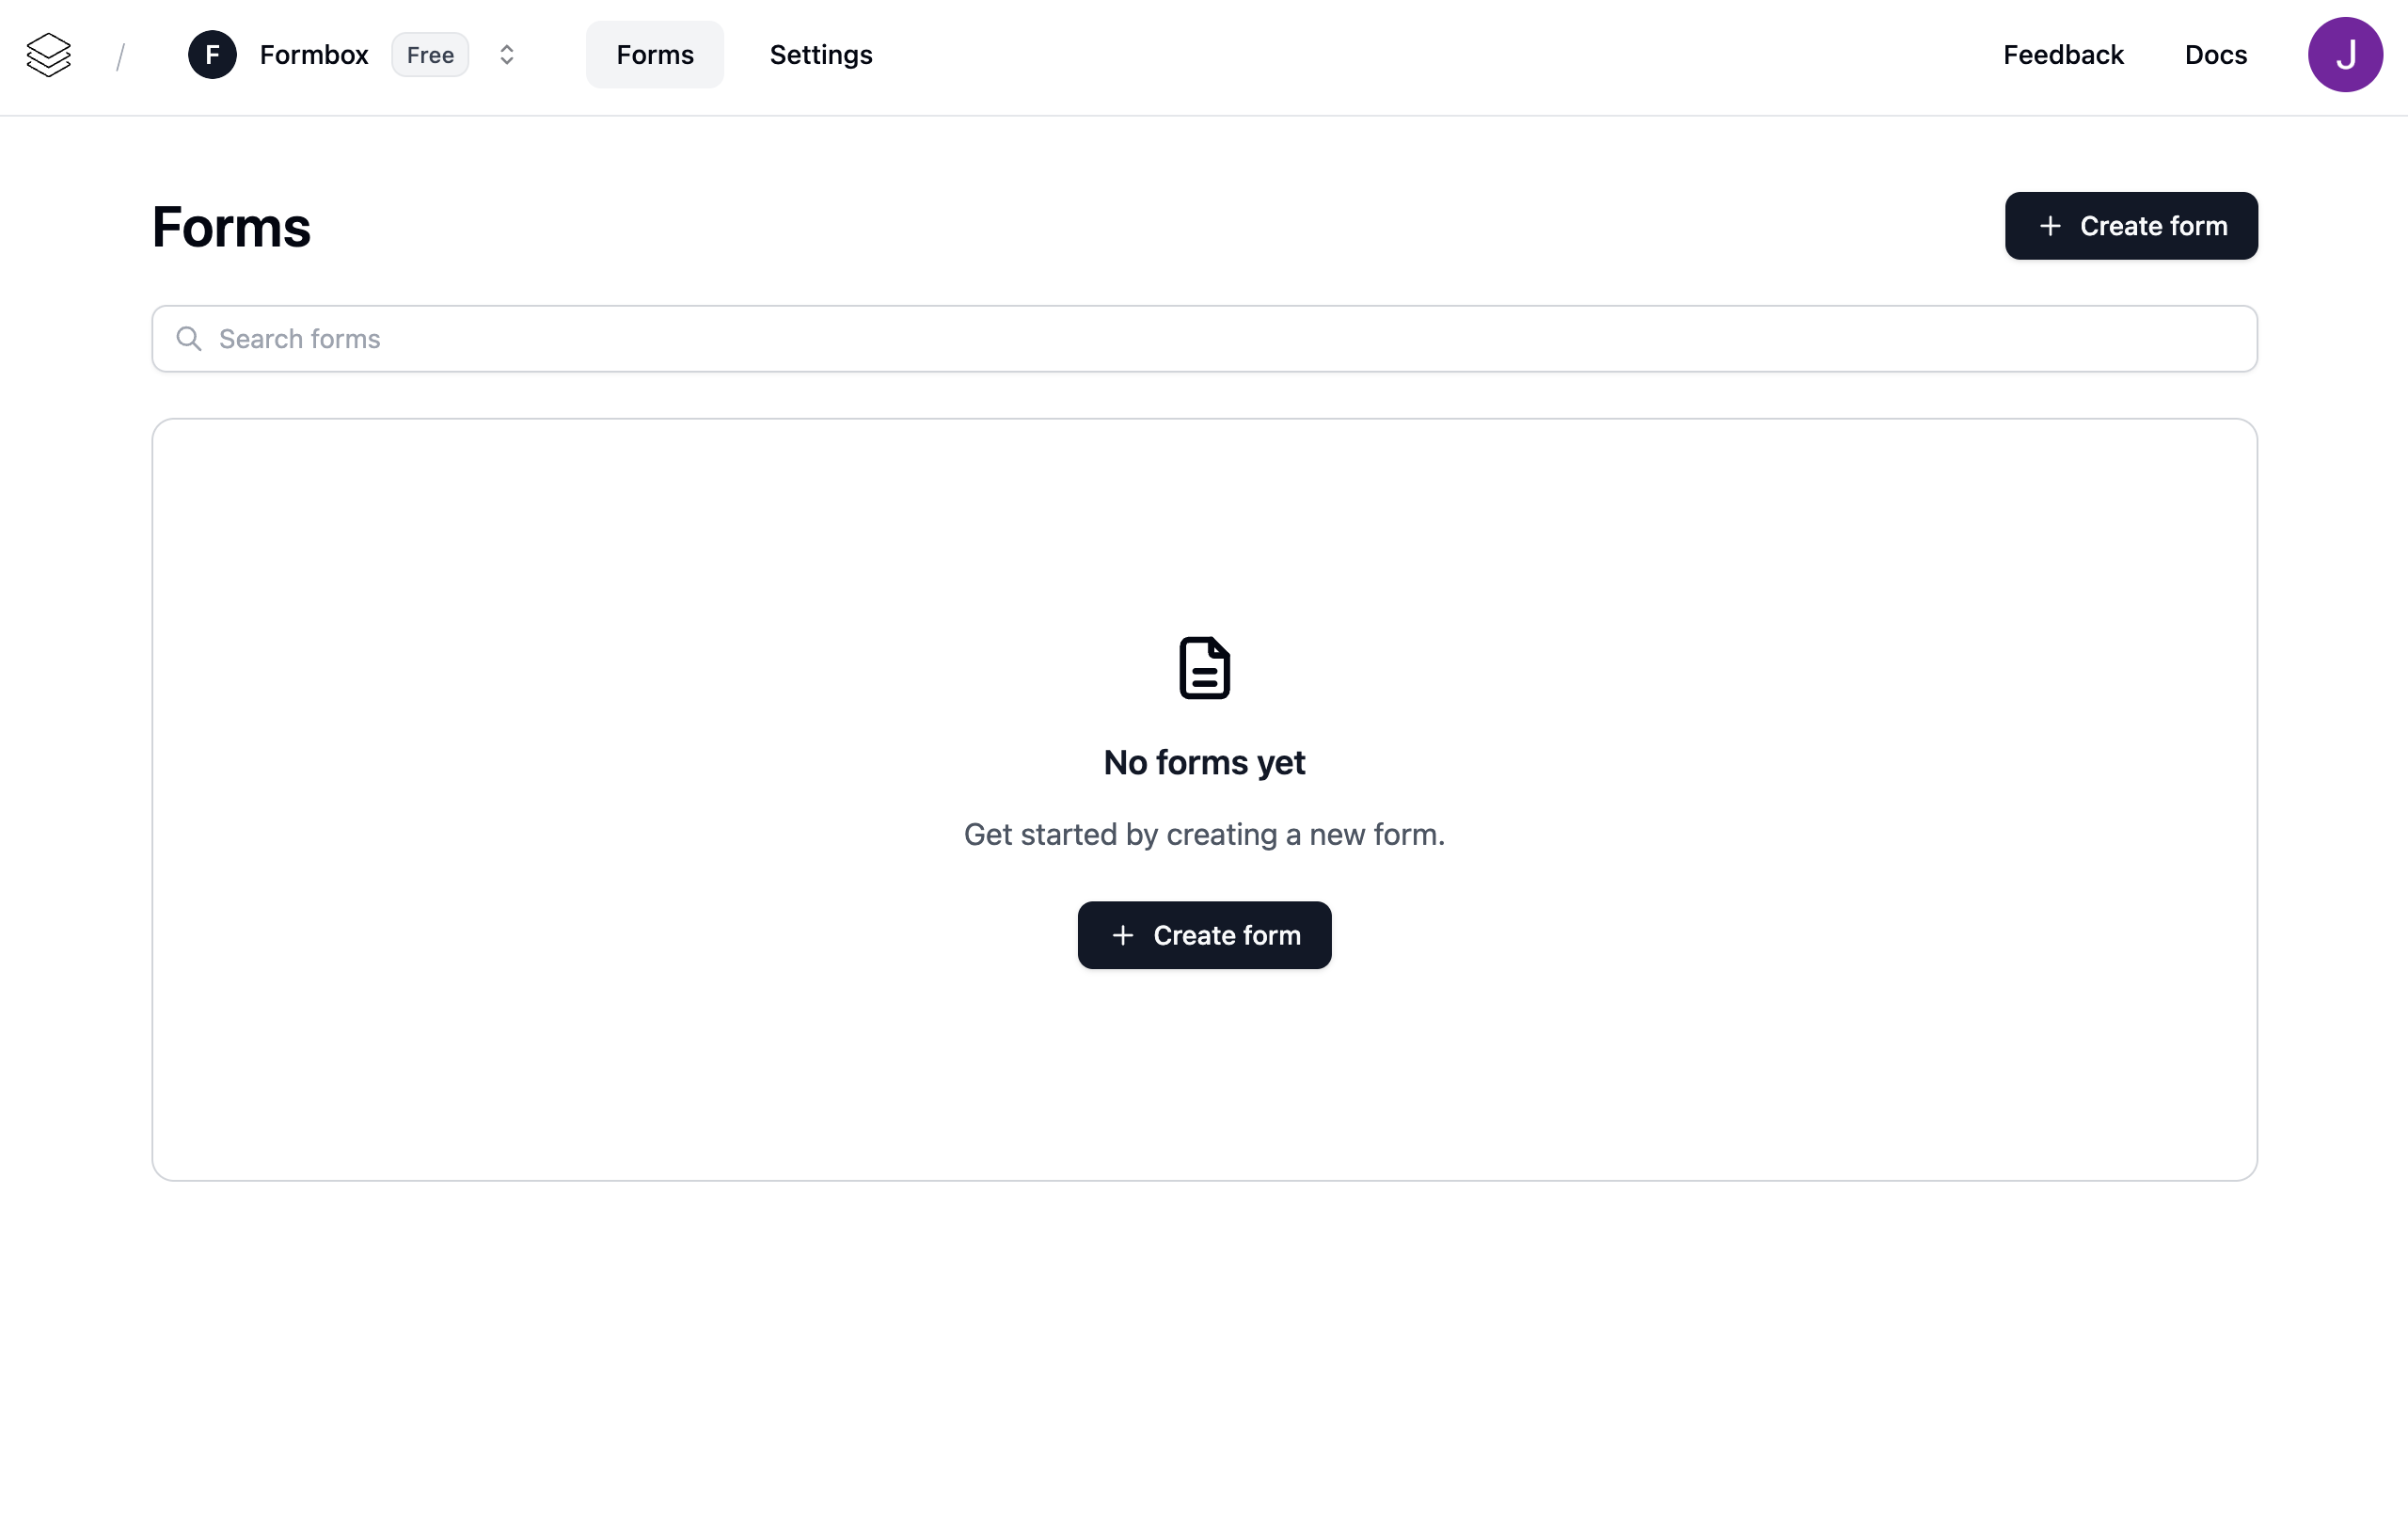
Once the organization is created, you will be redirected to the organization page. Here you can see the organization settings, members, and forms.
Give the organization a name and click on the `Create organization` button in the modal.
Once the organization is created, you will be redirected to the organization page. Here you can see the organization settings, members, and forms.
 ## Adding members to an organization
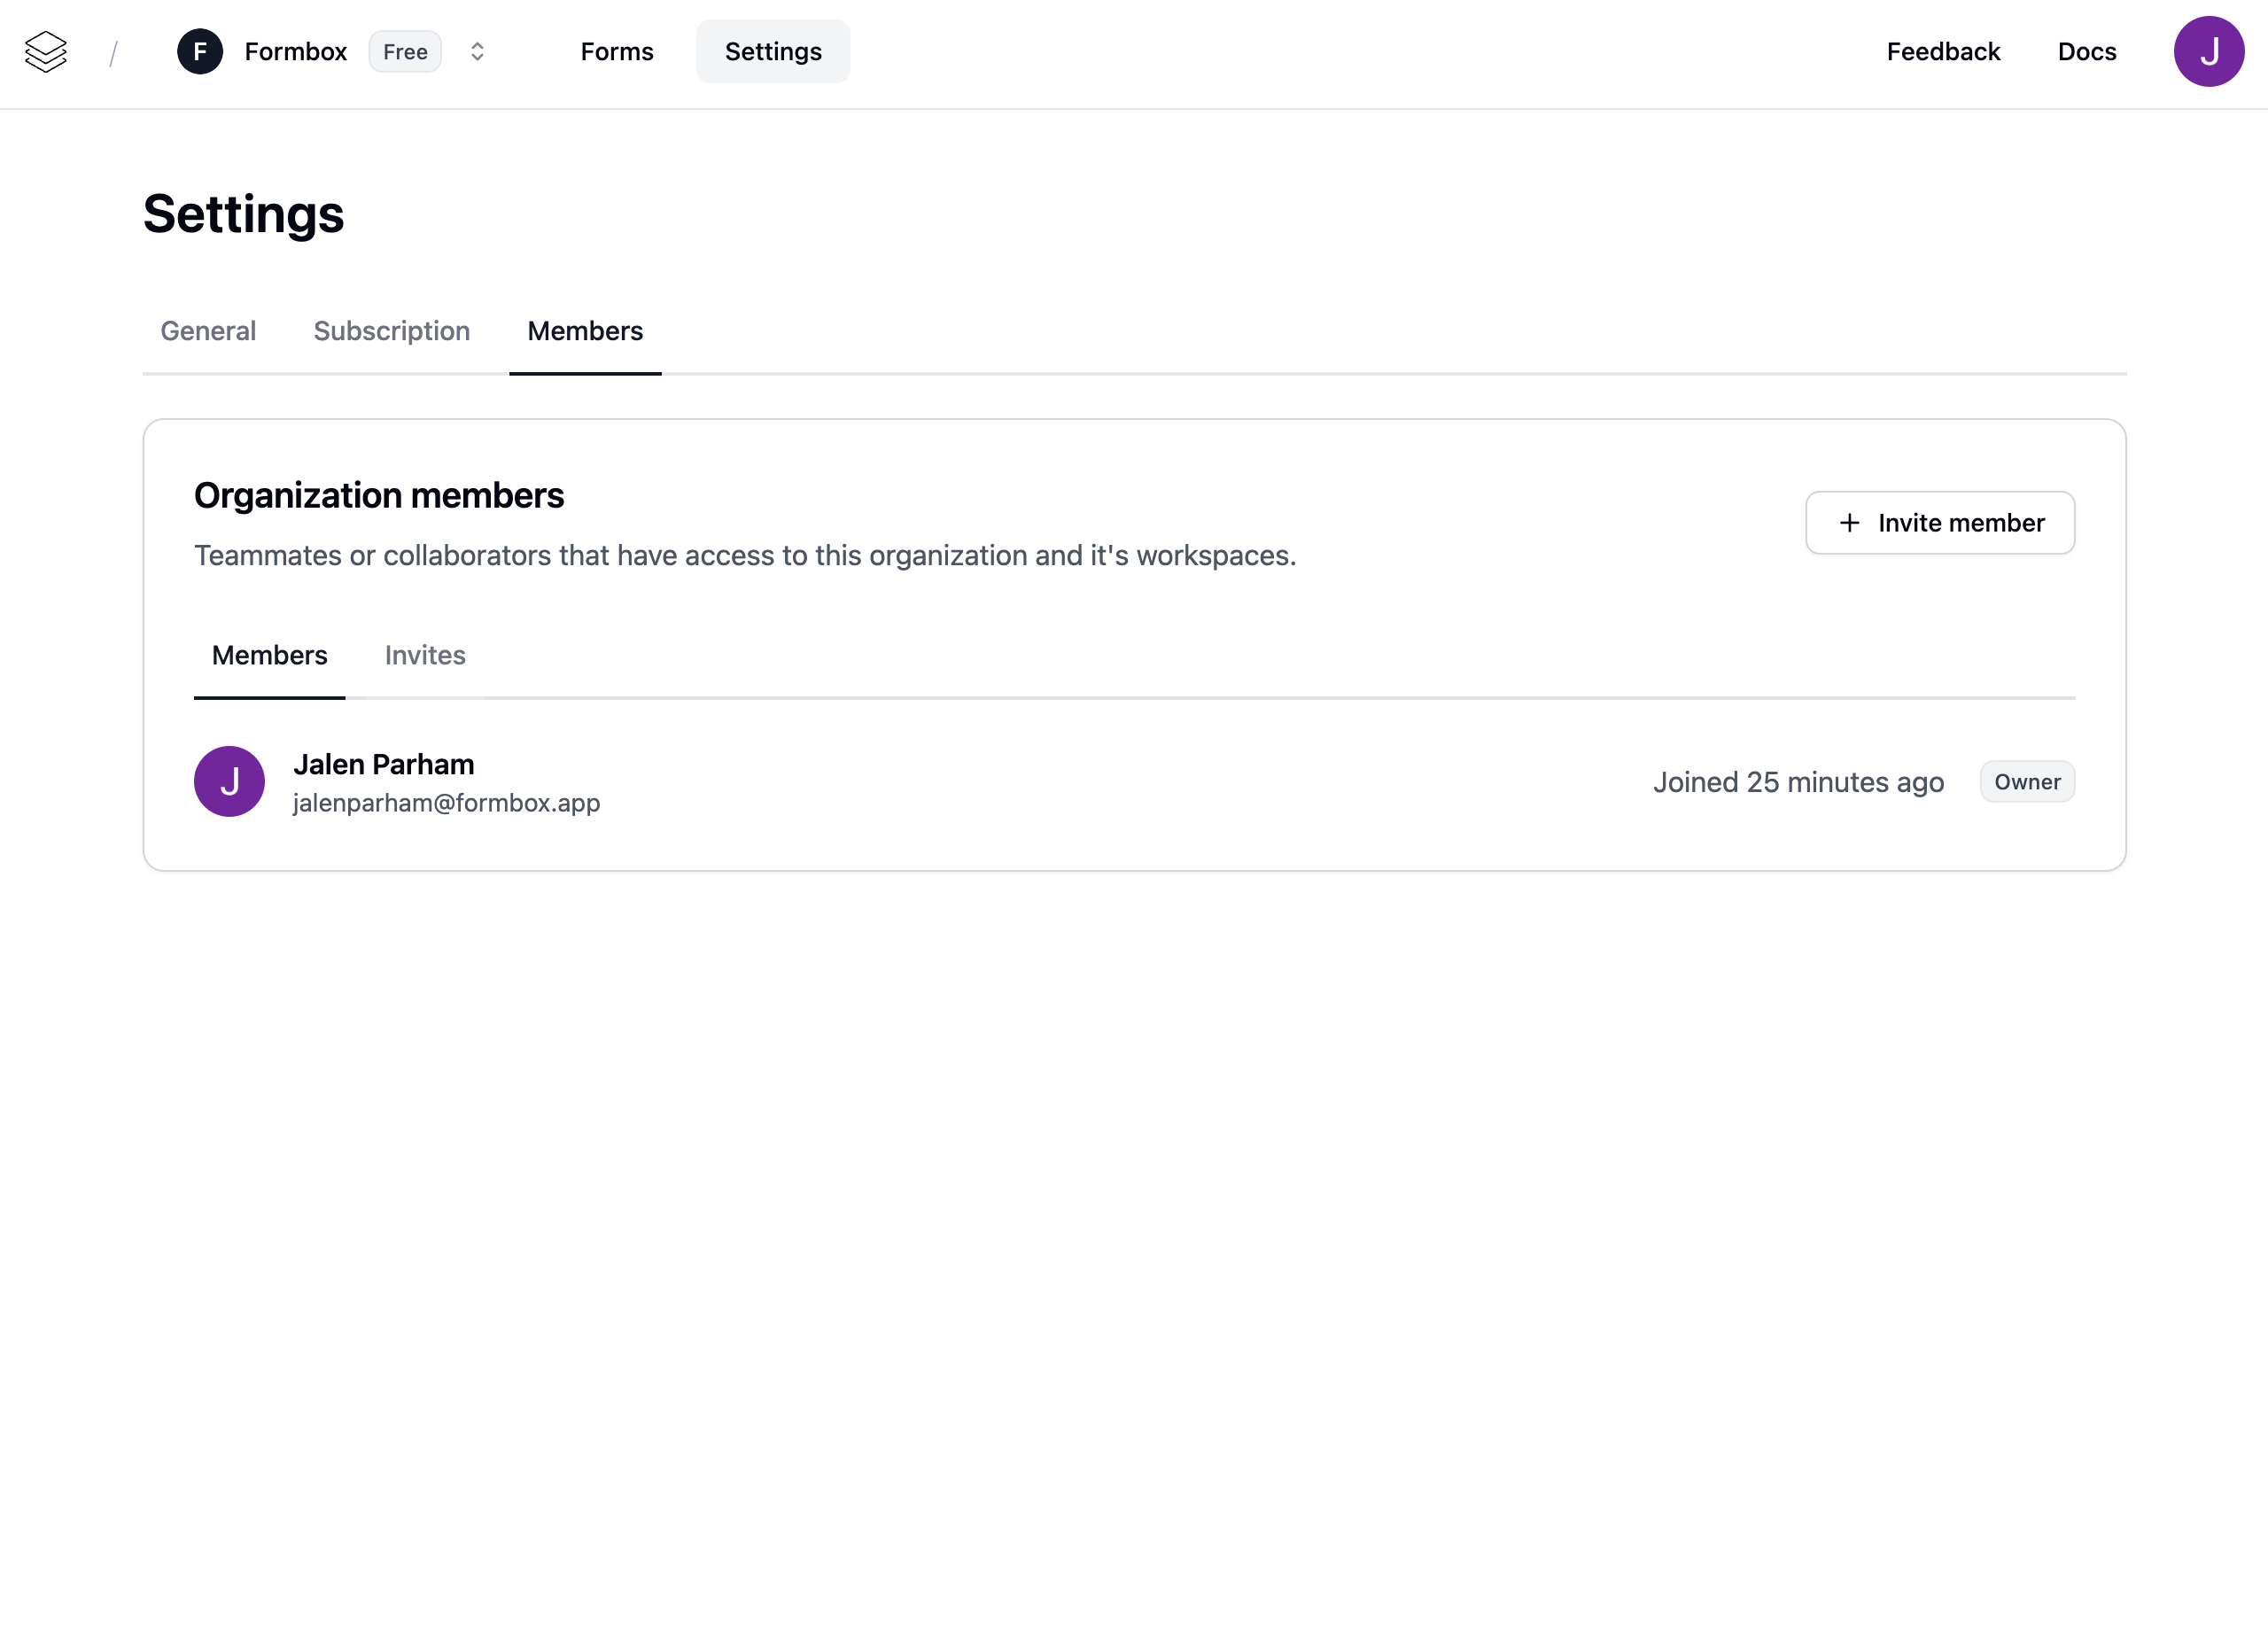
To add members to an organization, click on the `Members` tab in the organization settings page. Here you can see the list of members in the organization and invite new members.
## Adding members to an organization
To add members to an organization, click on the `Members` tab in the organization settings page. Here you can see the list of members in the organization and invite new members.
 To invite a new member, click on the `Invite member` button. Enter the email address of the member you want to invite and click on the `Send member invite` button.
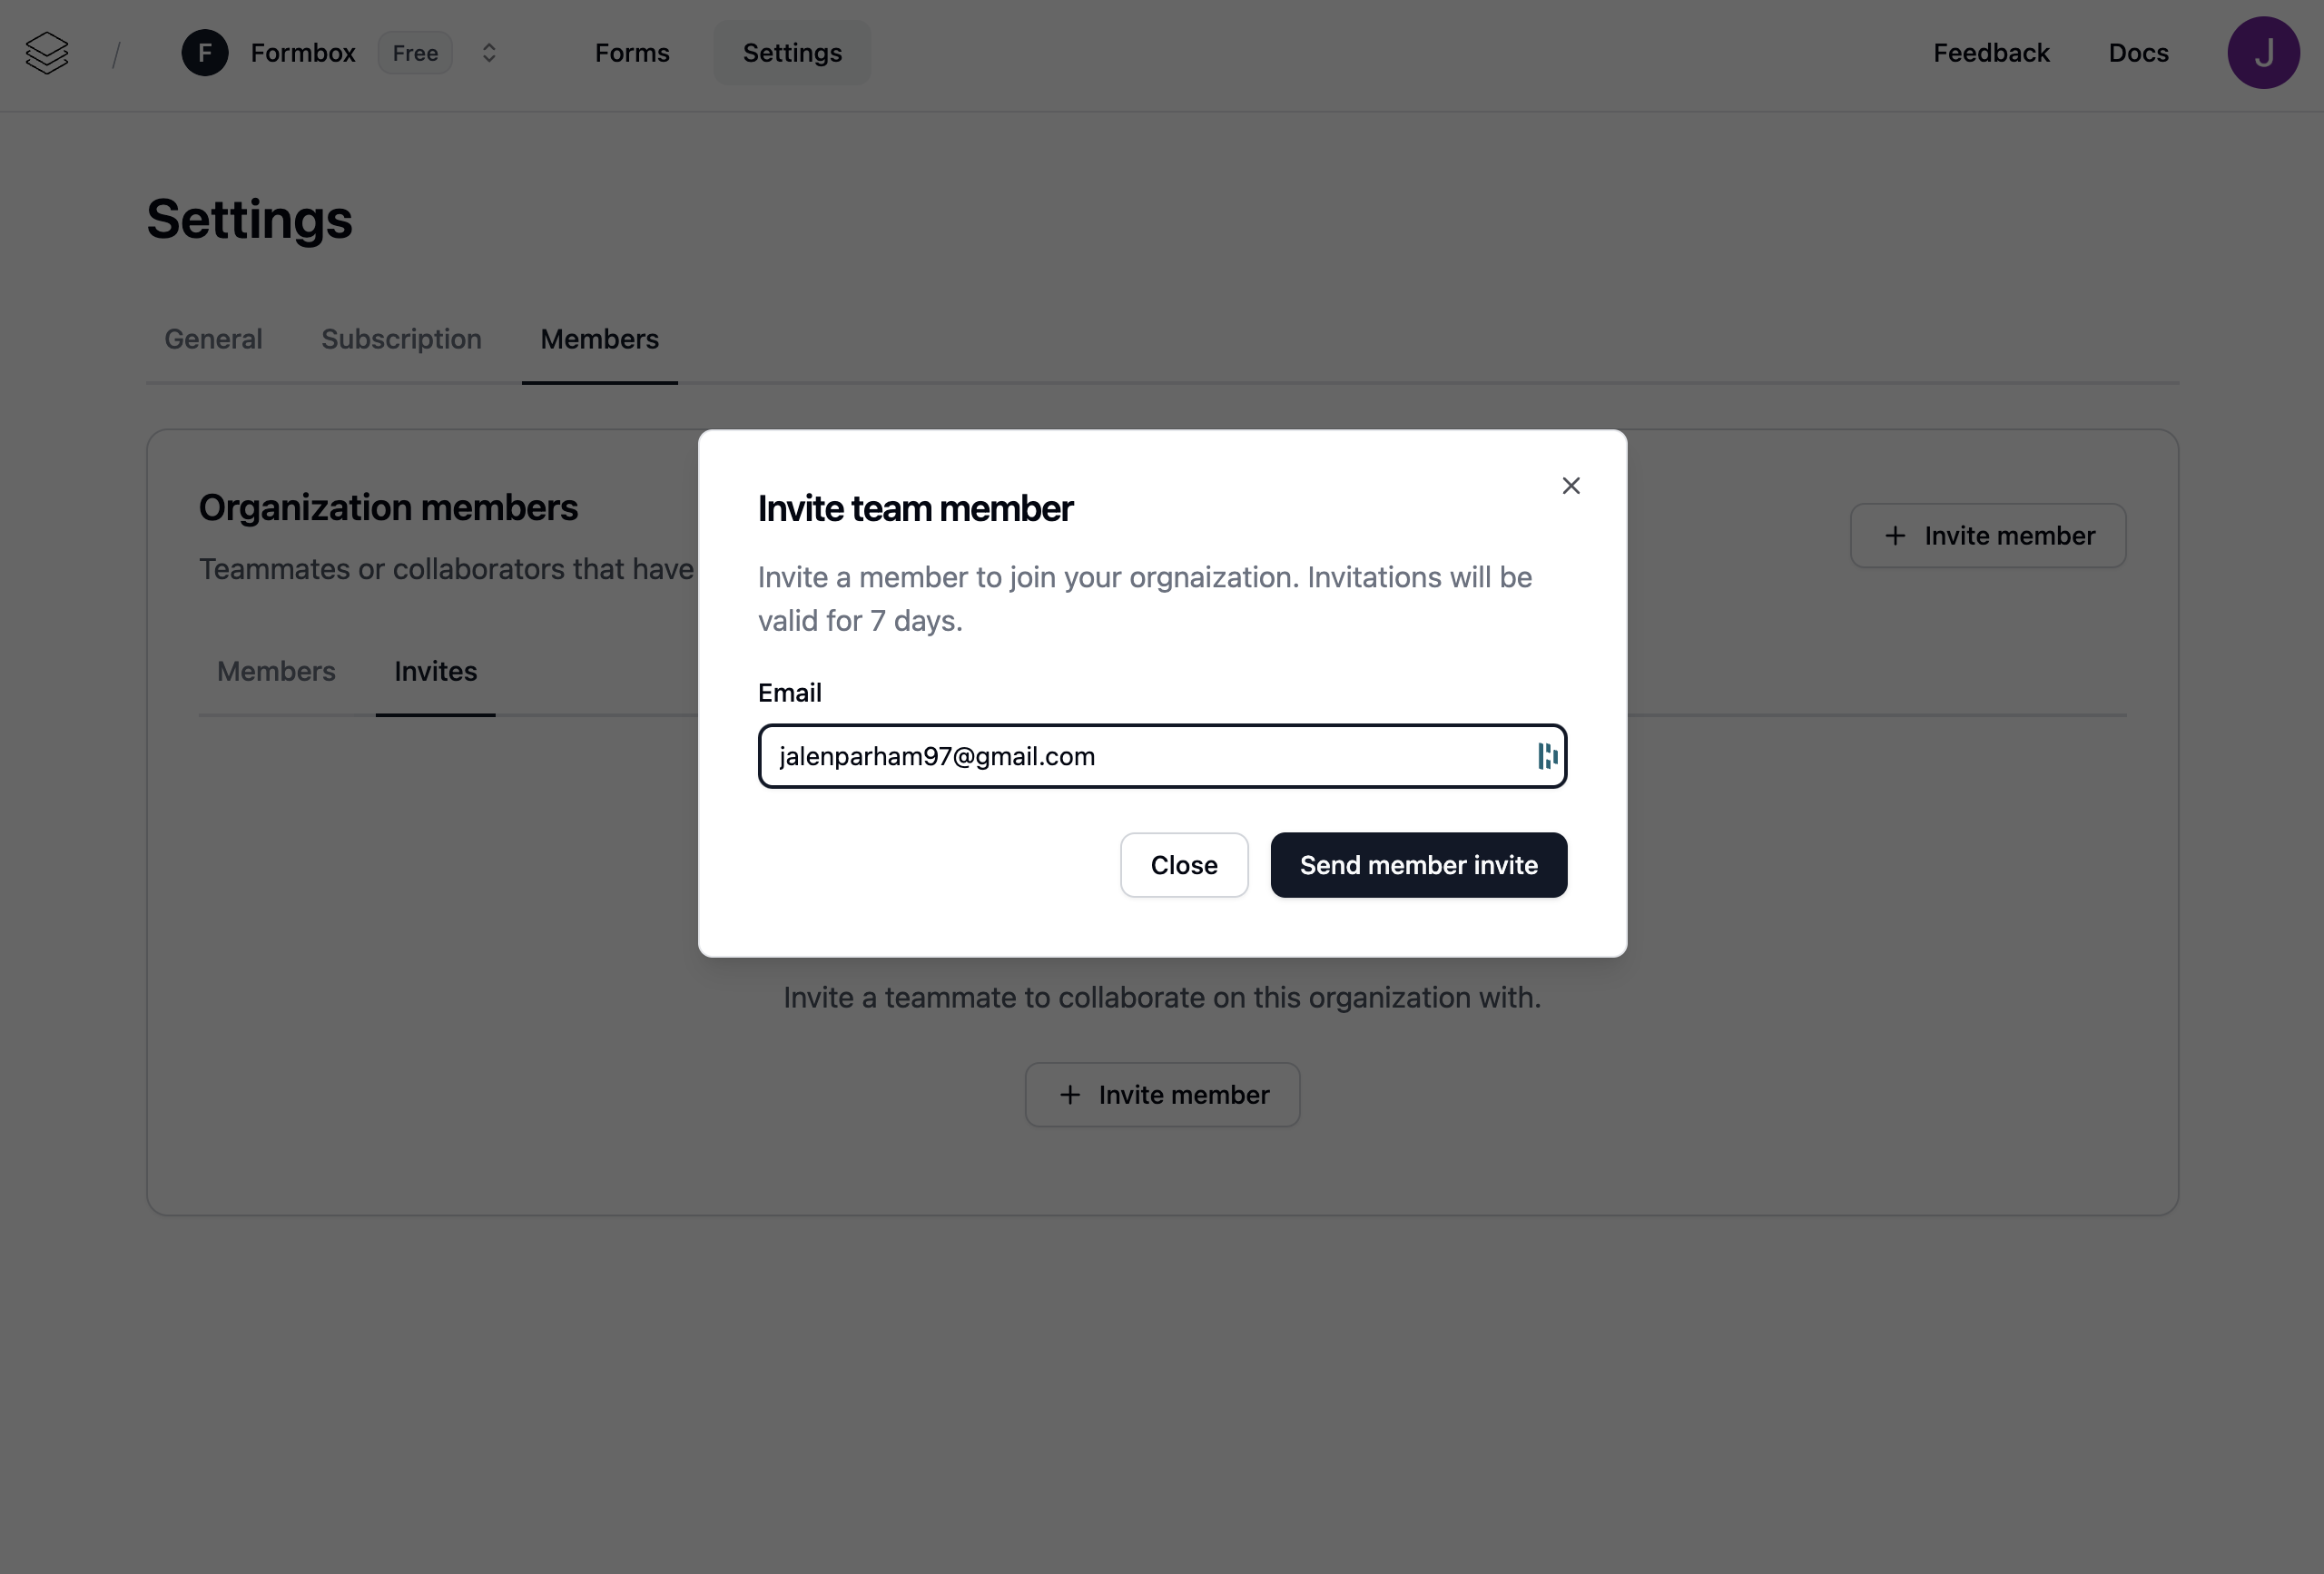 You can view the status of the invitation in the `Invites` tab.
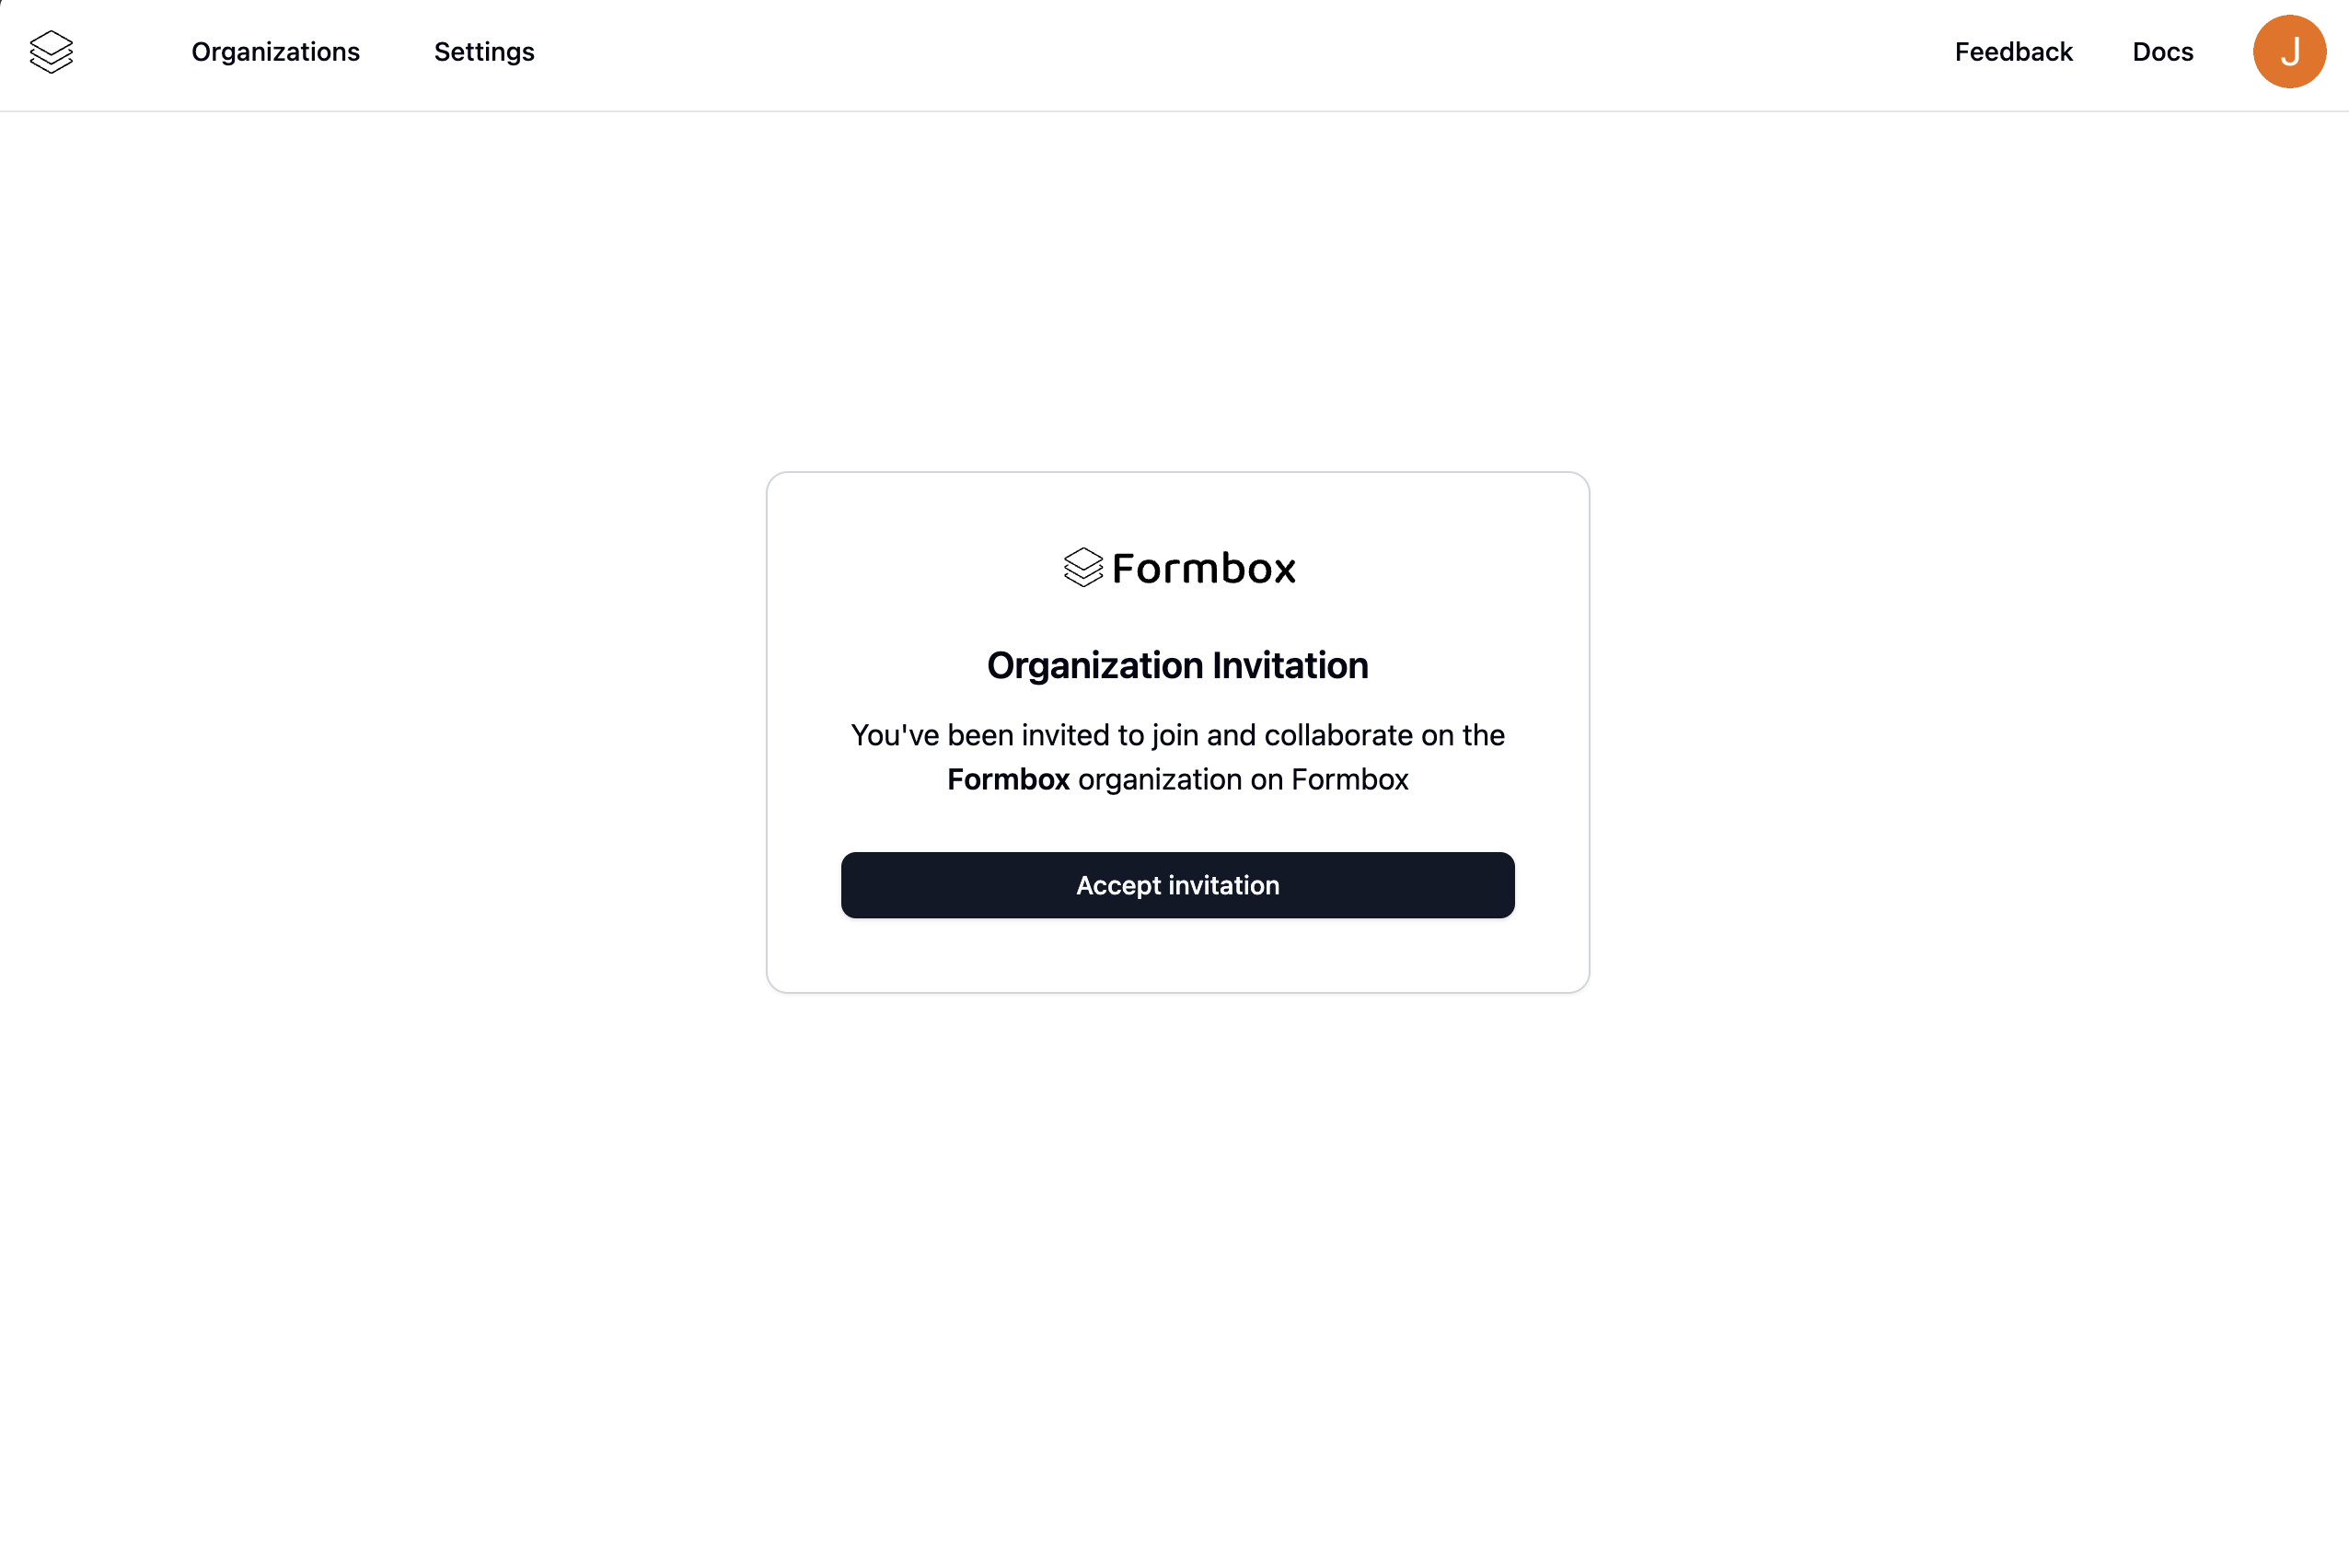
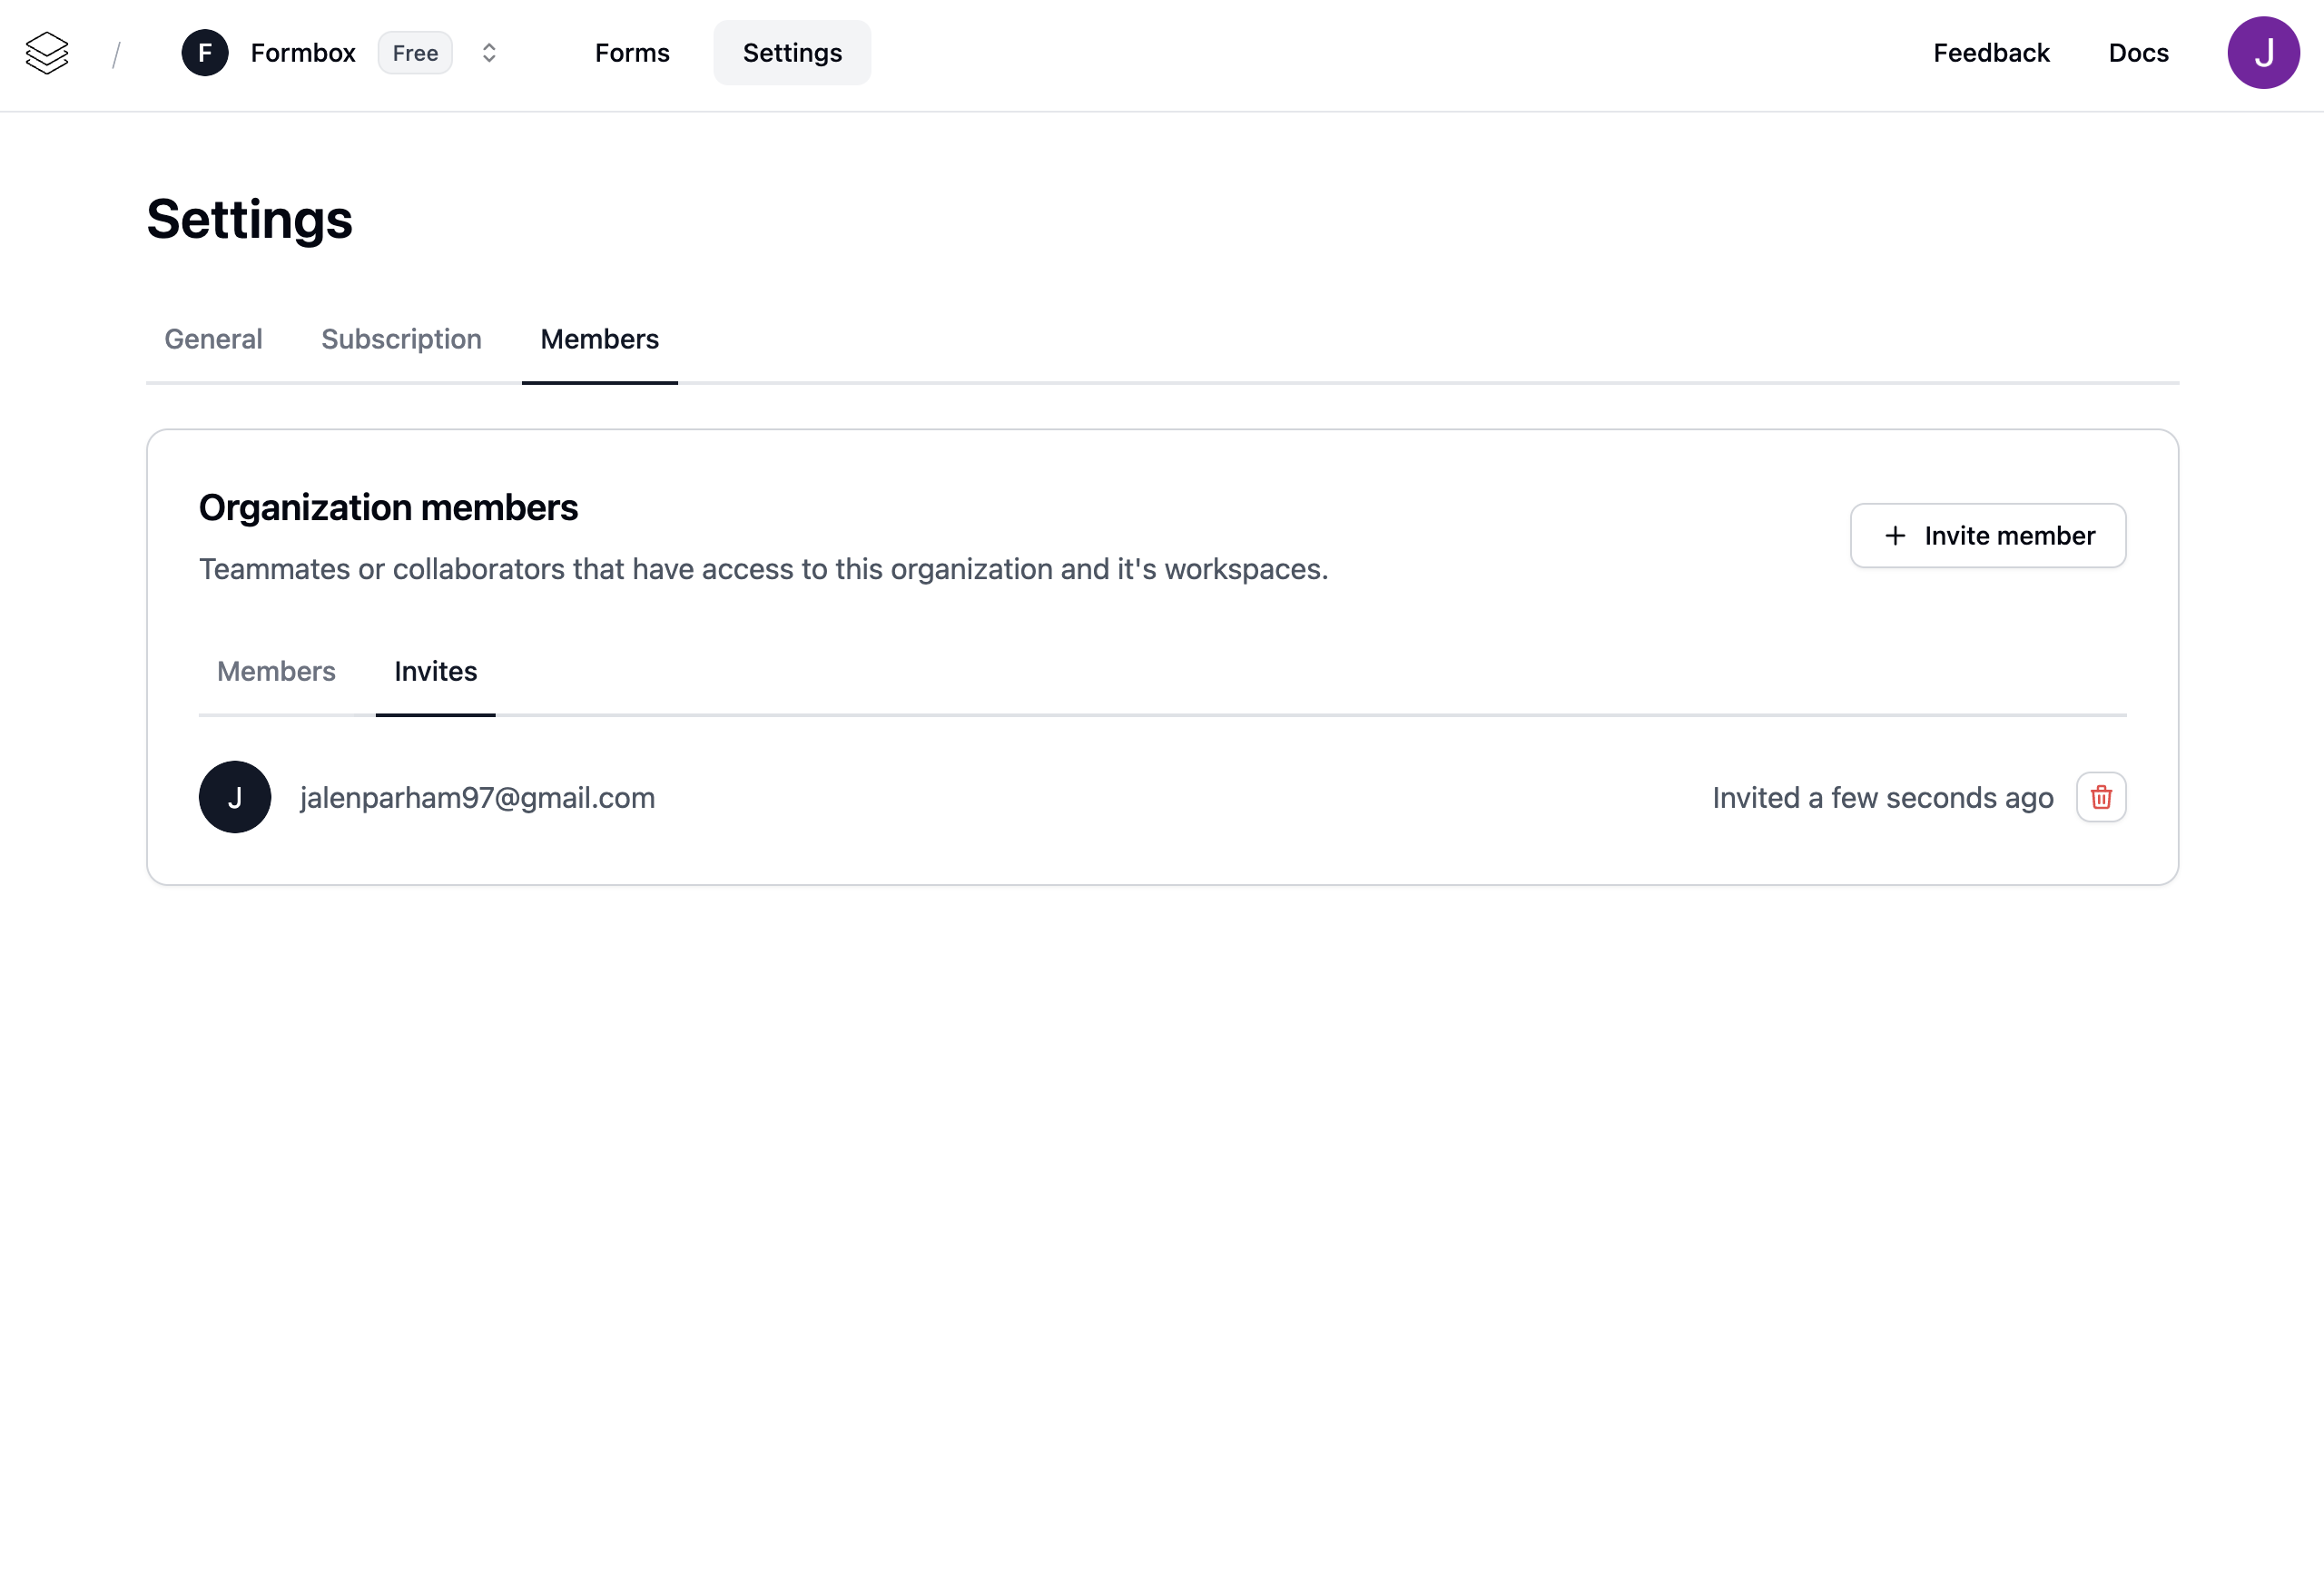 The member will receive an email with an invitation to join the organization. Once they accept the invitation, they will be added to the organization.
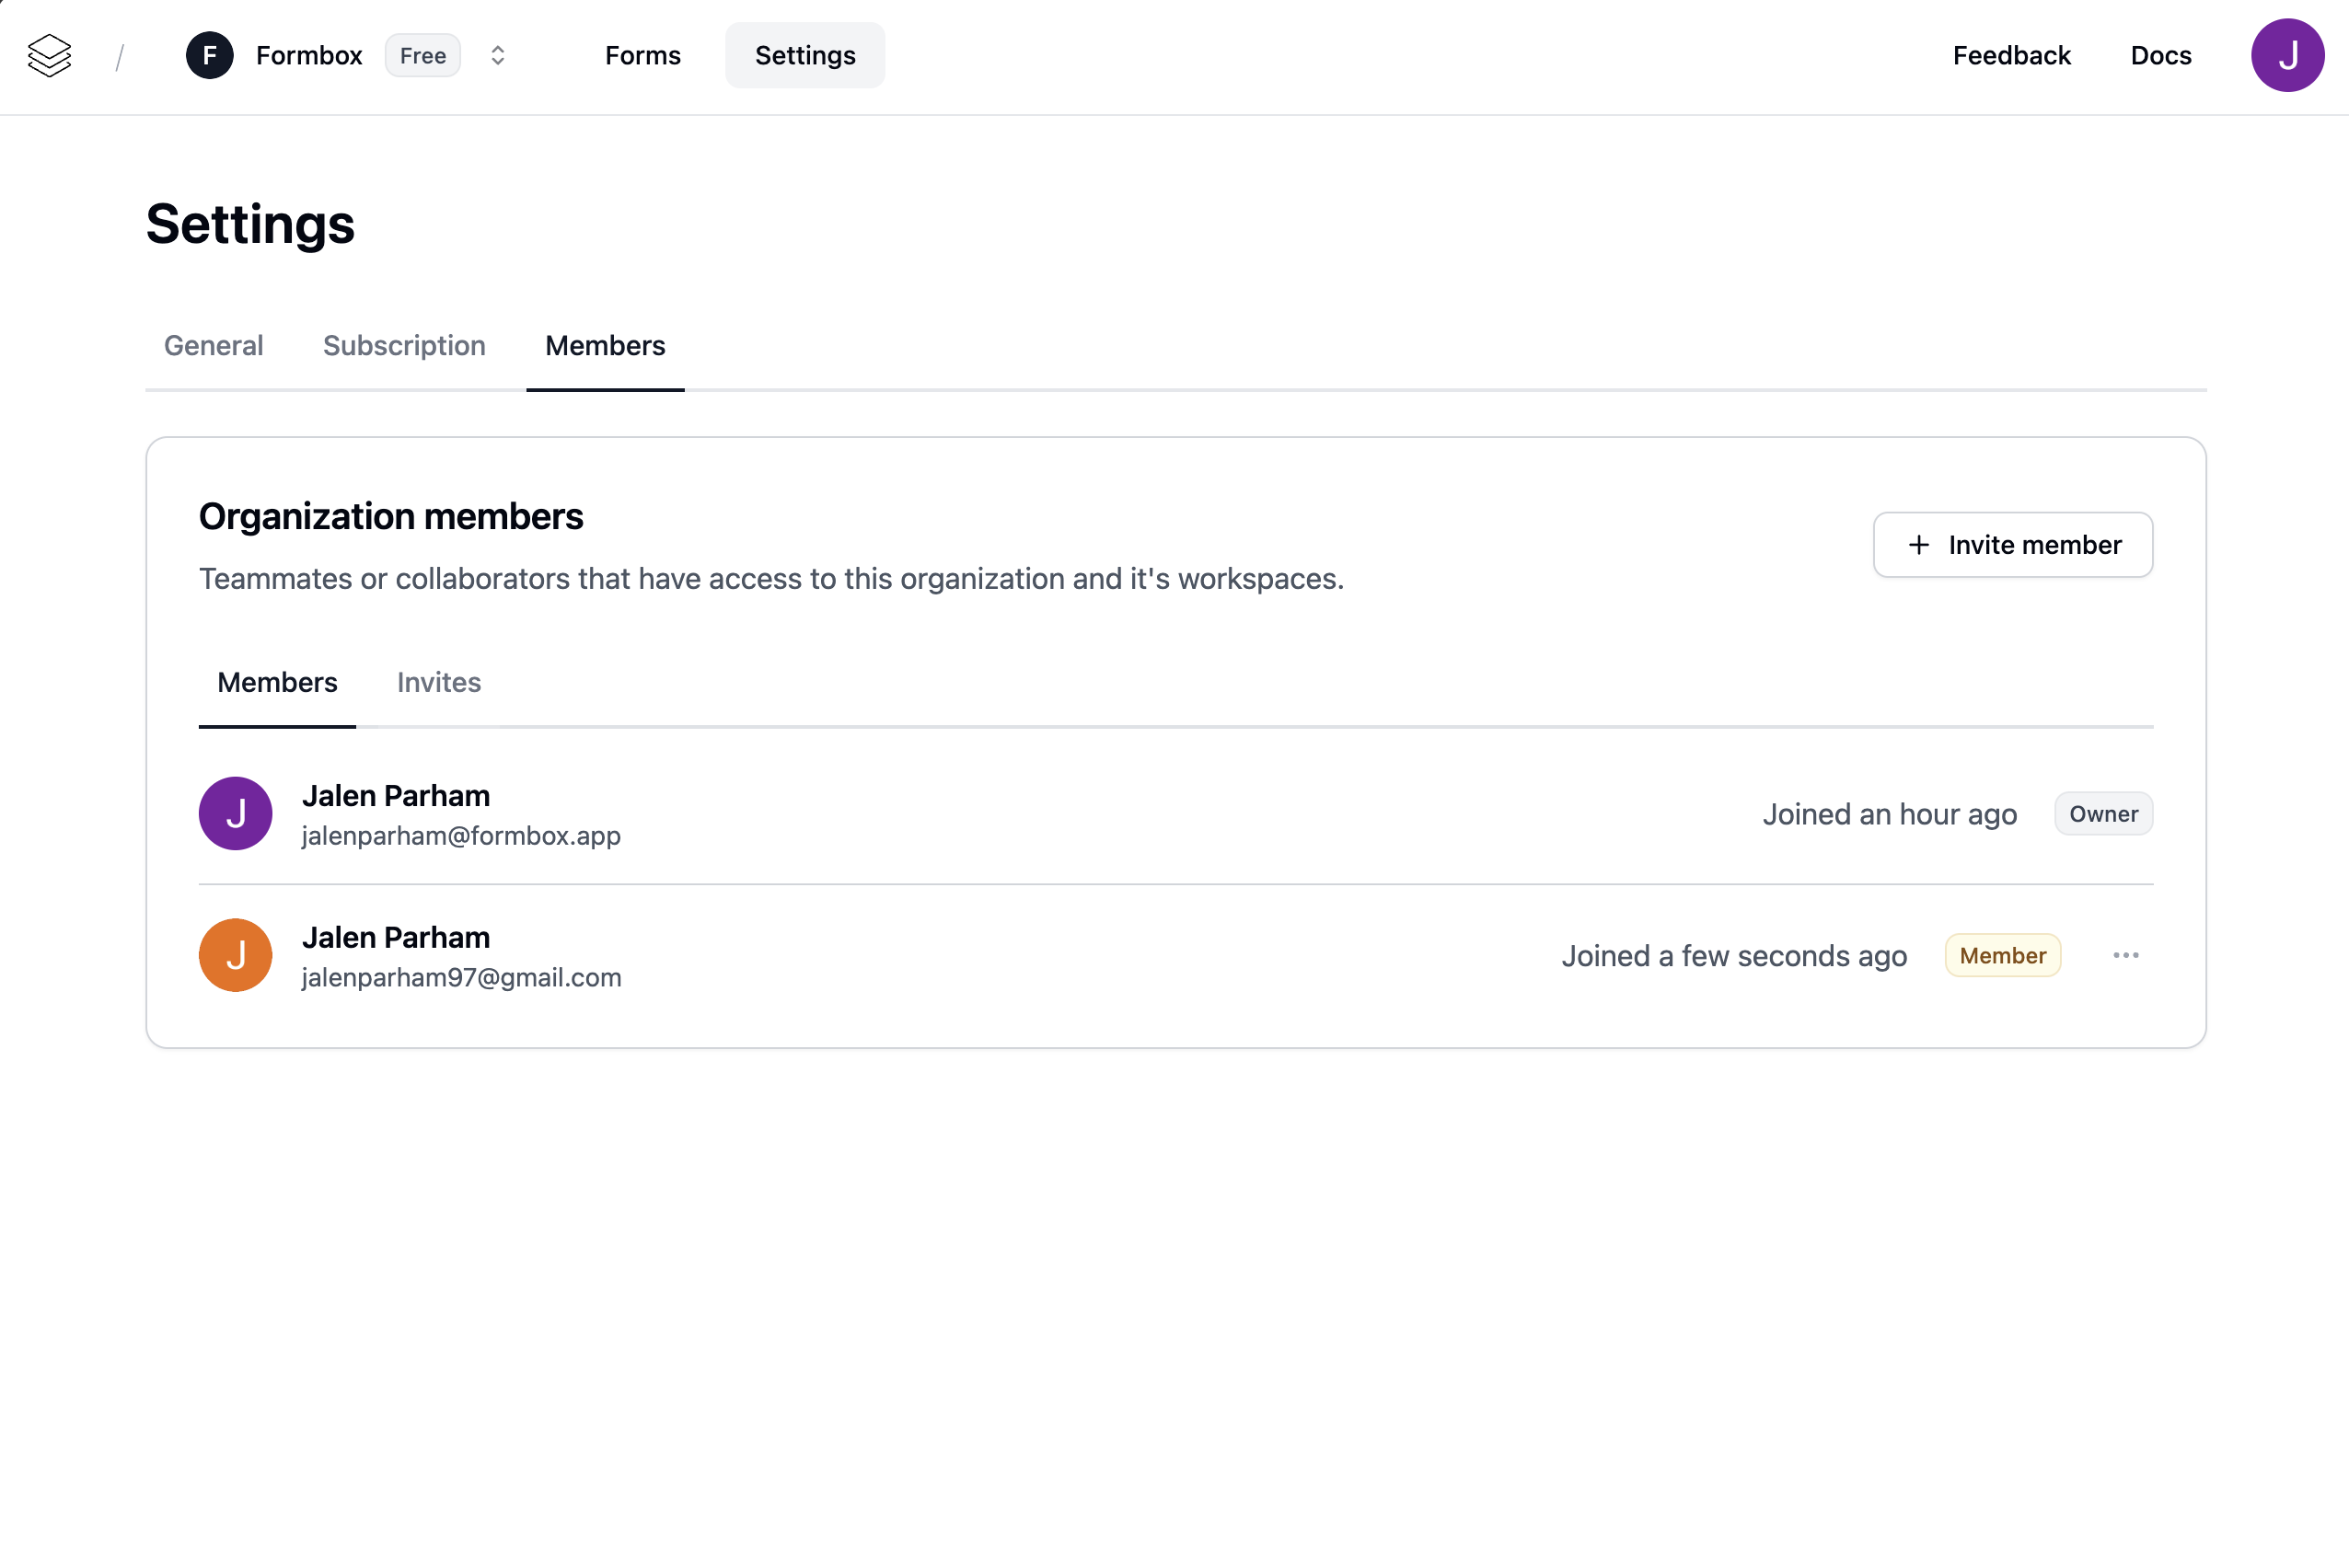
 From here you will be able to see the newly added member in the `Members` tab.
 ## Managing member access rights
When you add a member to an organization, the default role assigned to them is `Member`.
To change the role of a member, click on the action button with three dots. You will then be presented with a dropdown menu where you can change the role of the member.
## Managing member access rights
When you add a member to an organization, the default role assigned to them is `Member`.
To change the role of a member, click on the action button with three dots. You will then be presented with a dropdown menu where you can change the role of the member.
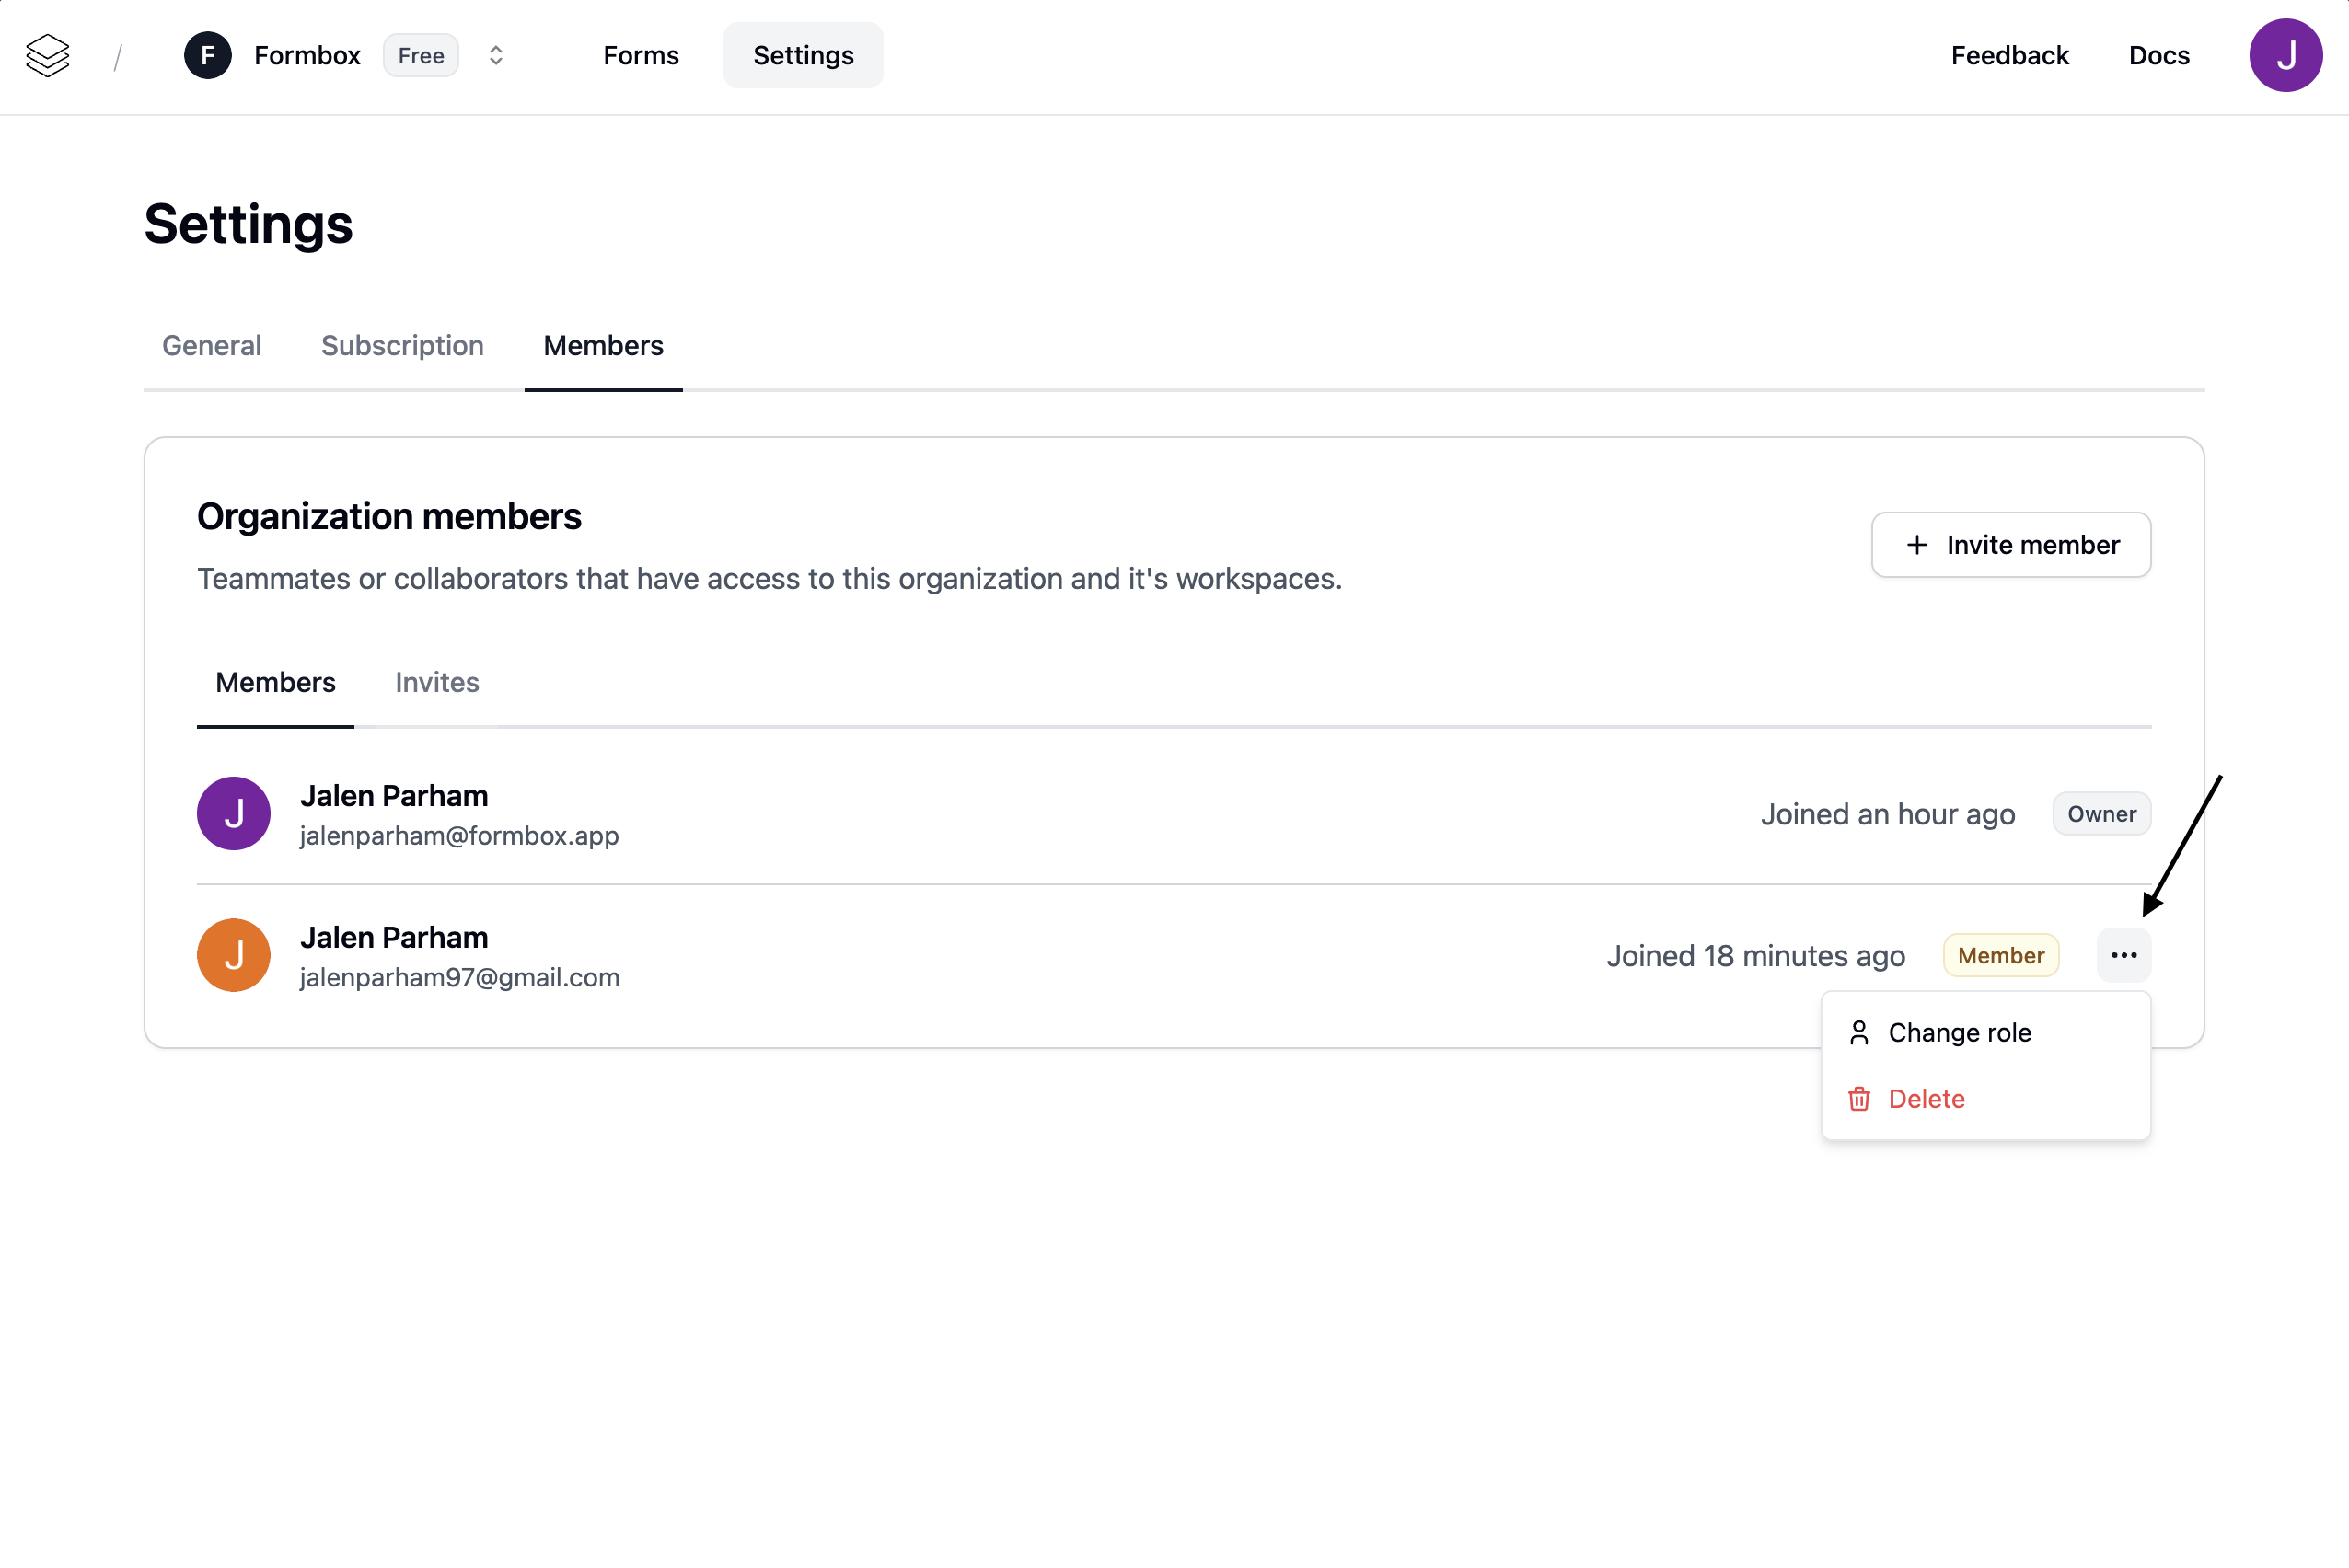 Click on the `Change role` option in the dropdown menu. You will then be presented with a modal where you can change the role of the member.
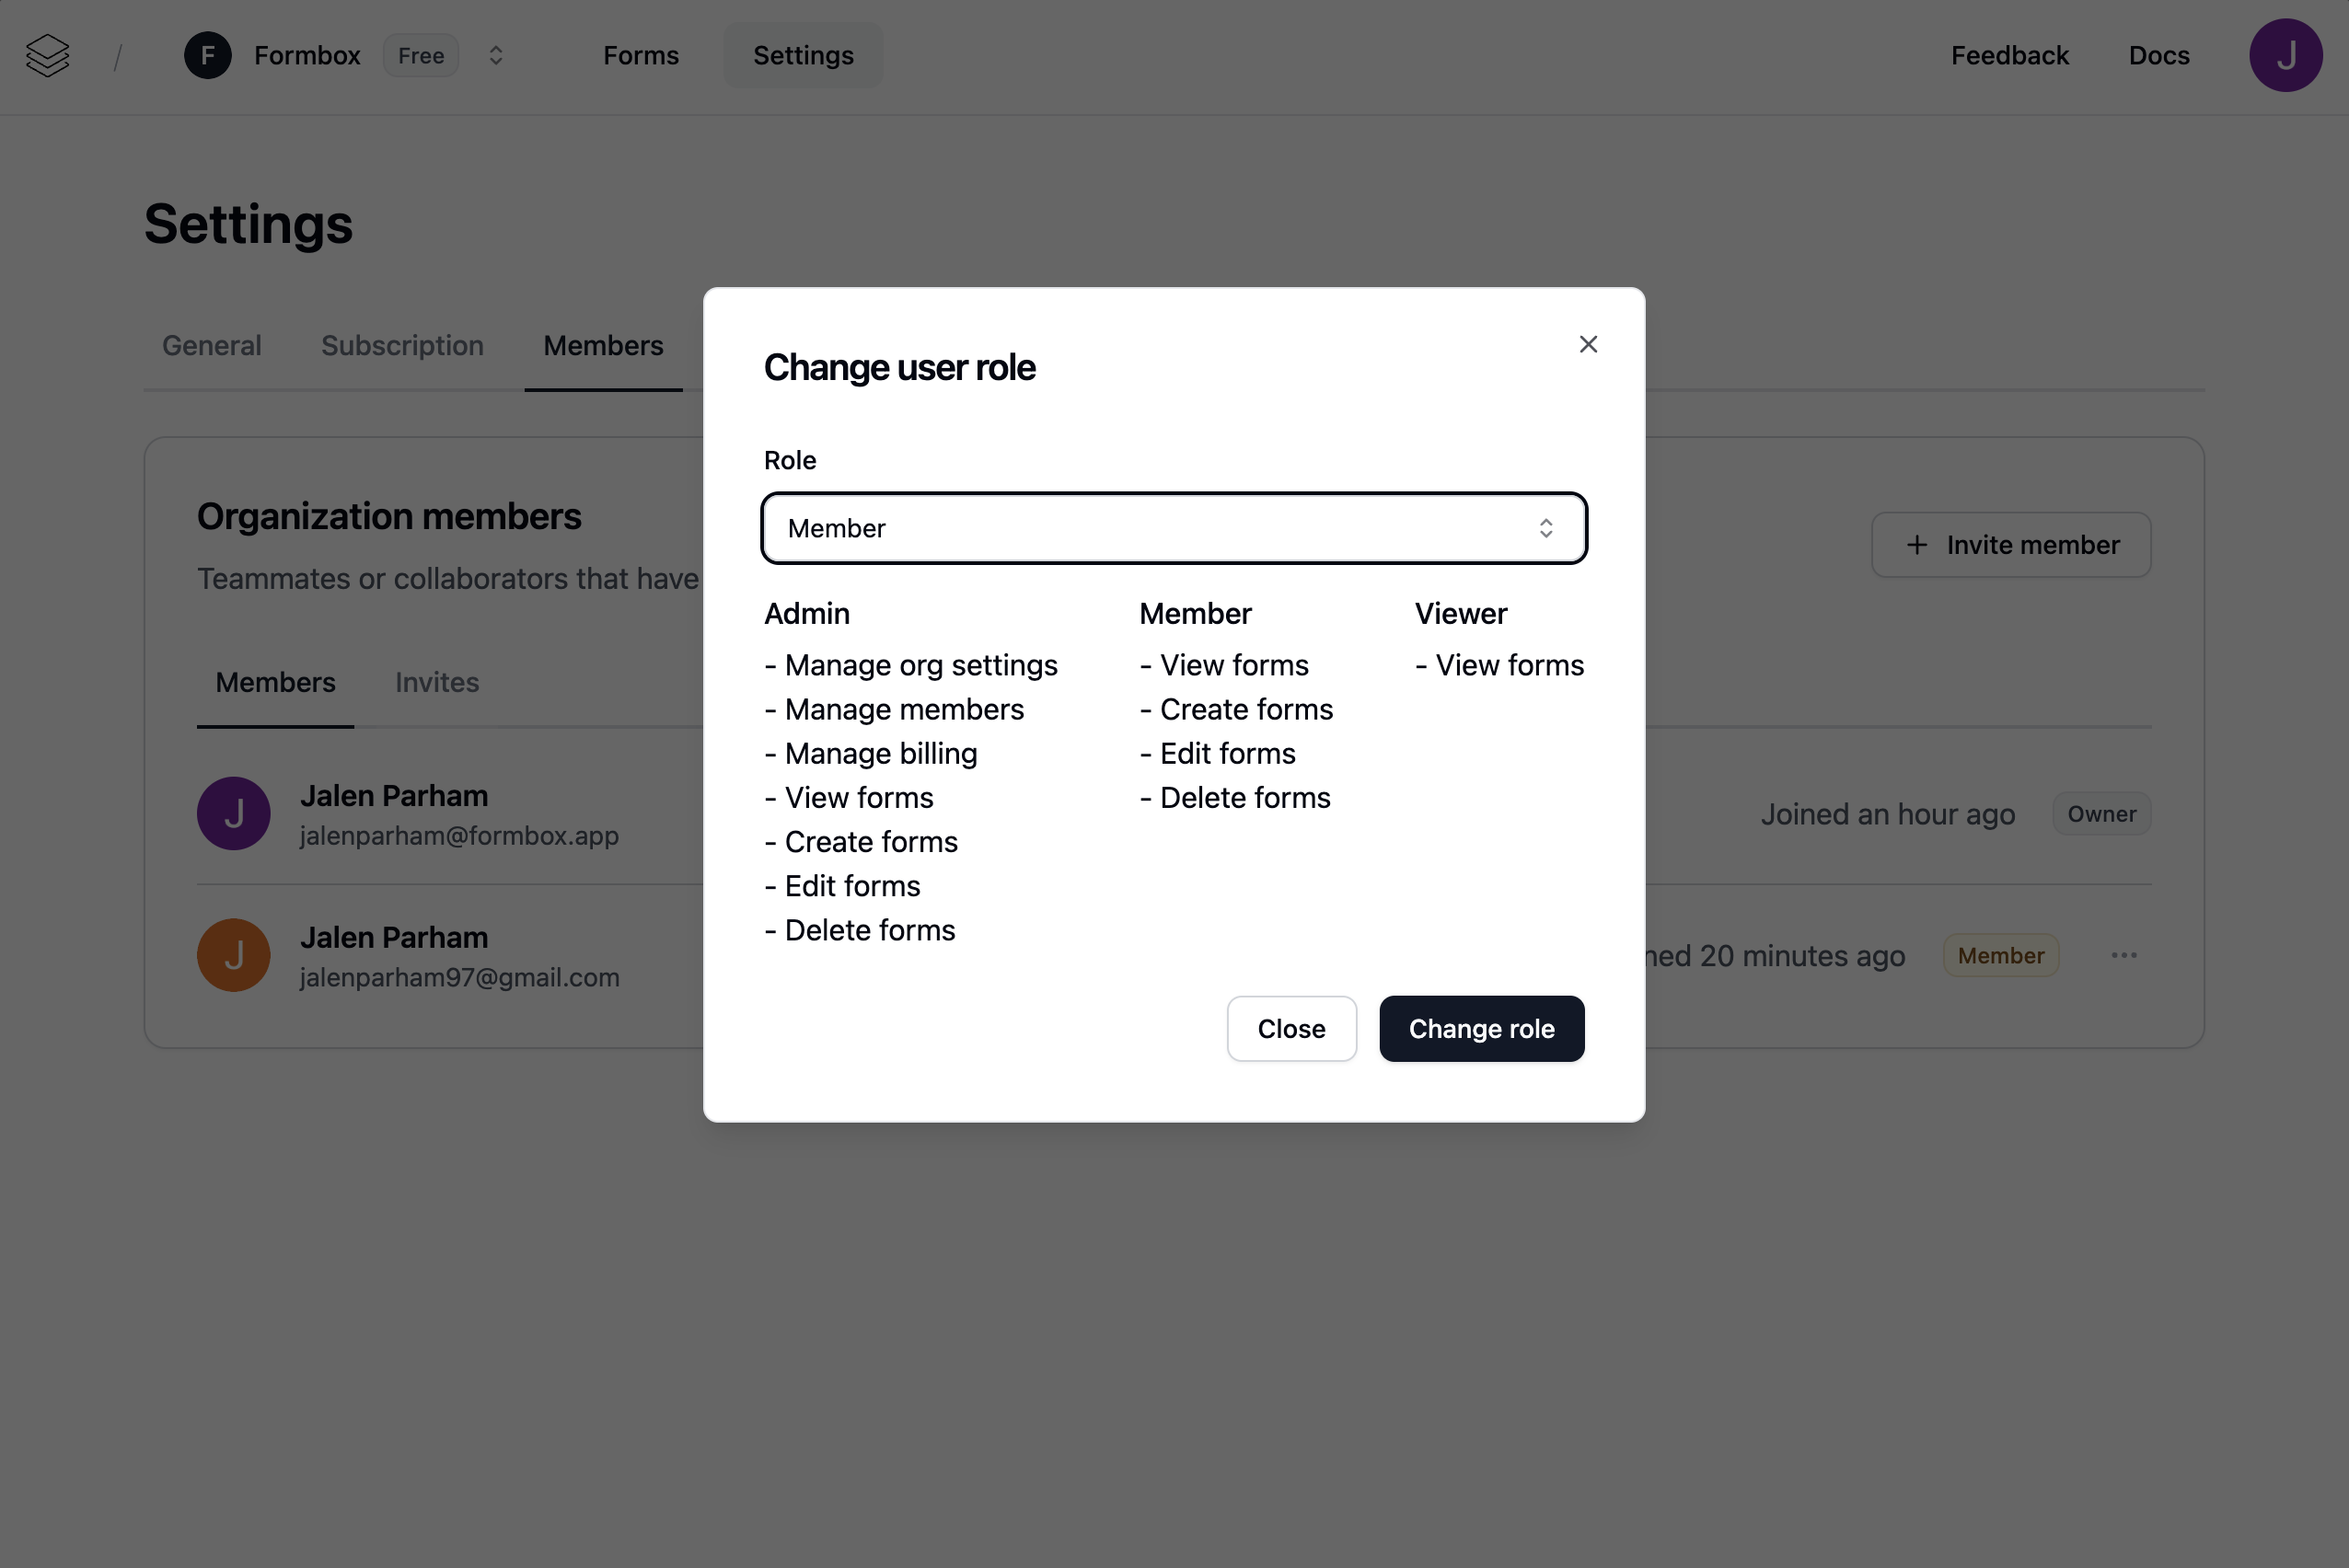 The modal will show the current role of the member and the available roles and their capabilities that you can change to. Select the role you want to change to and click on the `Change role` button.